Consume APIs from a Developer Portal in IBM API Connect
Overview
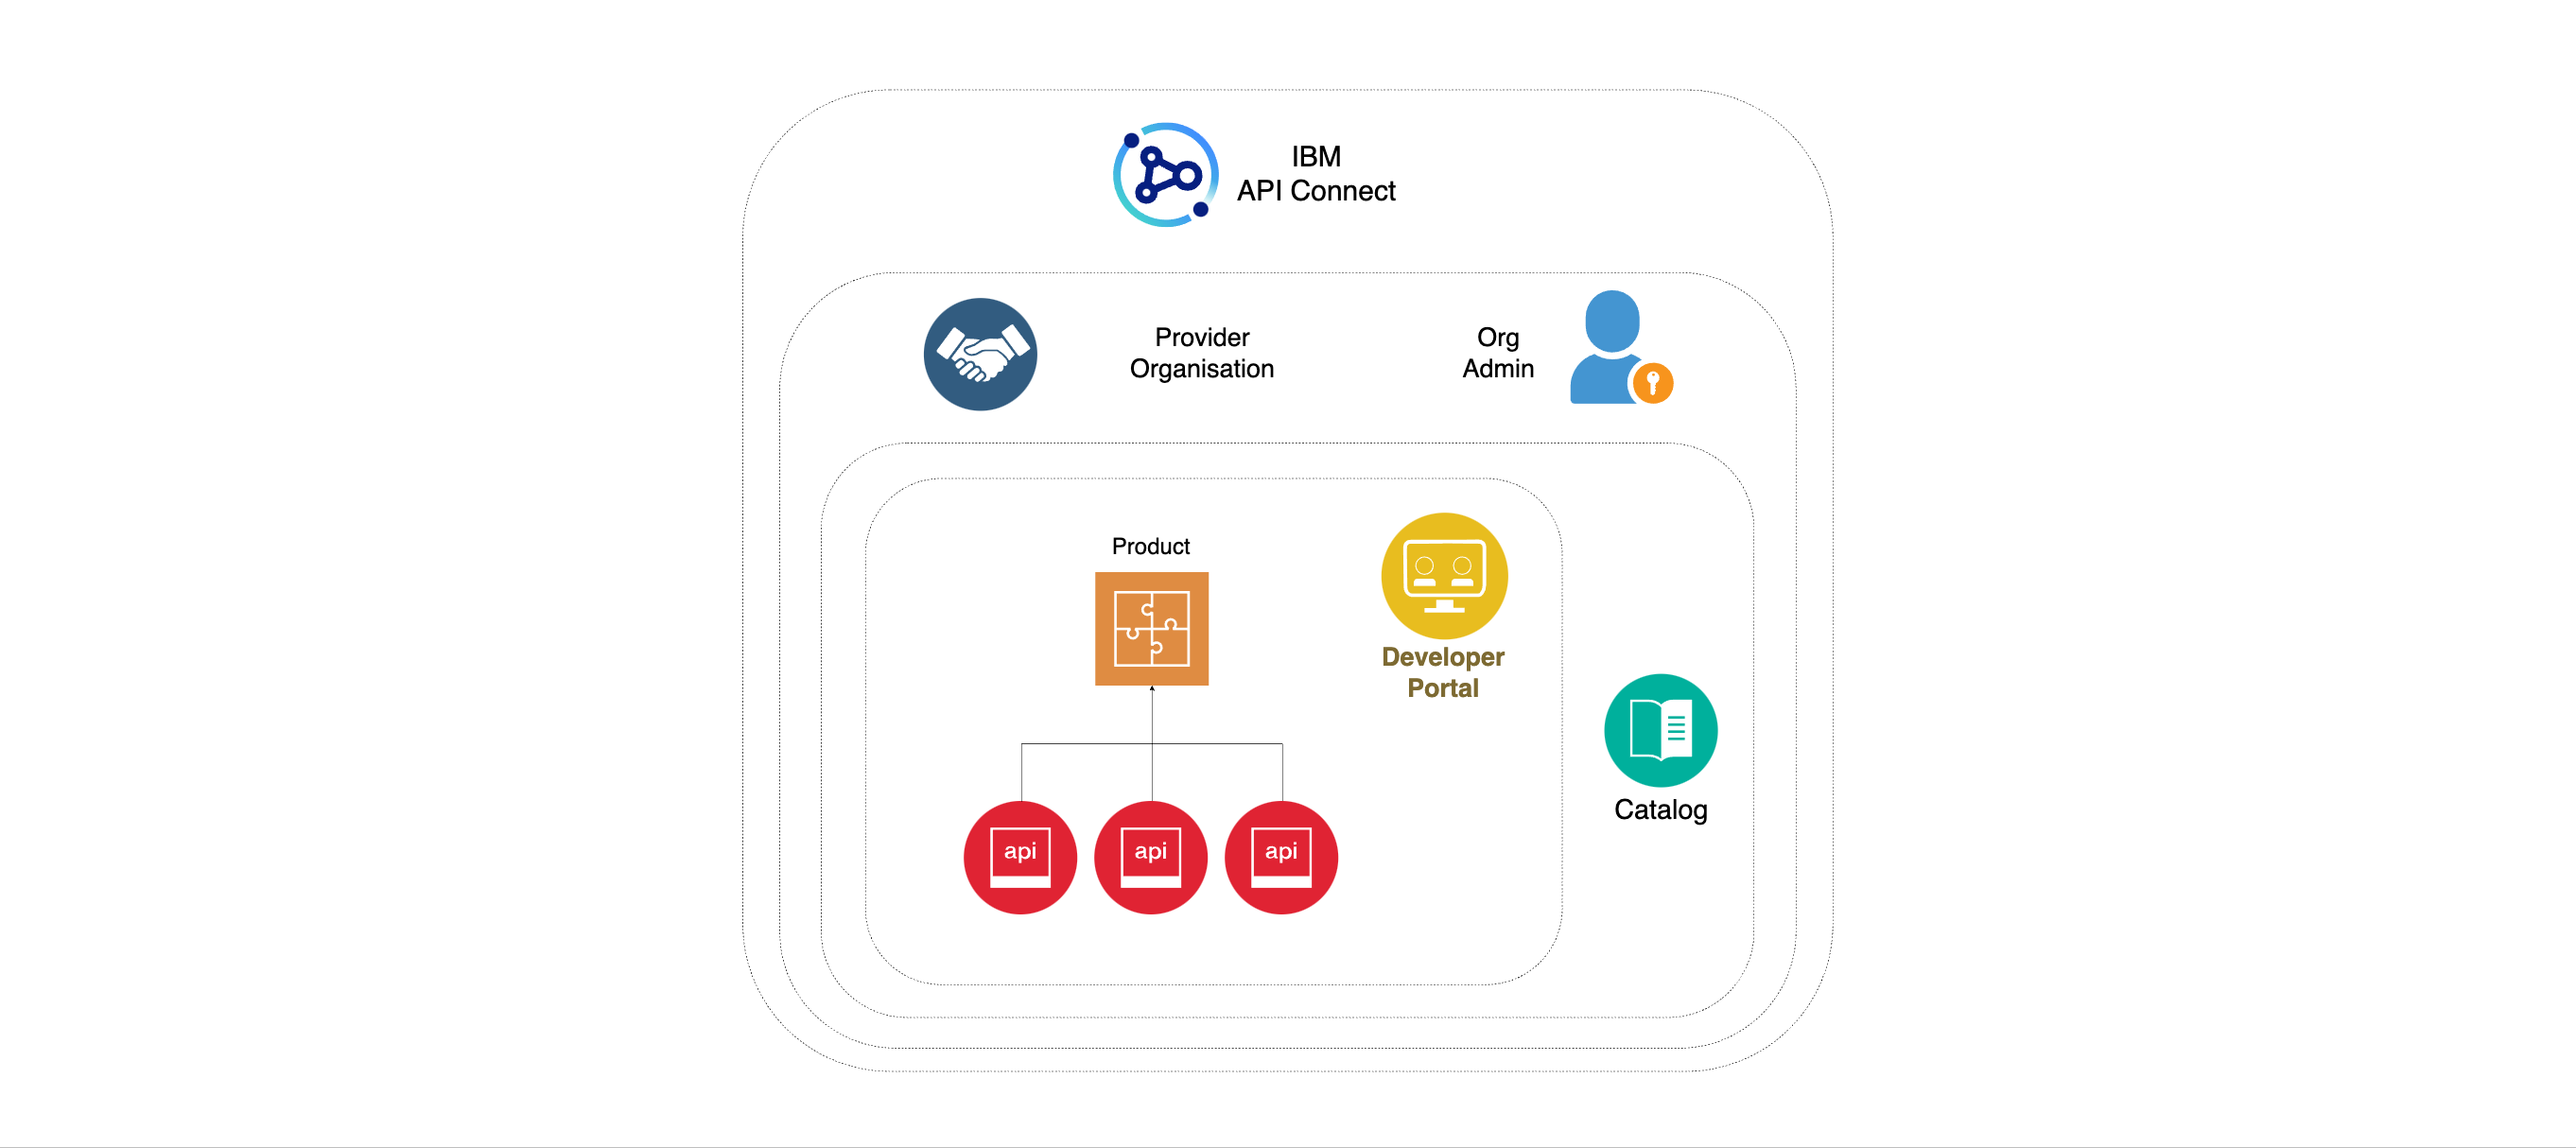
You have played different roles in the previous chapters of this IBM API Connect extension section for the MQ in-depth tutorial. You first acted as an IBM API Connect system admin and deployed and configured an instance of IBM API Connect Cluster. You then acted as an API developer and manager and created and published your Spring MQ Application APIs into IBM API Connect API Manager. Now, you will act as a third party developer that wants to consume these APIs.
In this section you are going to:
- Create a Developer Portal.
- Customize your Developer Portal.
- Create a Developer Portal user.
- Explore the Developer Portal.
- Consume APIs from the Developer Portal.
Create Developer Portal
In this first section you are going to create a Developer Portal for you dev catalog.
For that, open up your IBM API Connect API Manager web console by pointing your browser to its url which you can retrieve with:
oc get apiconnectcluster <APIC_NAME> -n <PROJECT> -o=jsonpath='{.status.endpoints[?(@.name=="ui")].uri}'
where <APIC_NAME> is the name of your IBM API Connect Cluster instance and <PROJECT> is the RedHat OpenShift Project where it is deployed (review the IBM API Connect Endpoints section for more details).
If you have not logged into your IBM Cloud Pak Platform Navigator, you will be requested to do so first:
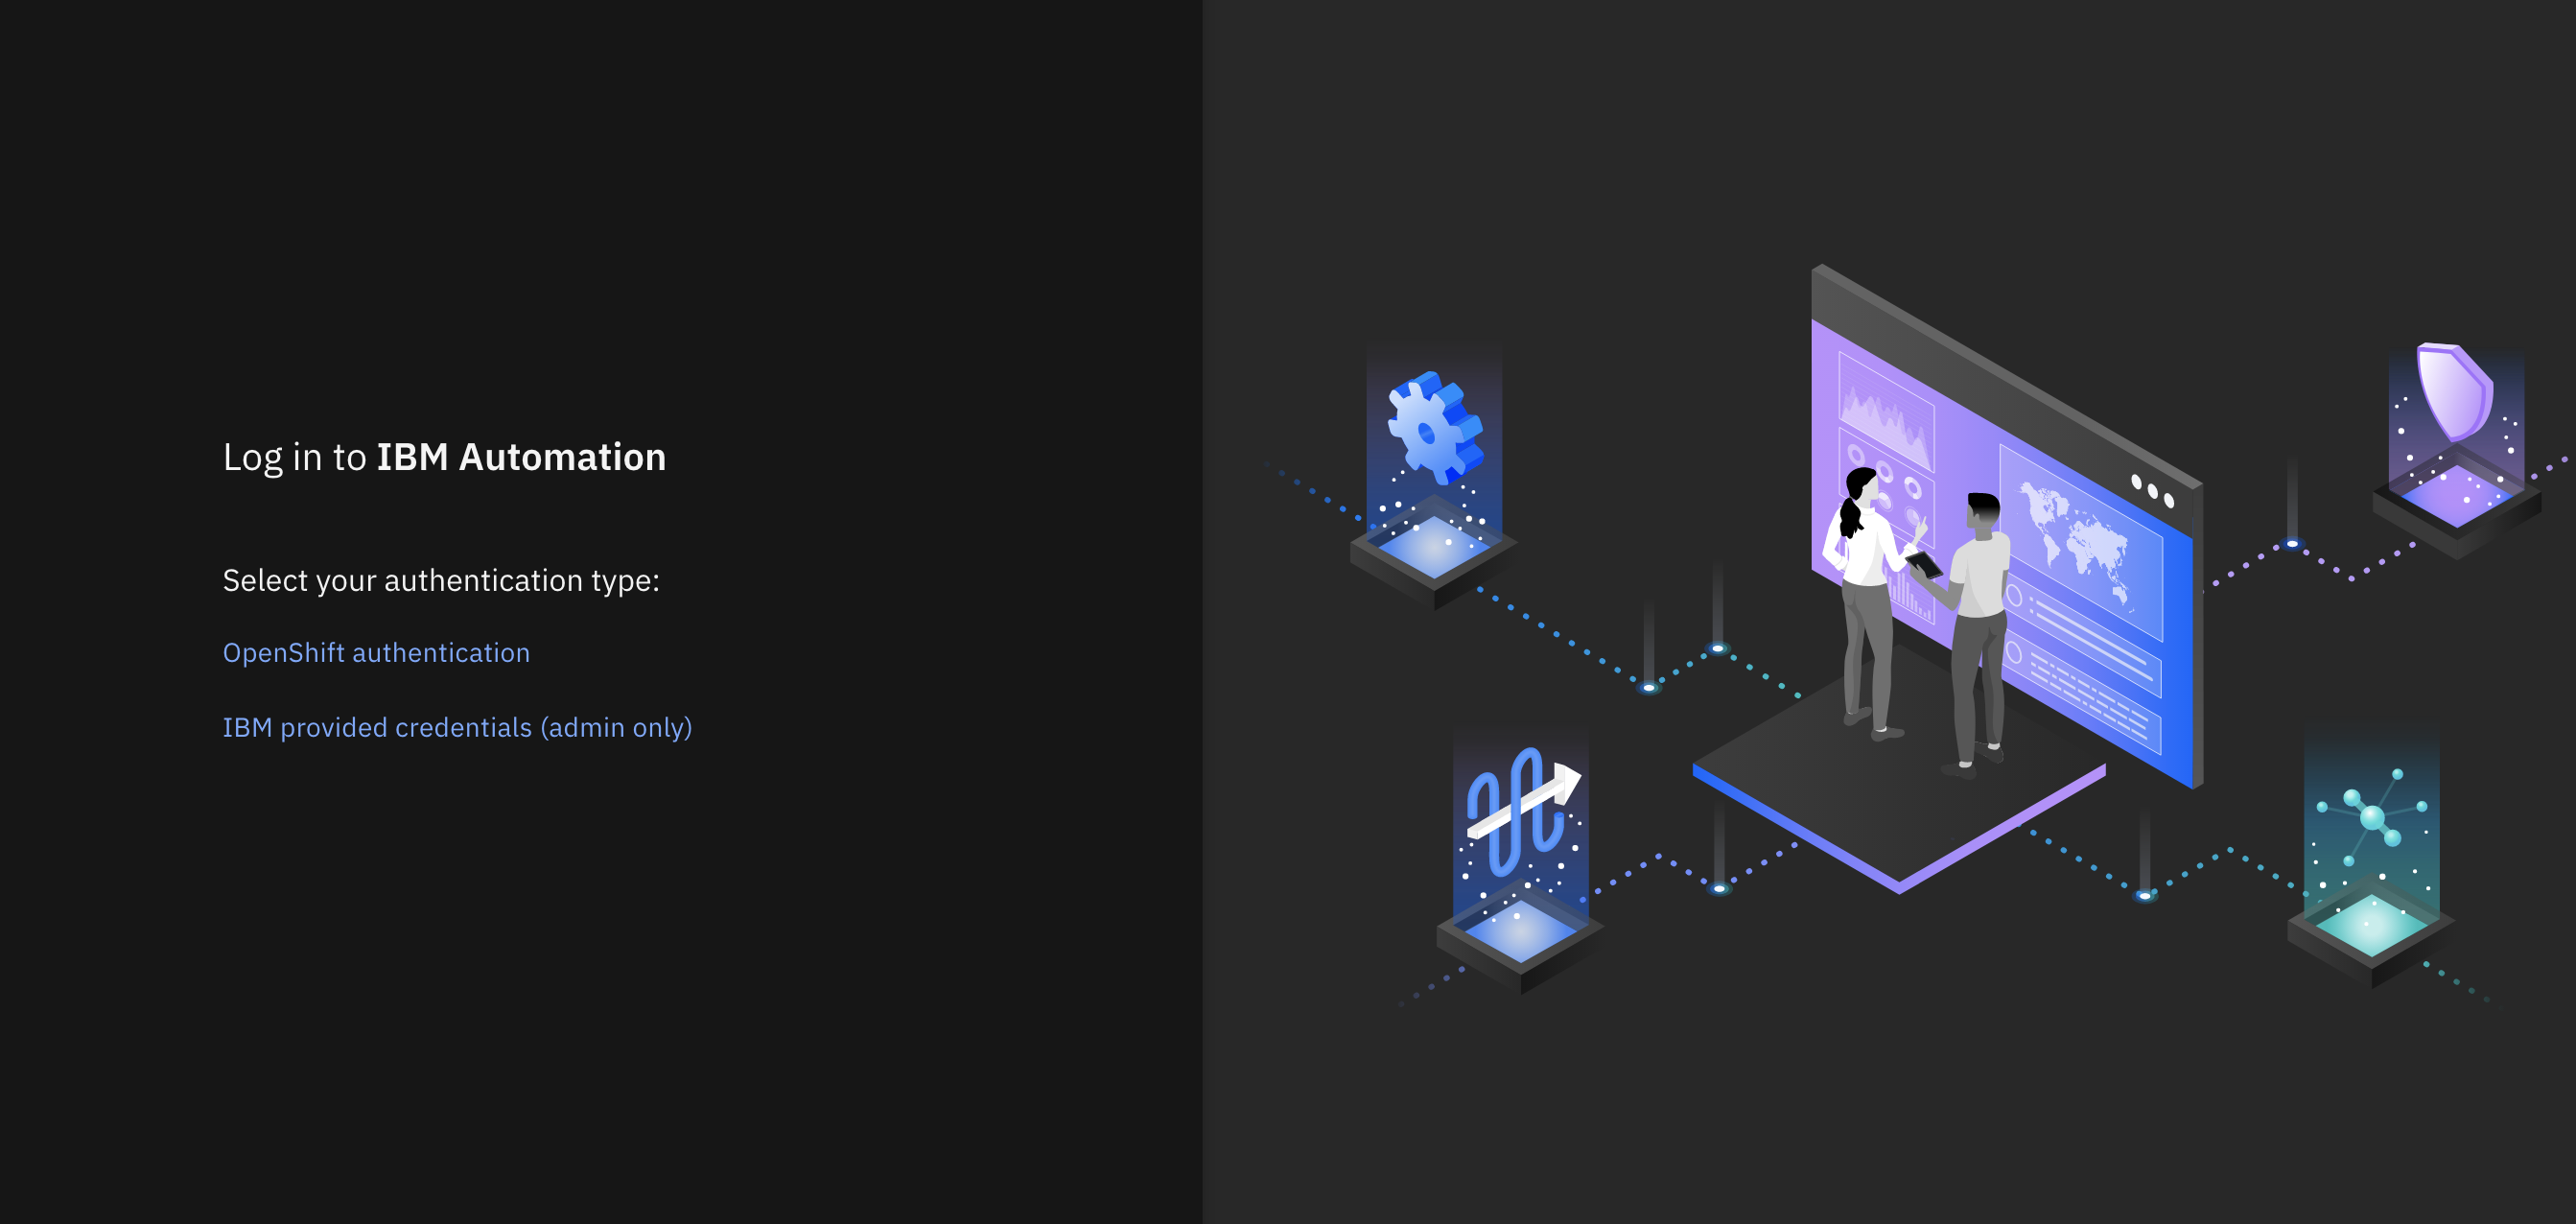
Select IBM provided credentials (admin only) to log in with the IBM Cloud Pak Common Services administrator OIDC credentials that were created when installing the IBM Cloud Pak Foundational Services as a result of installing IBM Message Queue and IBM Cloud Pak Platform Navigator. To retrieve such credentials execute:
oc extract -n ibm-common-services secrets/platform-auth-idp-credentials --keys=admin_username,admin_password --to=-
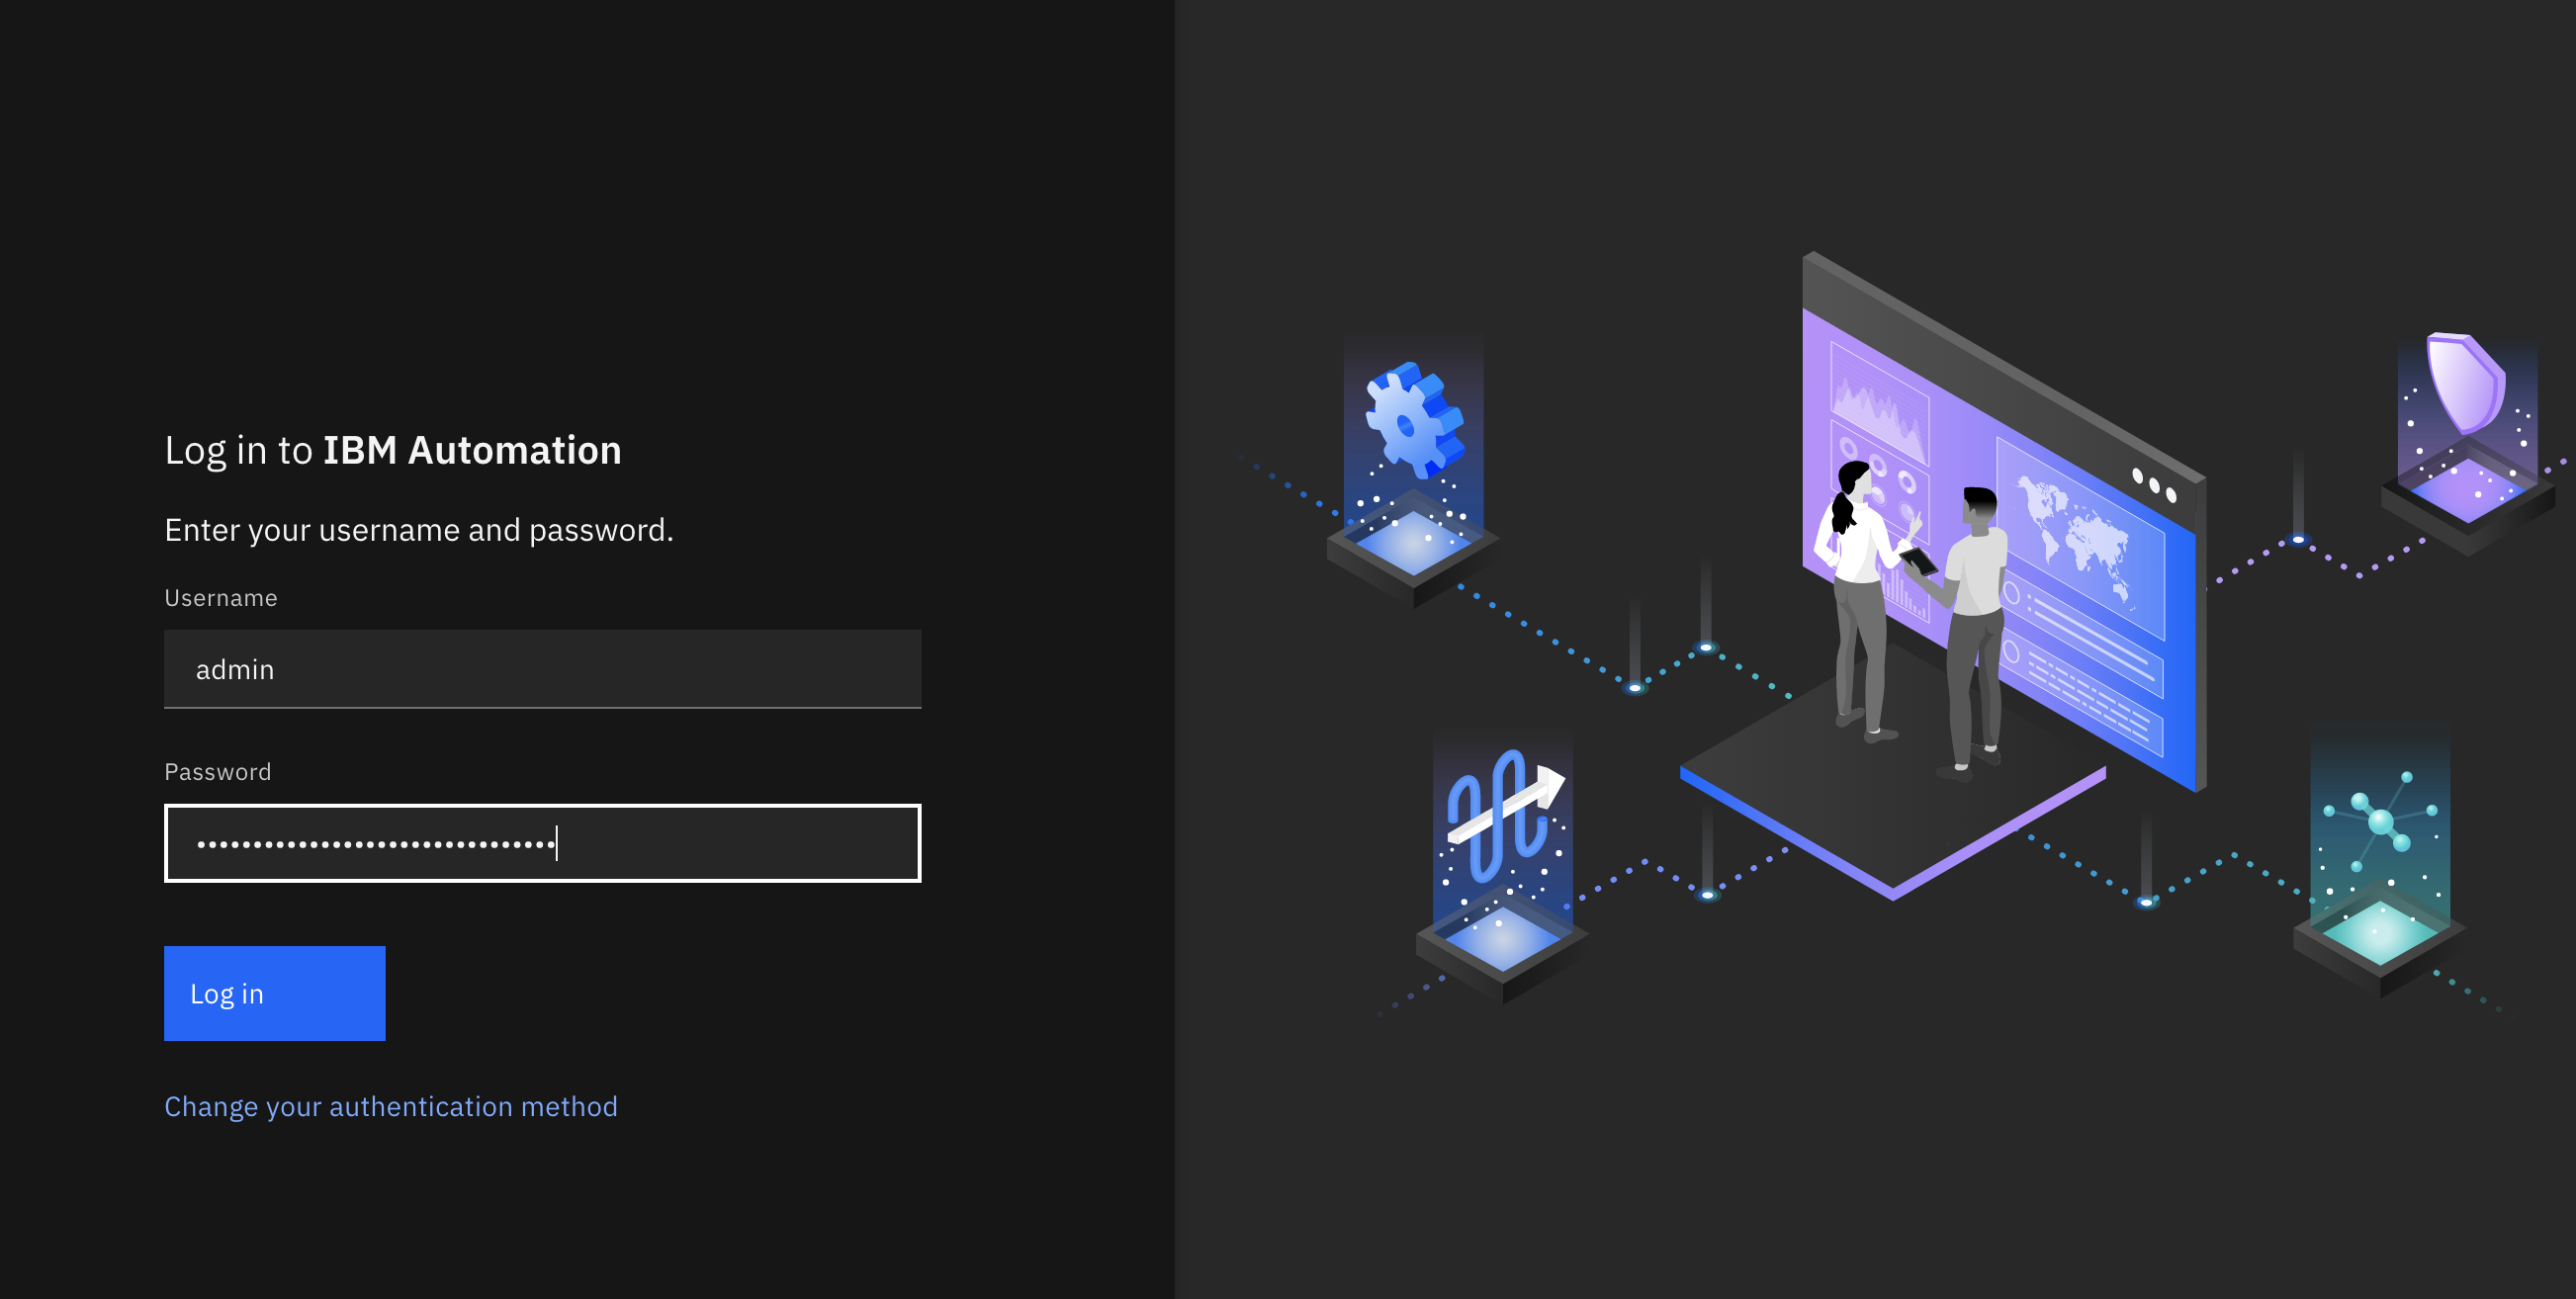
If you had logged into your IBM Cloud Pak Platform Navigator recently, you would get to the IBM API Connect API Manager login page directly.
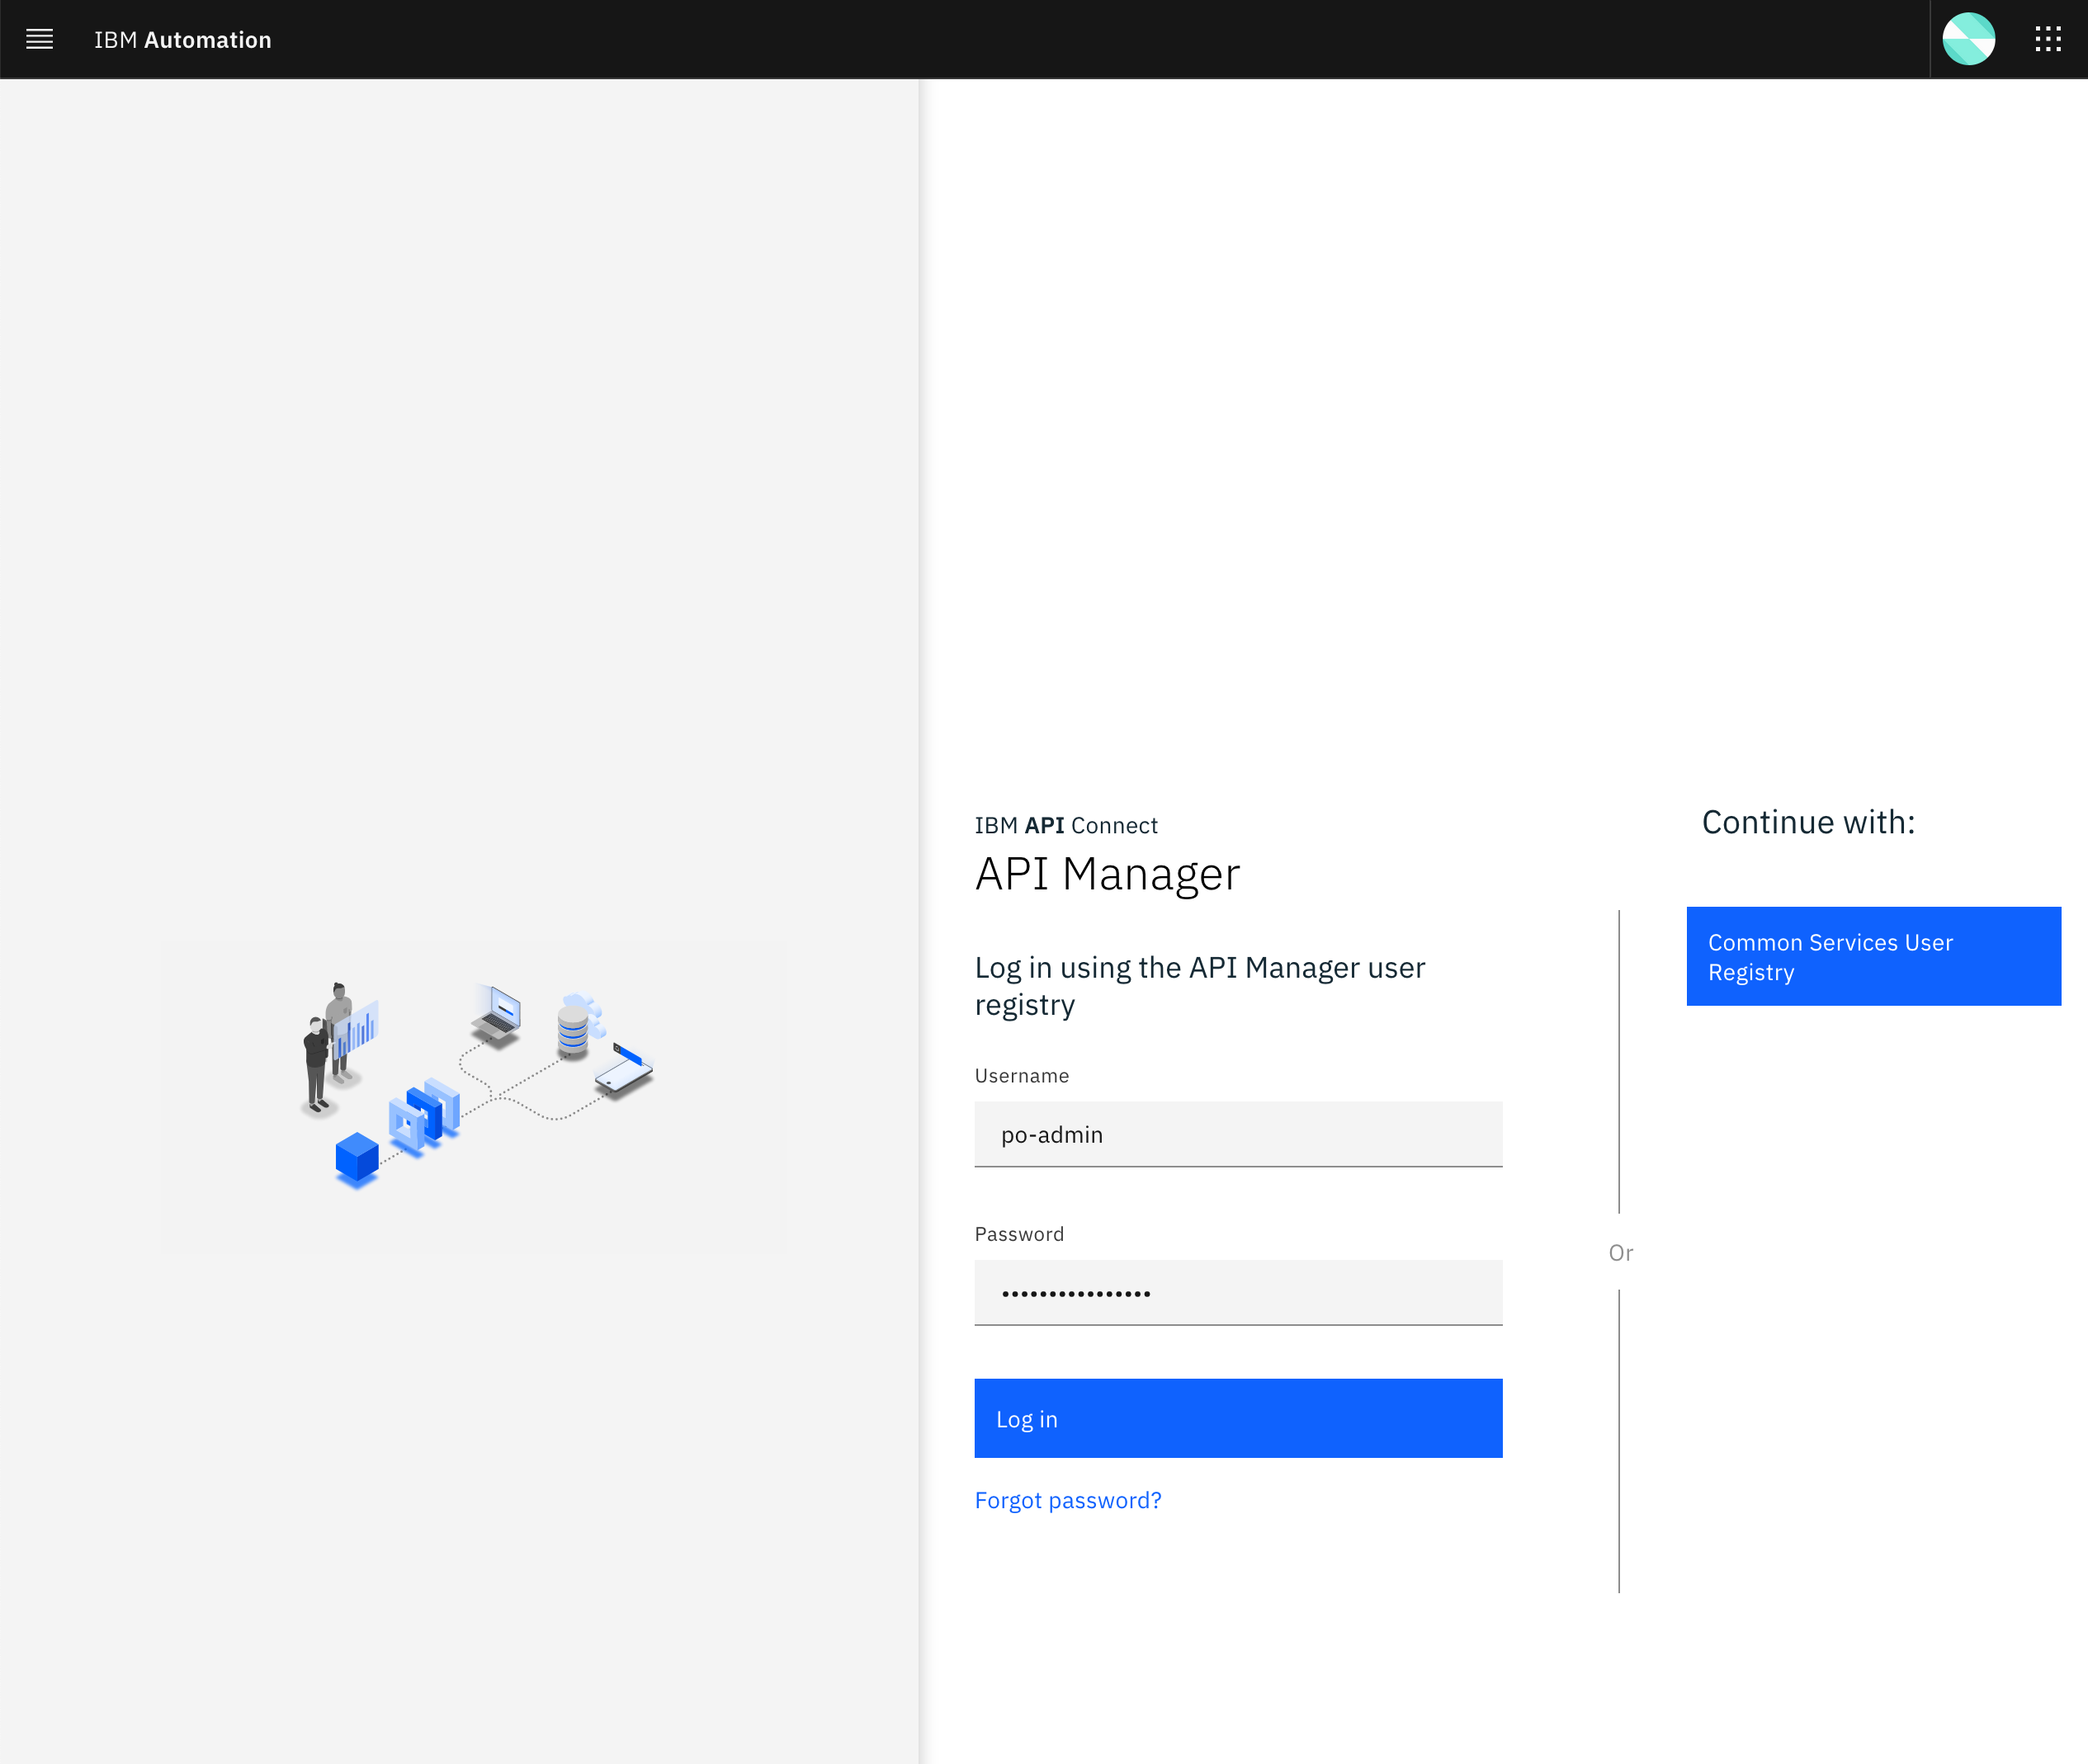
You will use your Provider Organization Owner user that exists in the API Manager User Registry. Therefore, click on the API Manager User Registry button.
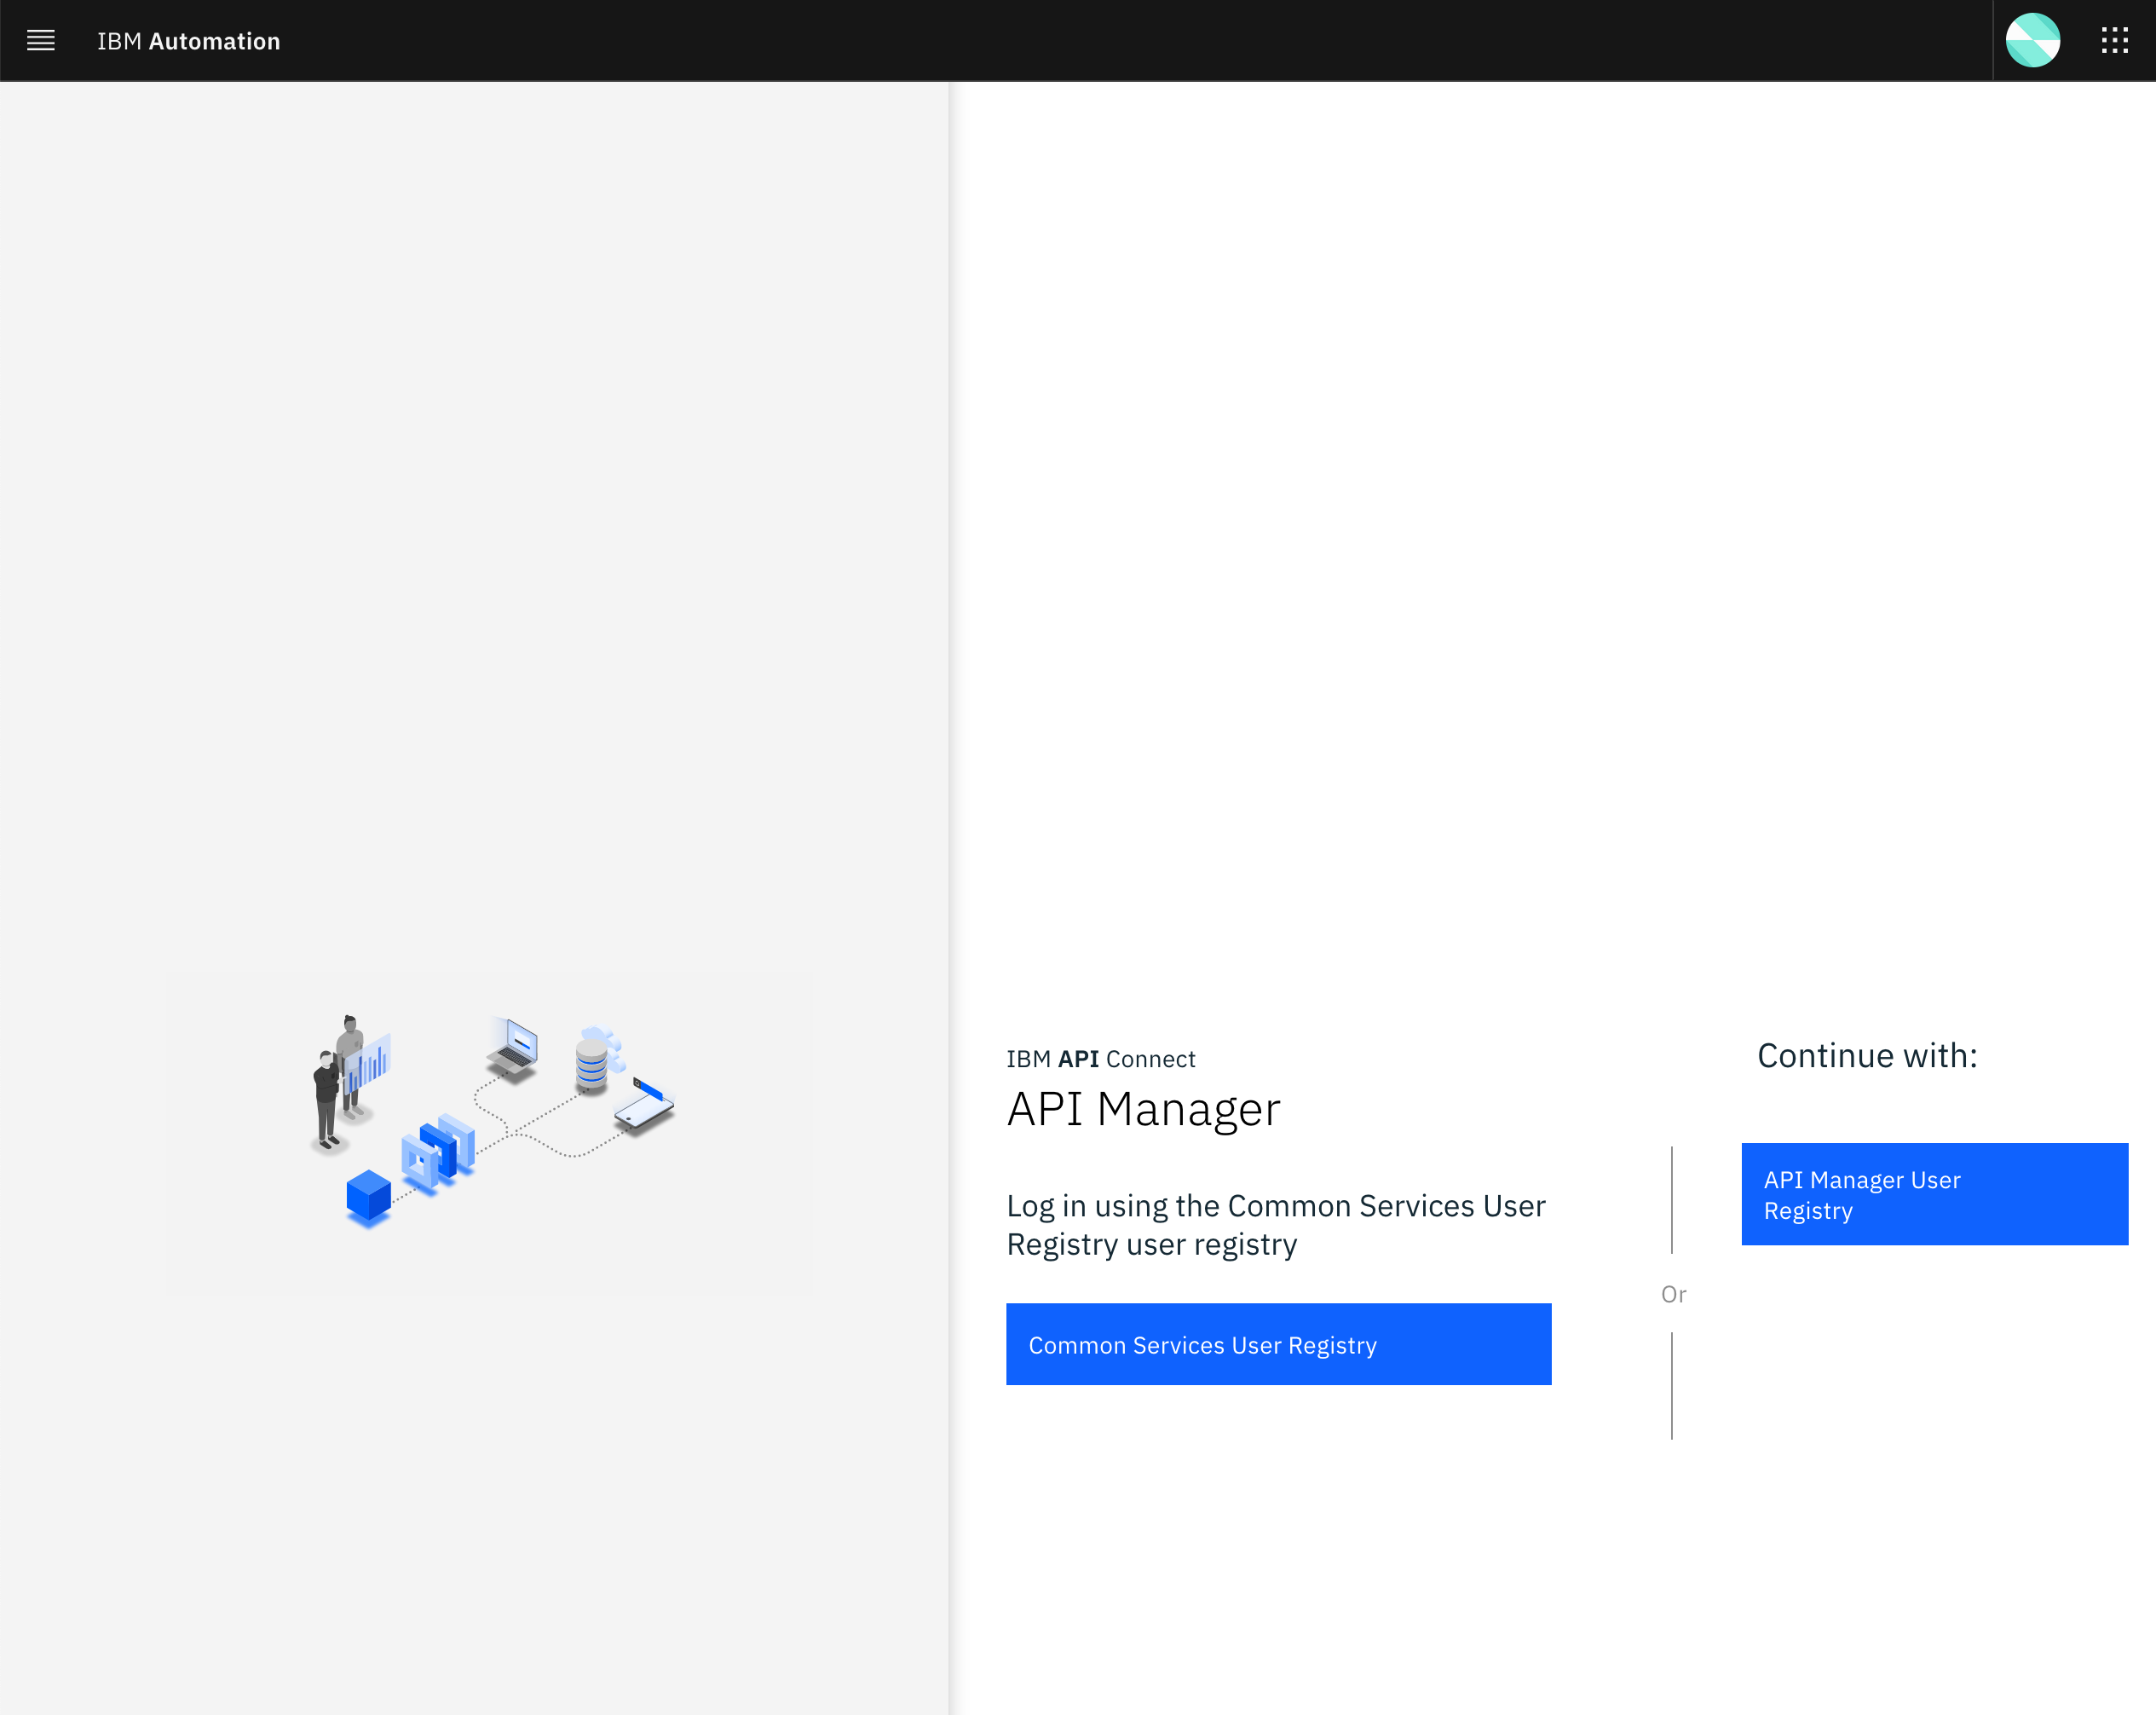
You will be prompted to provide the credentials for the Provider Organization Owner. Use the Username and Password you set when creating the Provider Organization Owner:
Once you successfully get authenticated, you should get to the IBM API Connect API Manager dashboard.

Click on Manage catalogs. Then, select the dev catalog. Next, select Catalog settings tab from the top and then click on the Portal section on the left hand side menu.
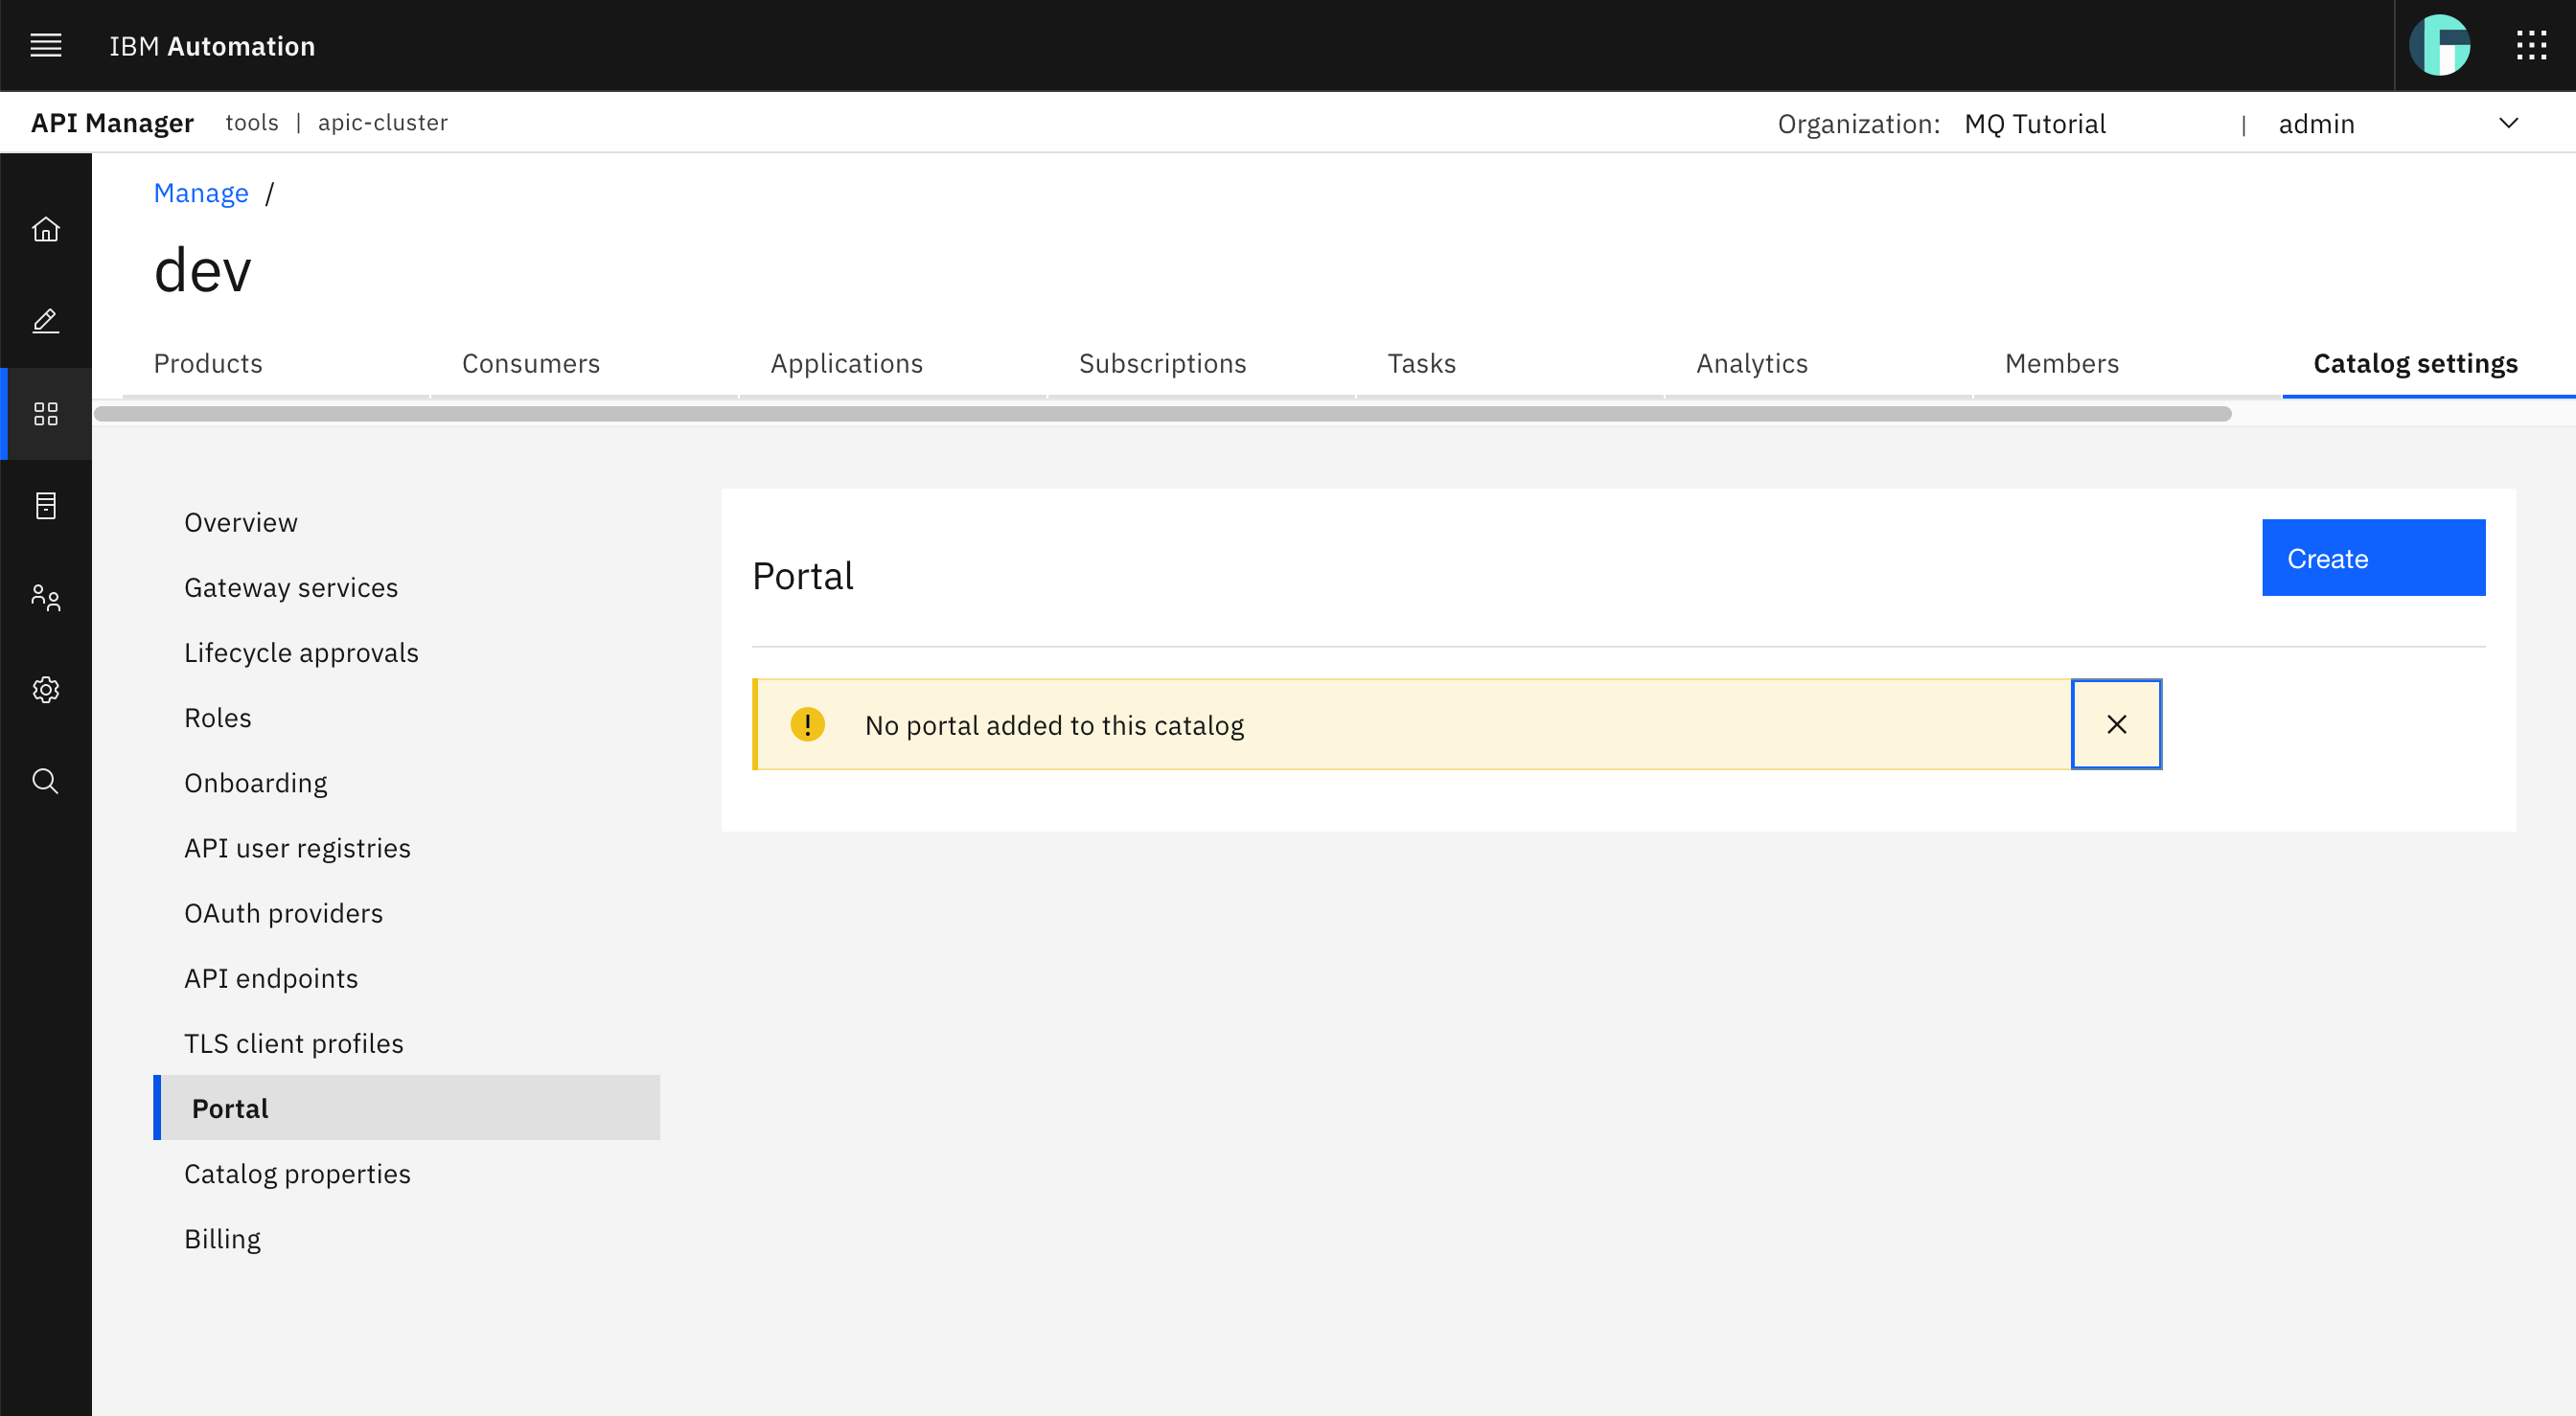
As you can see, there is no Developer Portal created for your dev catalog yet. Click on the Create blue button on the top right corner.
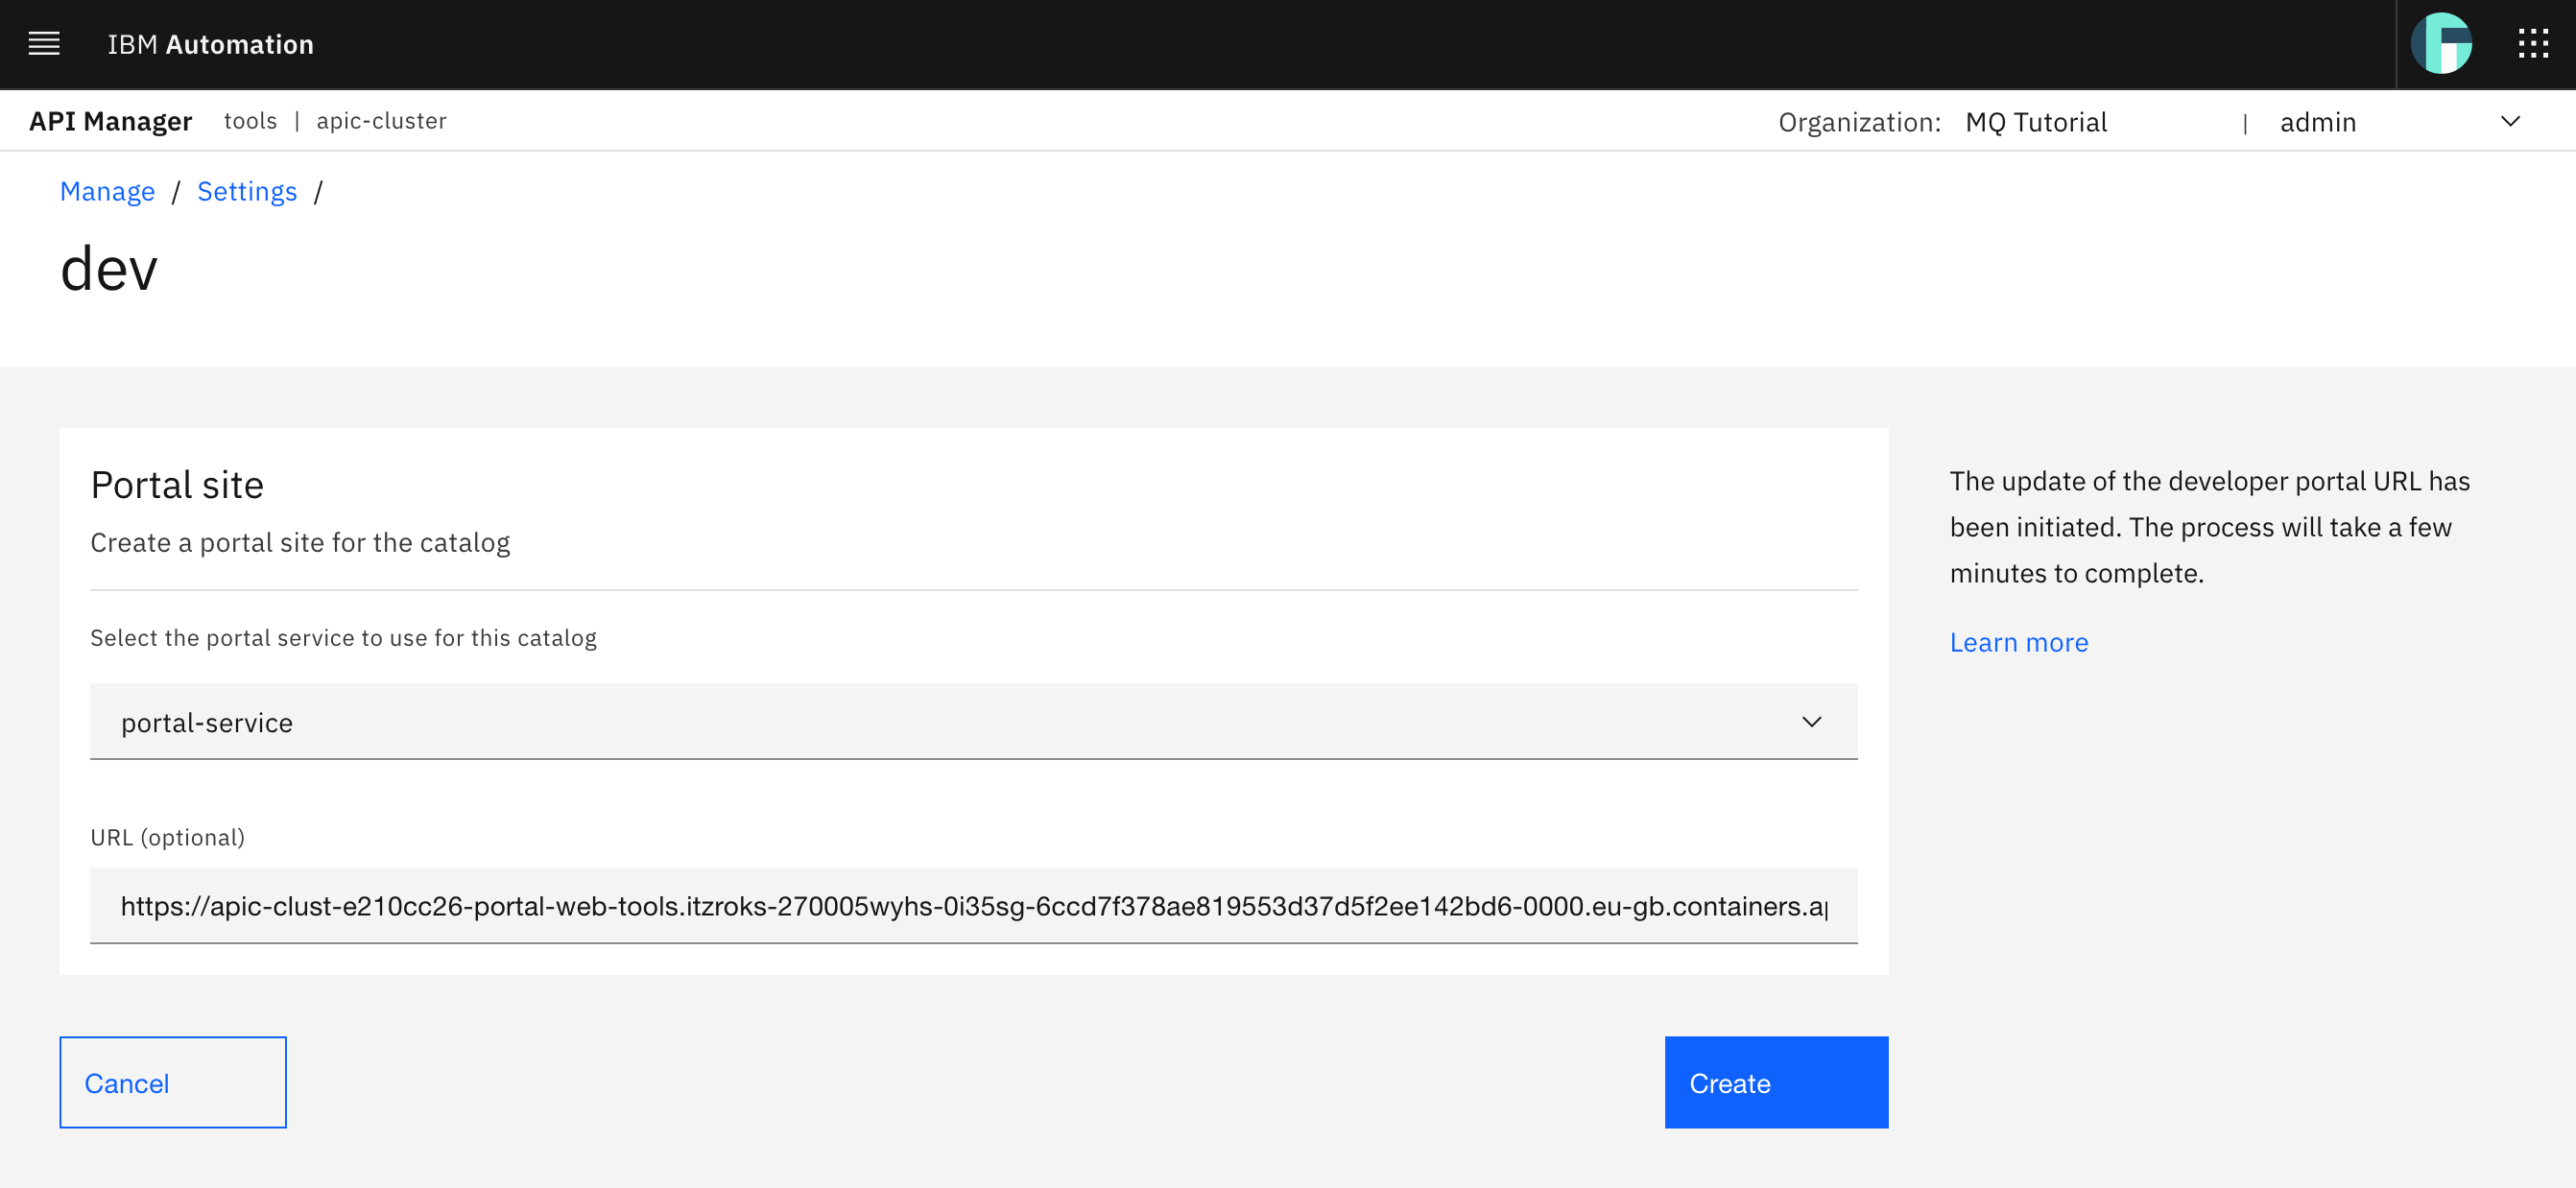
On the Portal site form that you get driven to, select the only IBM API Connect Portal Service available from the drop down menu (again, if you had a different IBM API Connect Topology you could select here what IBM API connect Portal Service your new portal would be created into. Review the previous Configure API Connect chapter for more information on the IBM API Connect Topology), leave the default URL value as is and click Create.
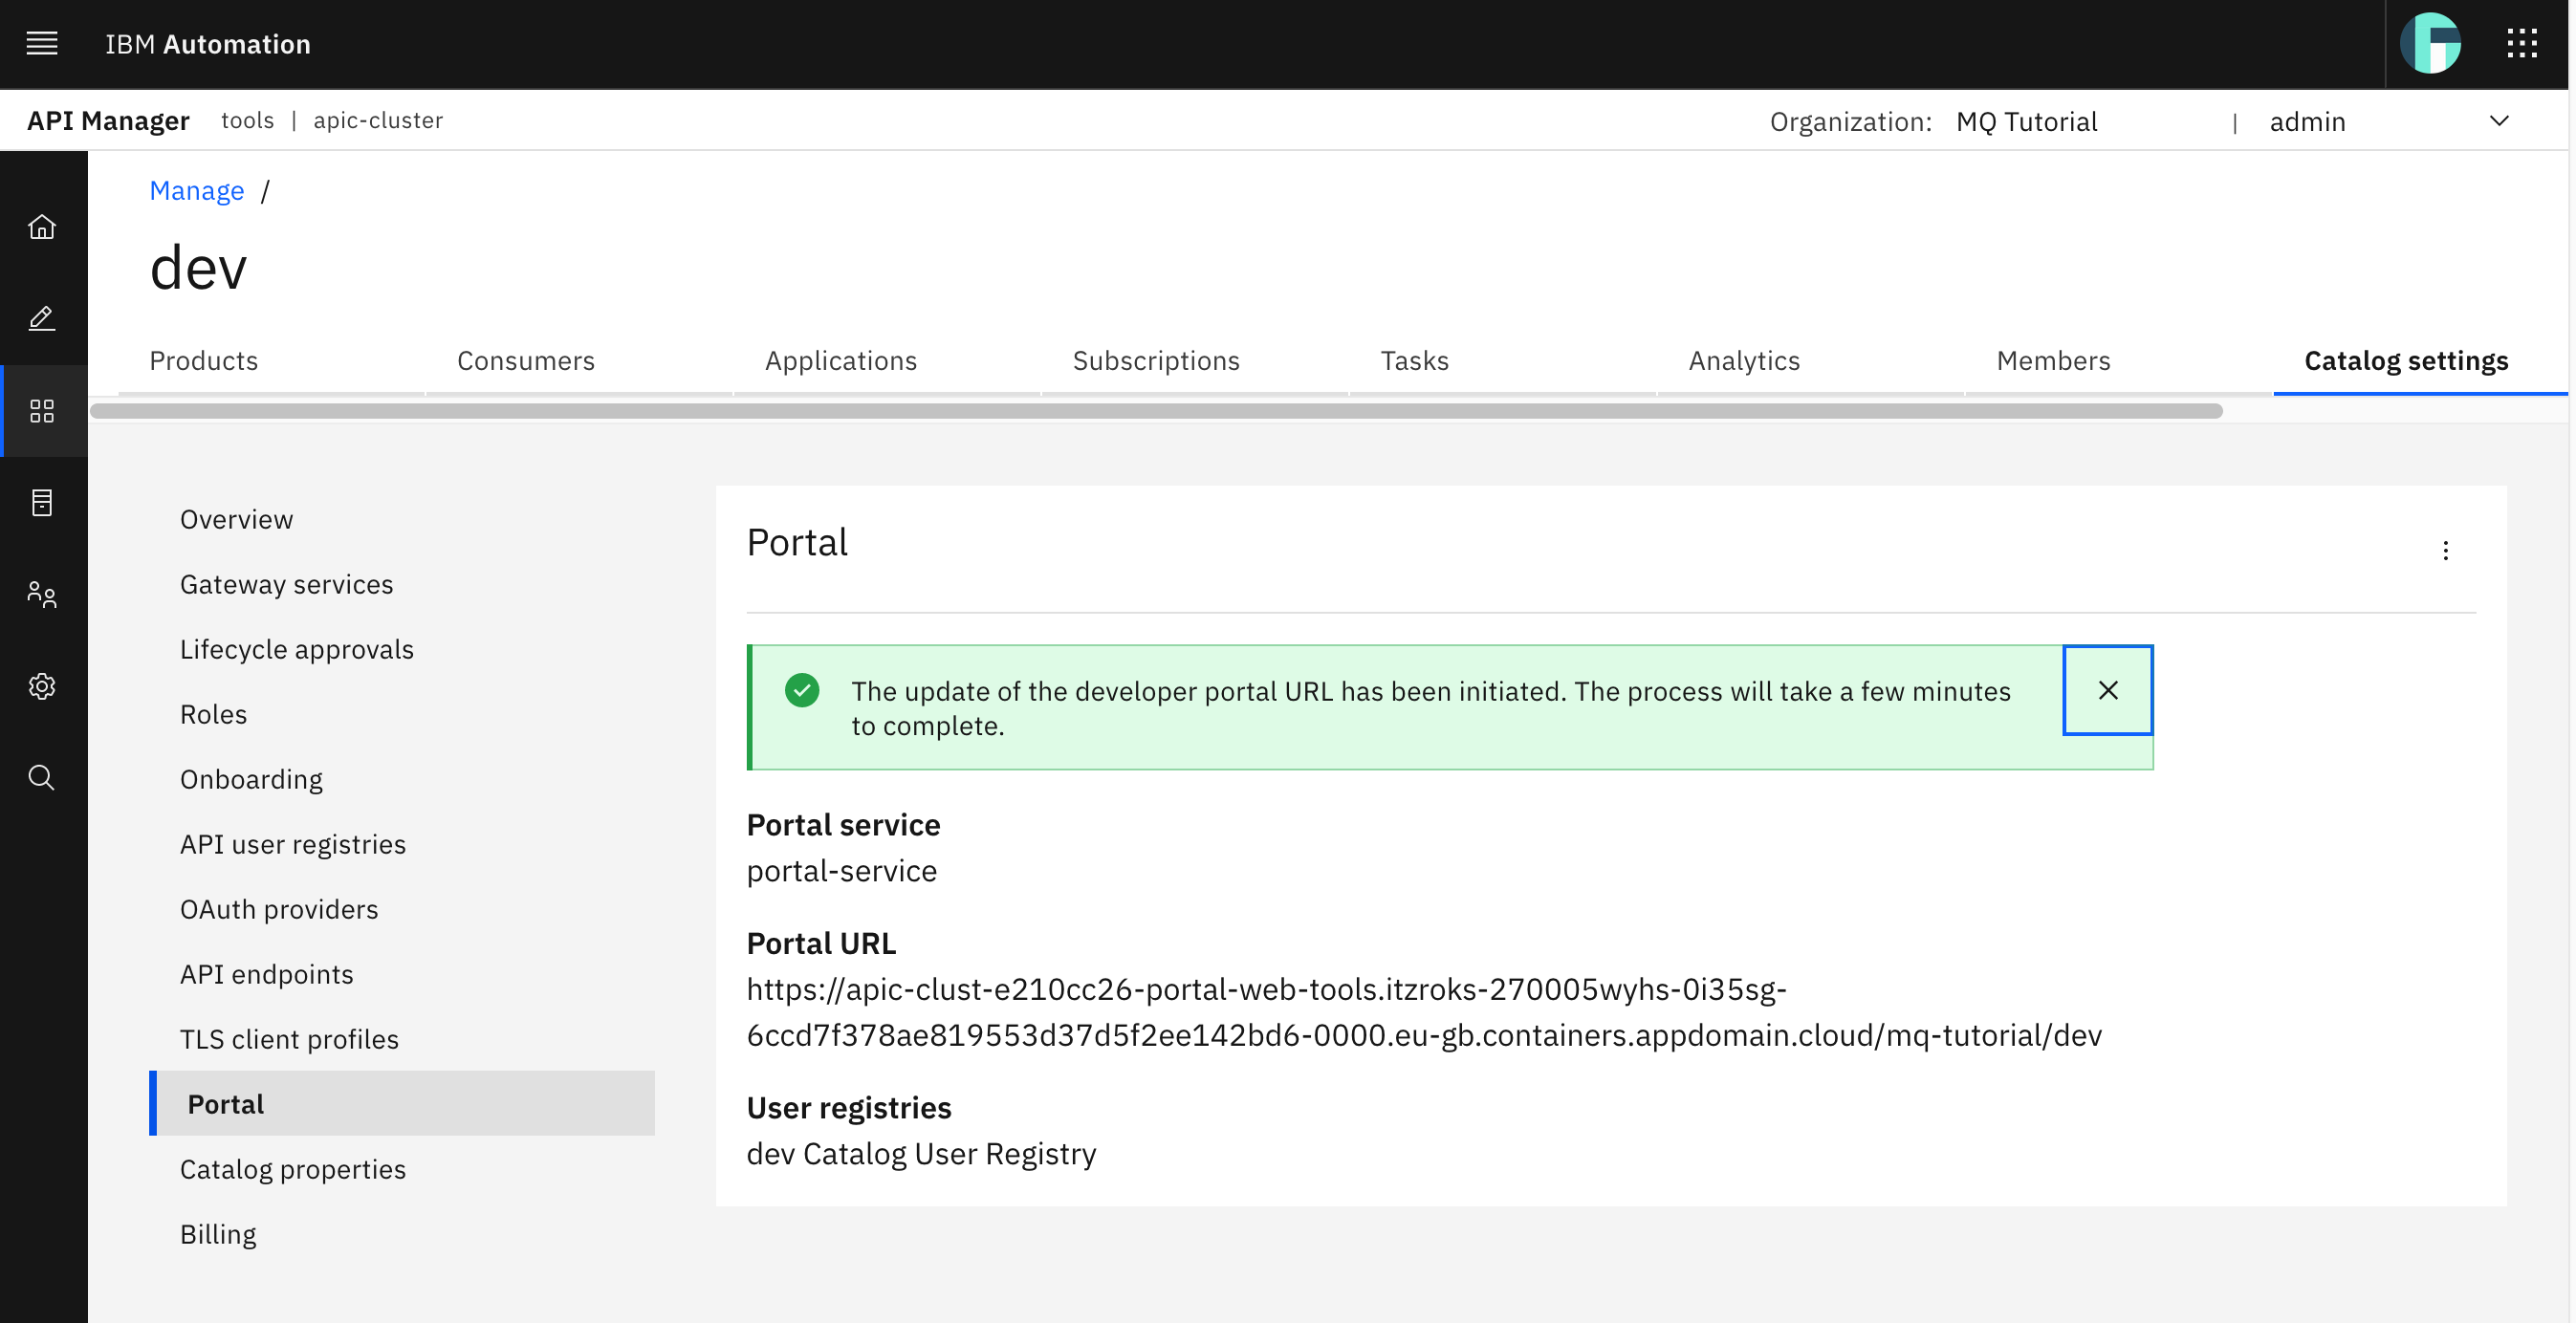
You should see a success message on the top right corner and another message about the Developer Portal being created. Allow 5 mins or so for IBM API Connect to finish creating your new Developer Portal. In the meantime, you can have a look at couple of important properties of your Developer Portal shown on the screen.
Portal URLwill be your Developer Portal URLUser Registrieswill be yet another Local User Registry for yourdevcatalog as explained in the IBM API Connect User Registries section of the Deploy APIC chapter. As a result, thisdev Catalog User Registrywill be in charge of the authentication and authorization to your Developer Portal. You will see later on that, as an Application Developer and therefore an API Consumer, you need to get registered first to use the Developer Portal.
Once your Developer Portal is up and running, you should see a validation email for the IBM API Connect administrator in your Mailtrap inbox (again, this is yet another example of why you need a proper email server for working with IBM API Connect).

Click on the validation link shown in the email and that should open your Developer Portal web console. You should land on the sign in page where you are asked to sign in as admin and reset your password. Click on Sign in
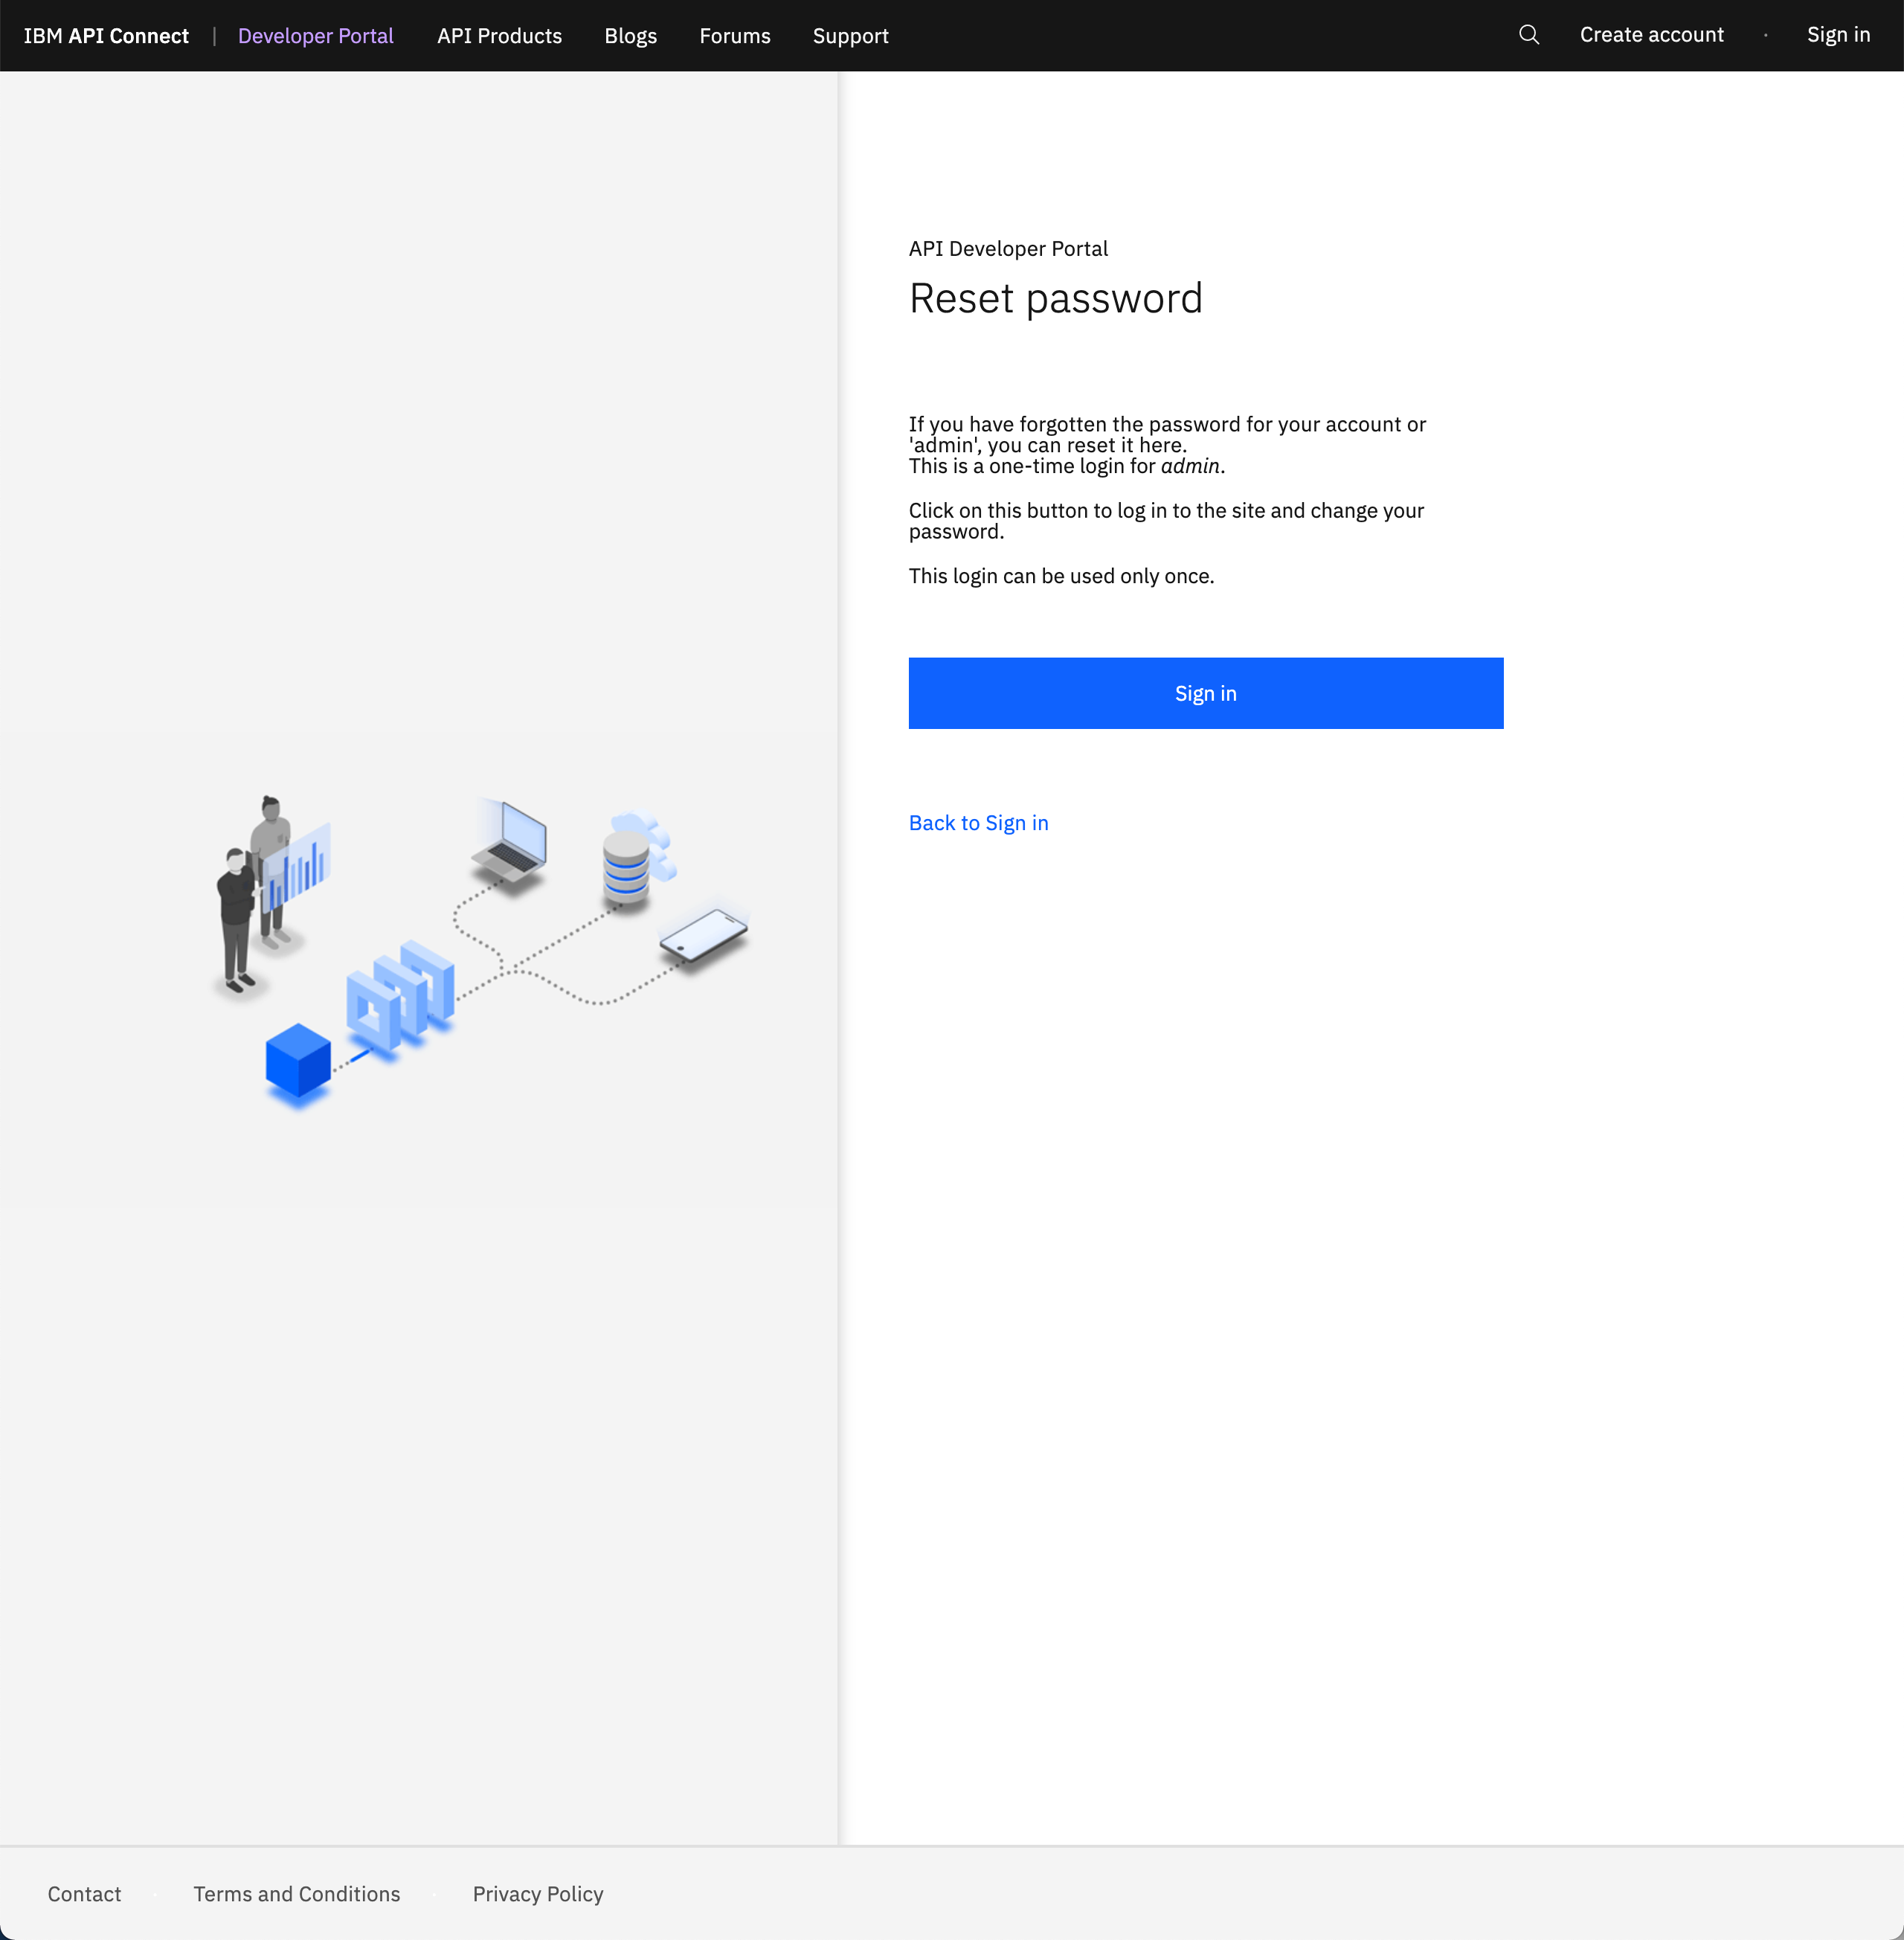
On this page, change your password making sure you comply with the password requisites that will display. Click Submit.

Once you have changed your admin password, you should get redirected to your Developer Portal home page.
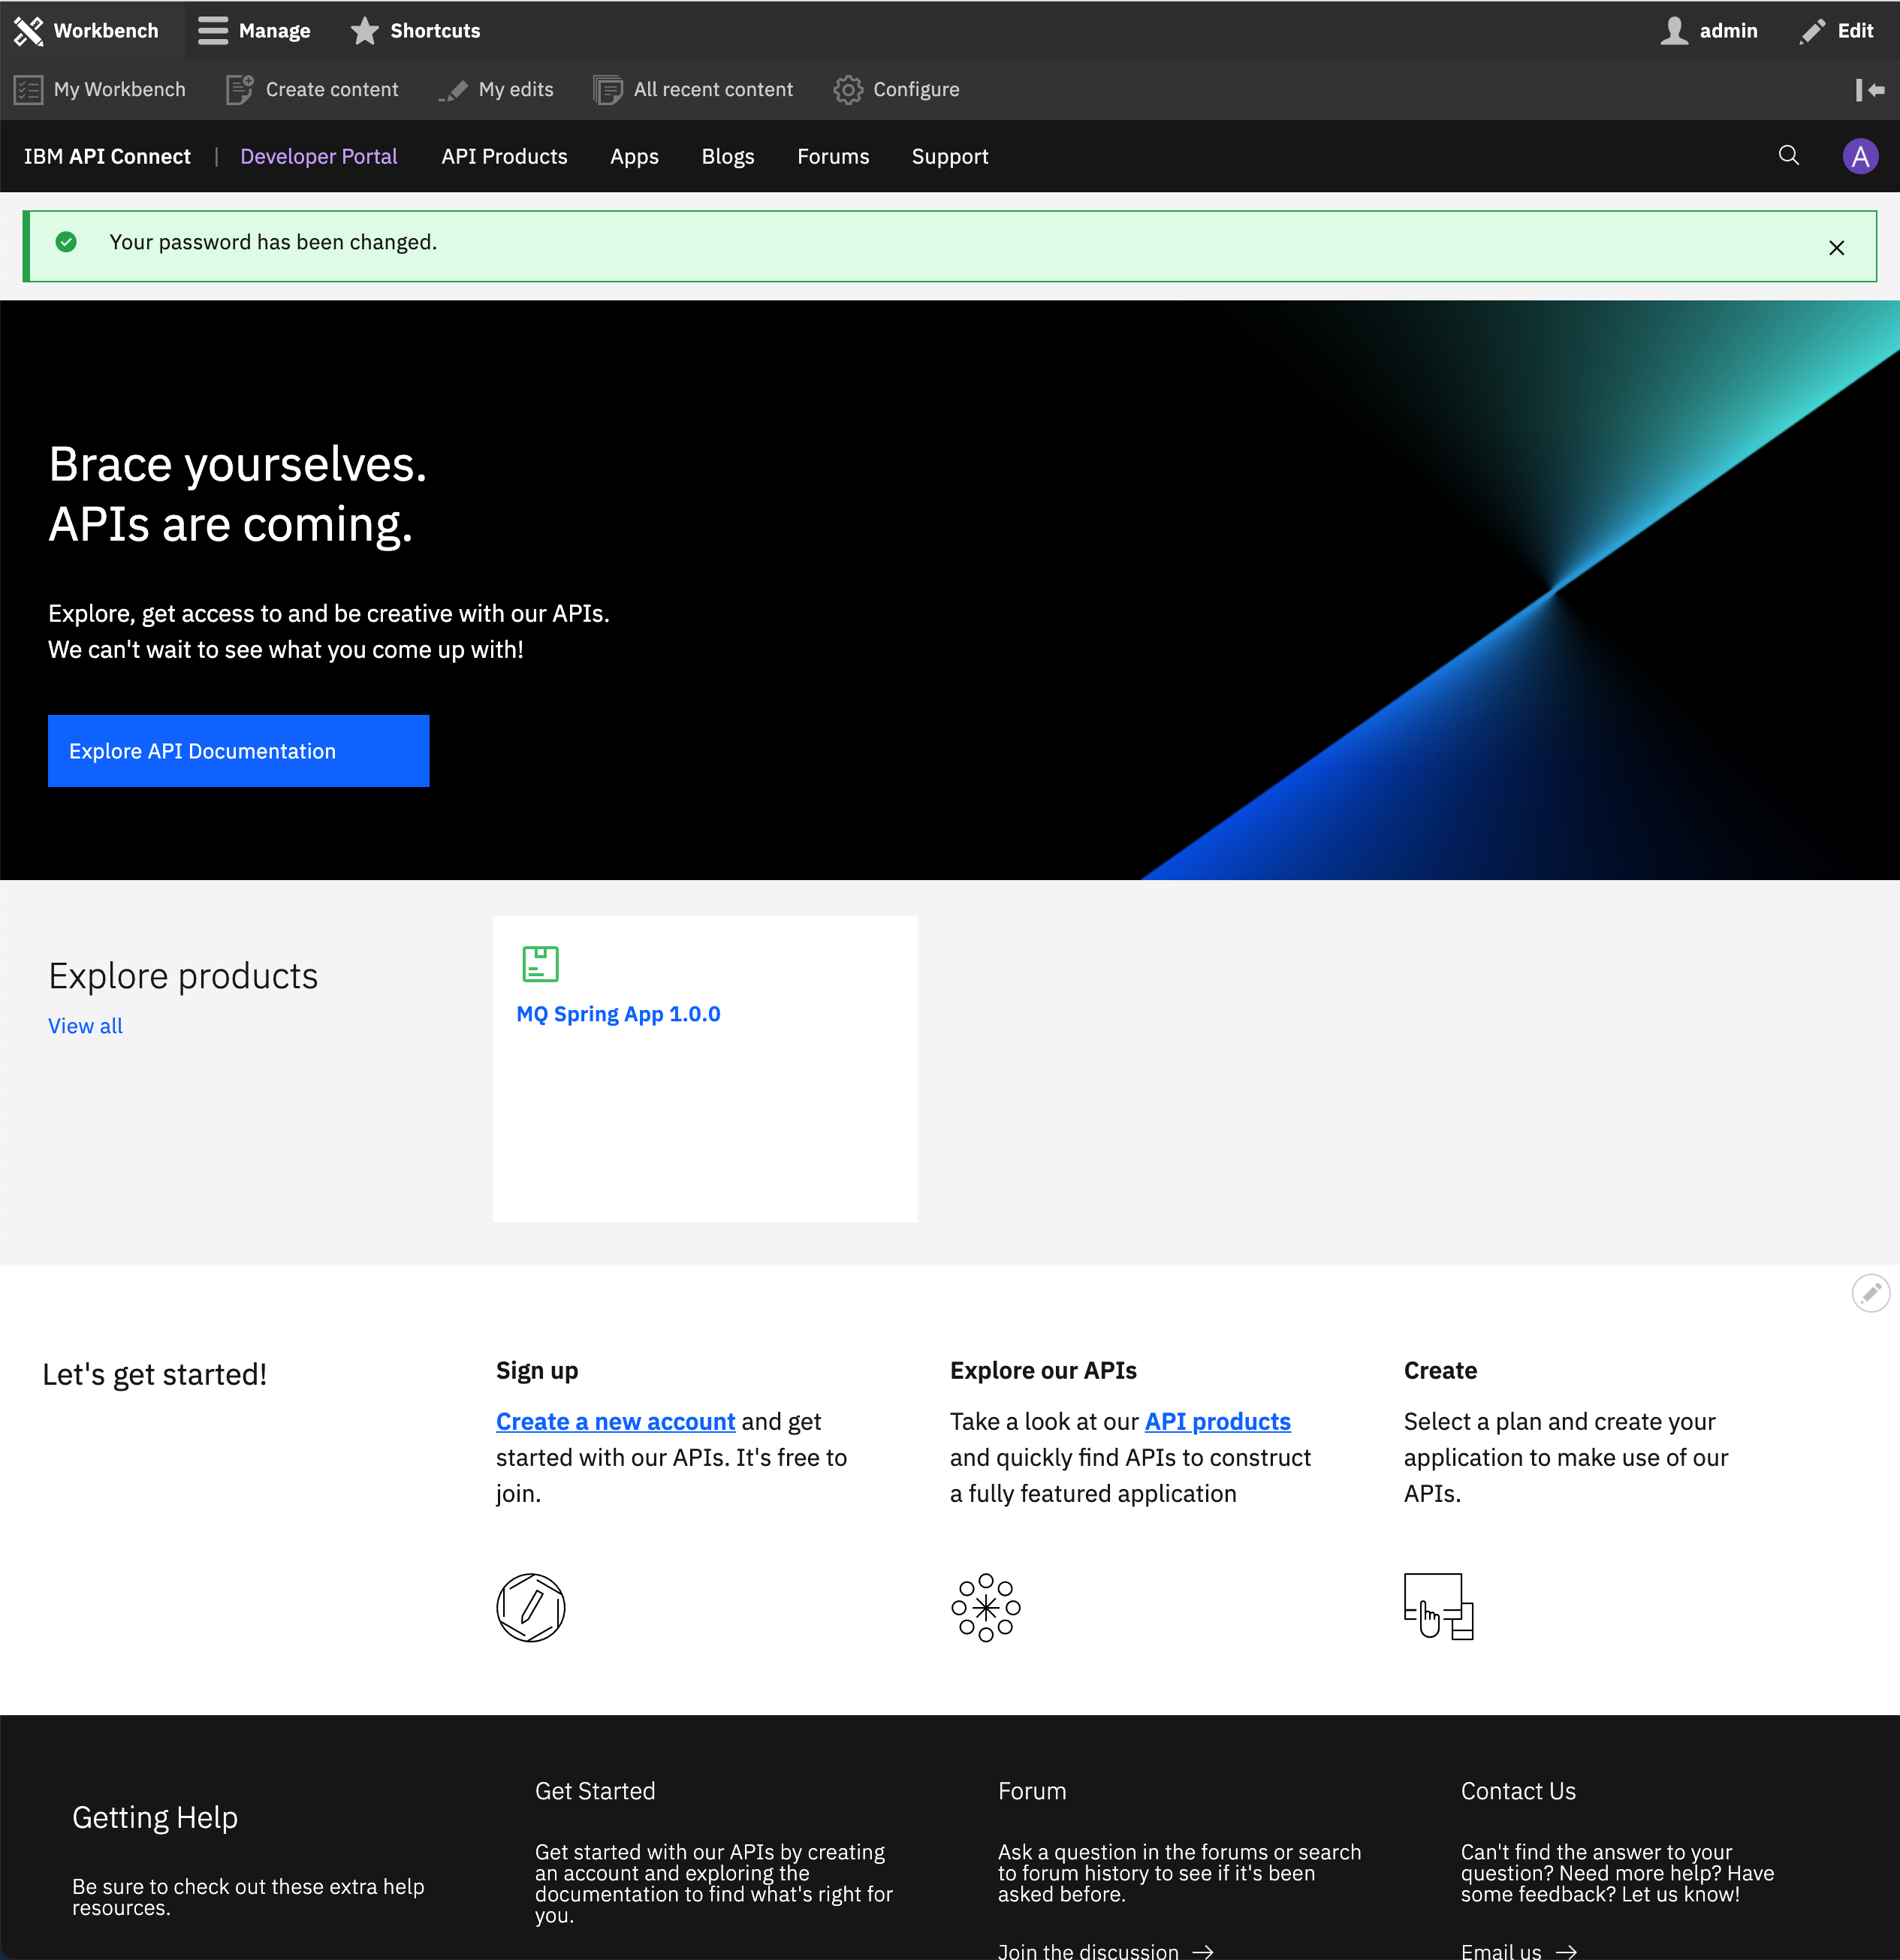
Congratulations!
You have successfully created a Developer Portal for your dev catalog
Customize Developer Portal
Now that you have the Developer Portal for your dev catalog up and running, let's do a small customization to it so that it better reflects what this Developer Portal is for. There is a lot of customization that, as an admin, you can apply to your Developer Portals so that it gets a more corporative look. However, looking in detail at all the customization available for your Developer Portal is out of the scope of this tutorial. For more information on all those customization, see the official documentation here. Remember that, as it was stated in the validation email you saw in the previous section, the admin user is a special system user and cannot be used as an API Consumer.
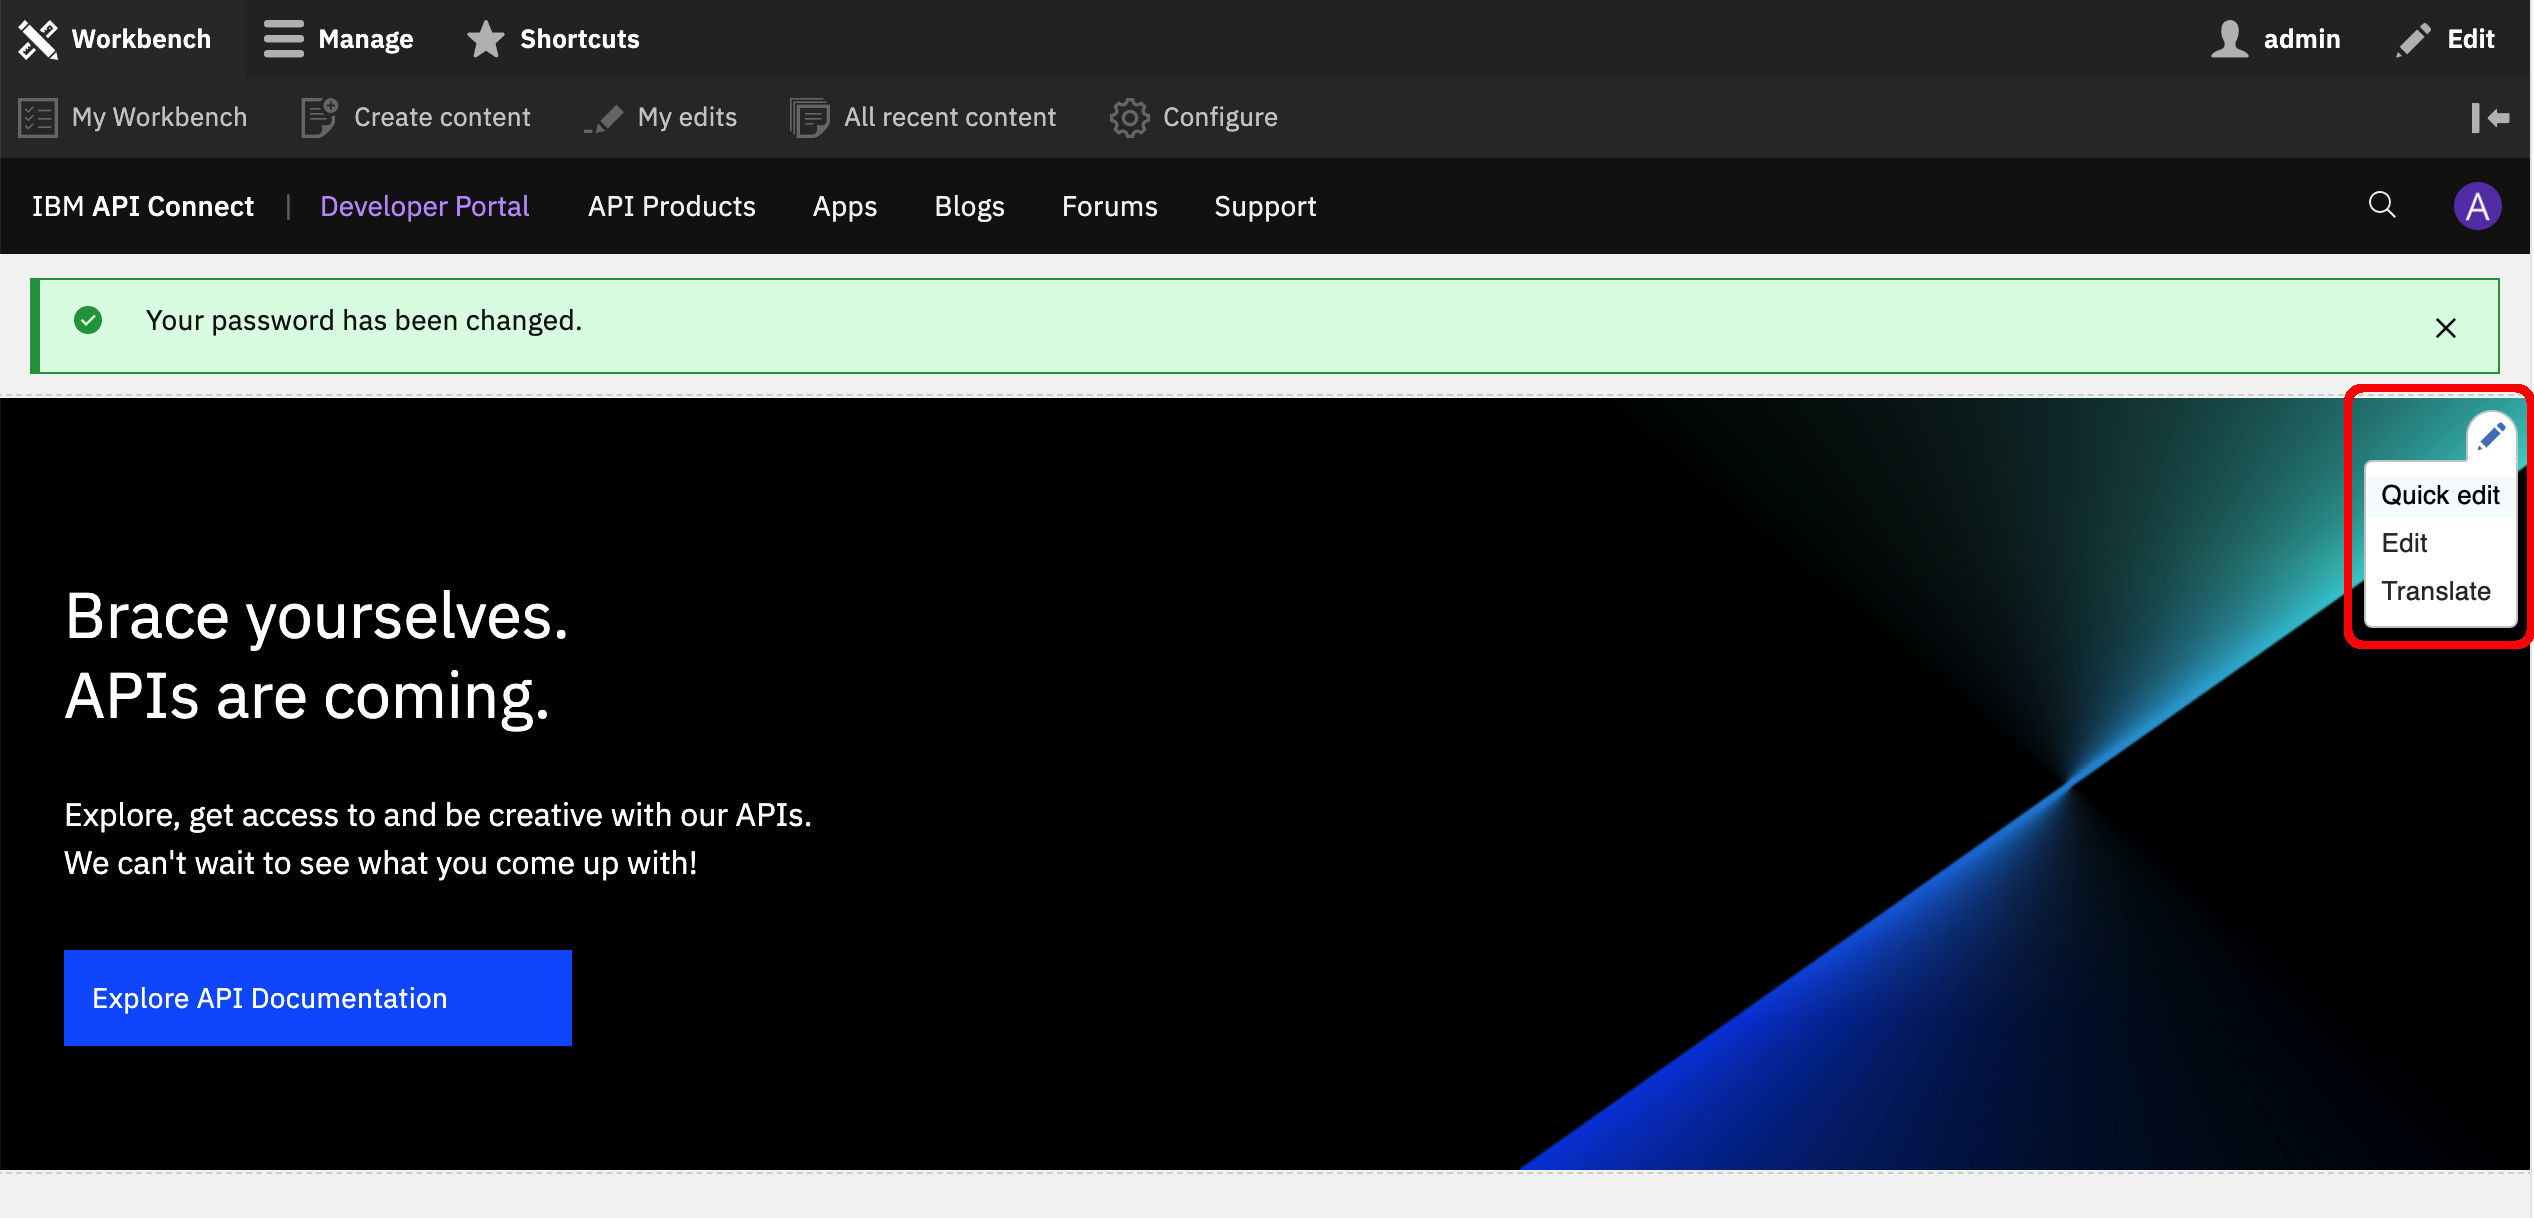
Let's have a look at how you can quickly change the text of the main banner of your Developer Portal so that is provides a much better definition of what this Developer Portal is for. Hover over the main banner with your mouse and a pencil icon should appear on the top right corner of it. Click on the pencil and a drop down menu will display. Click on Quick edit.
Click on the text in the banner and change it for something more meaningful such as the catalog this Developer Portal is associated to. That is, the dev catalog.
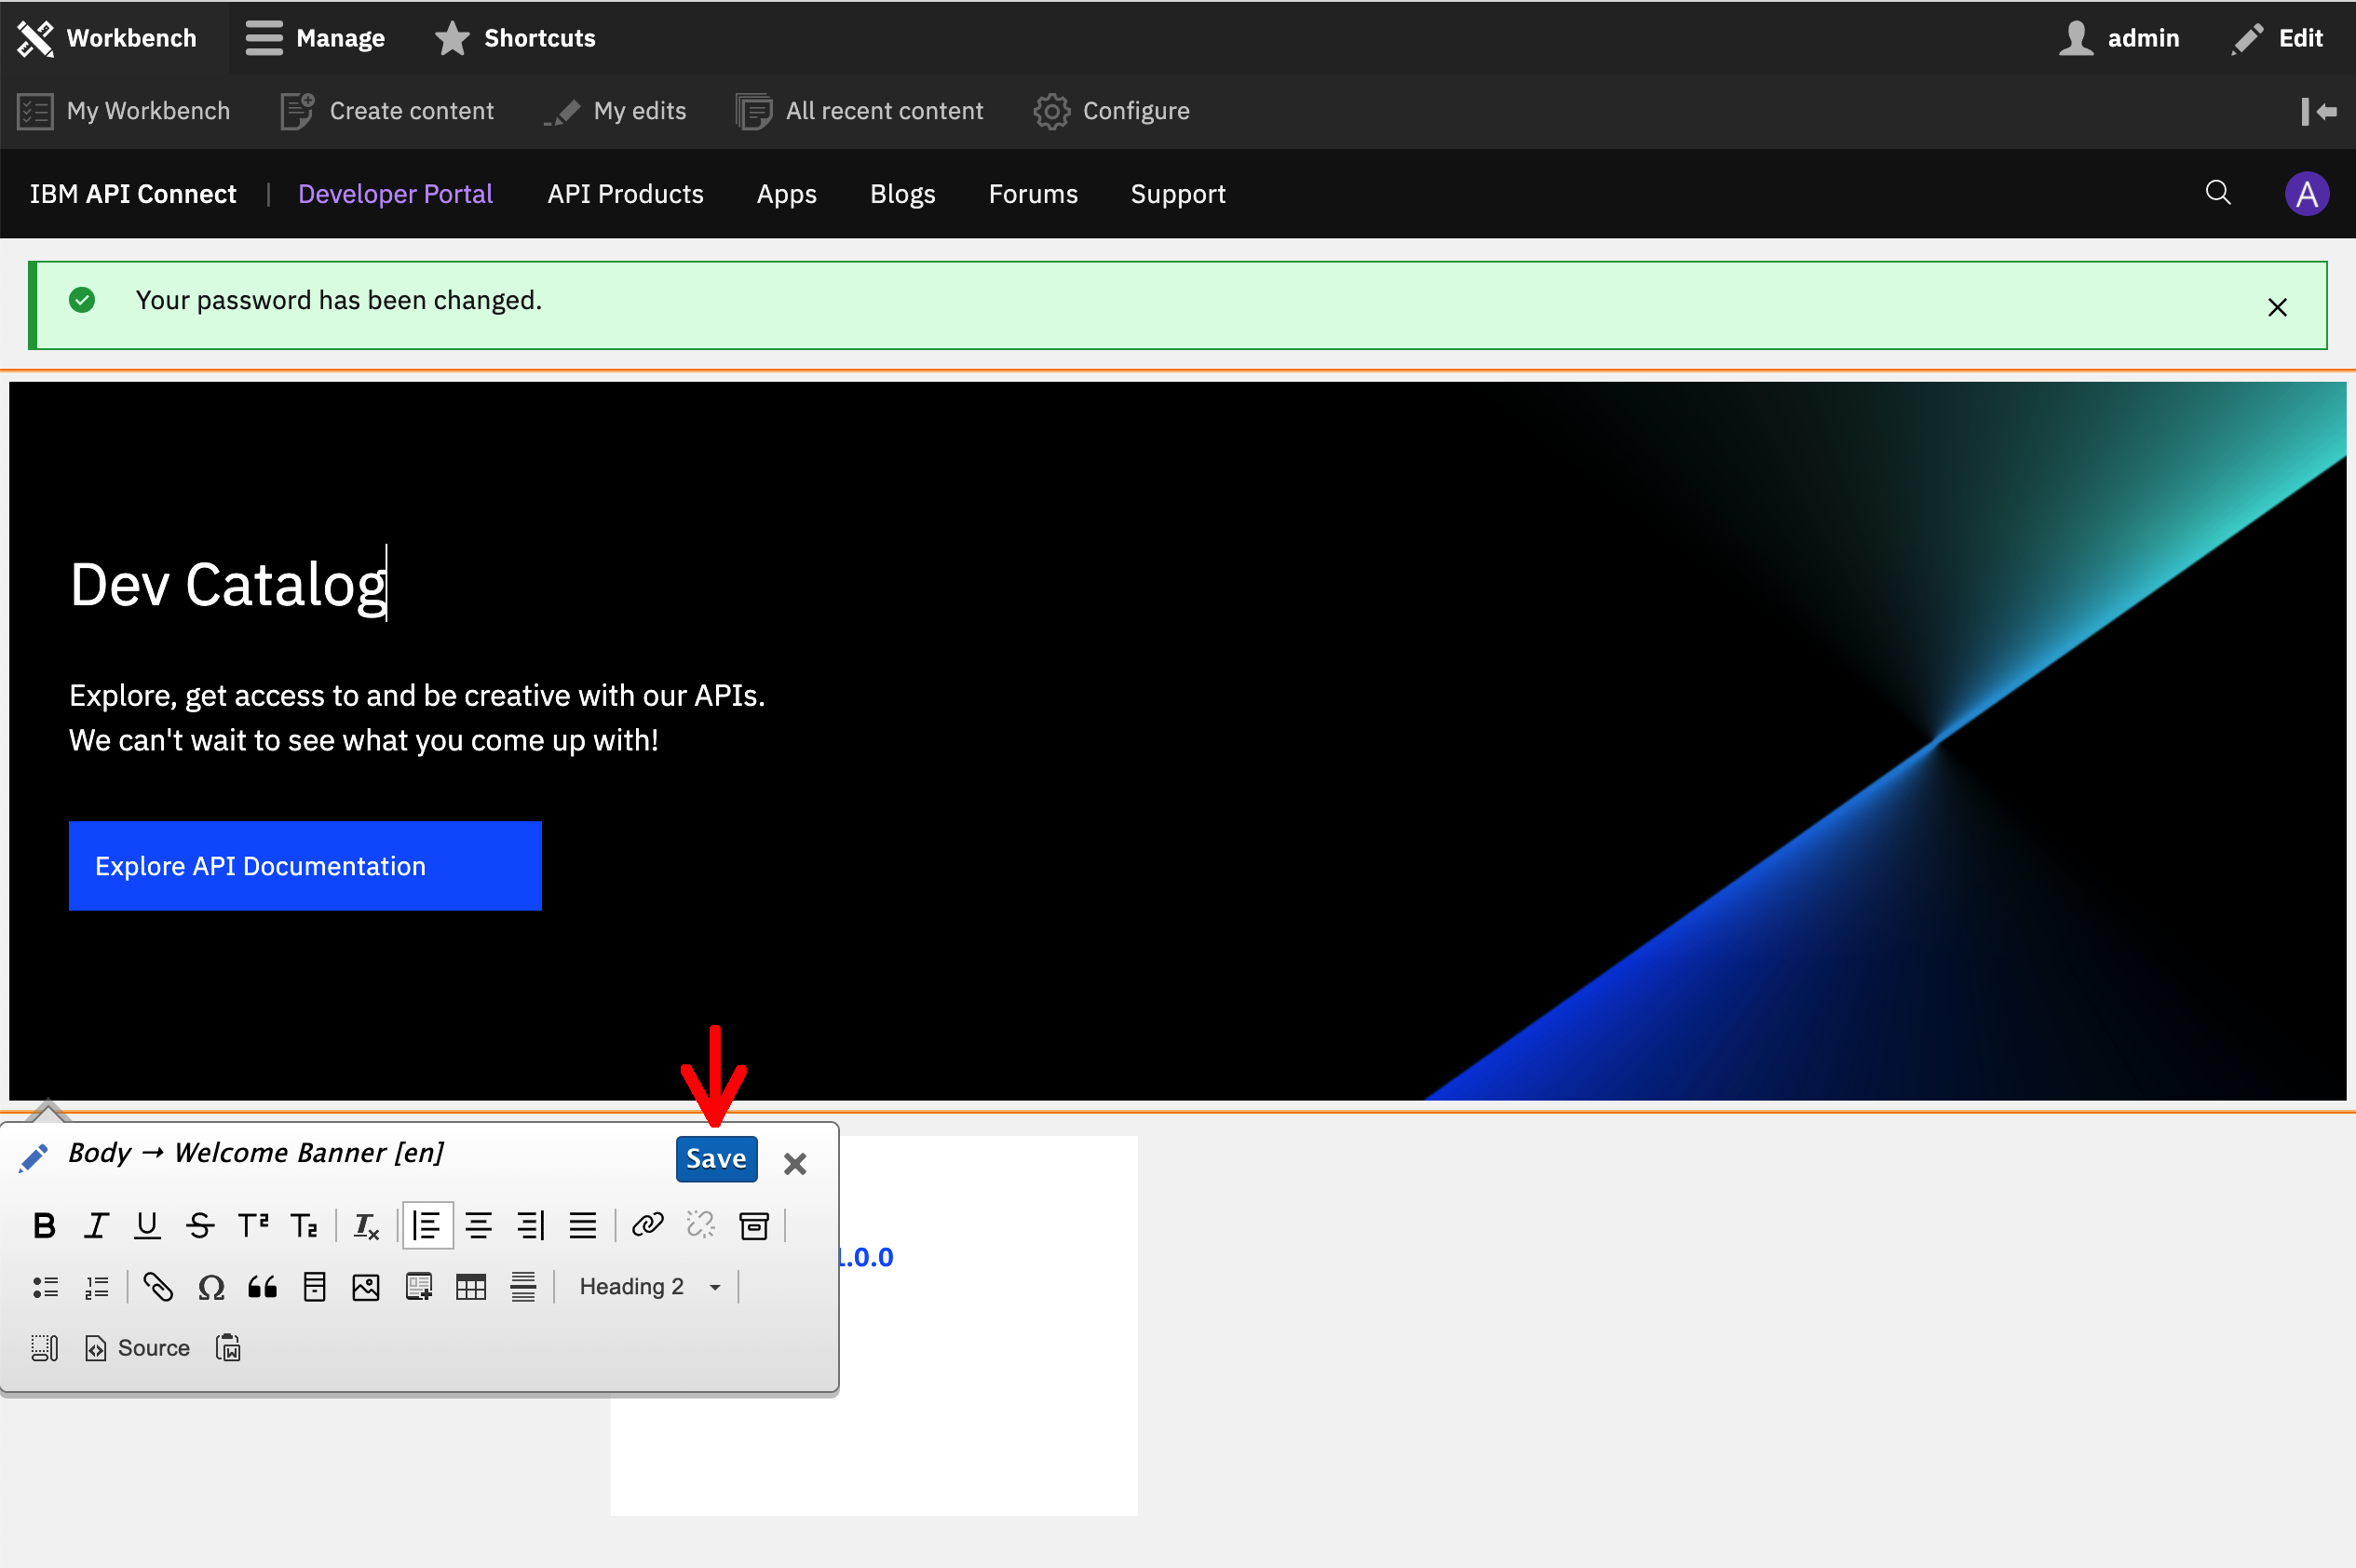
Click Save. The portal should now display your new title.
Create Developer Portal User
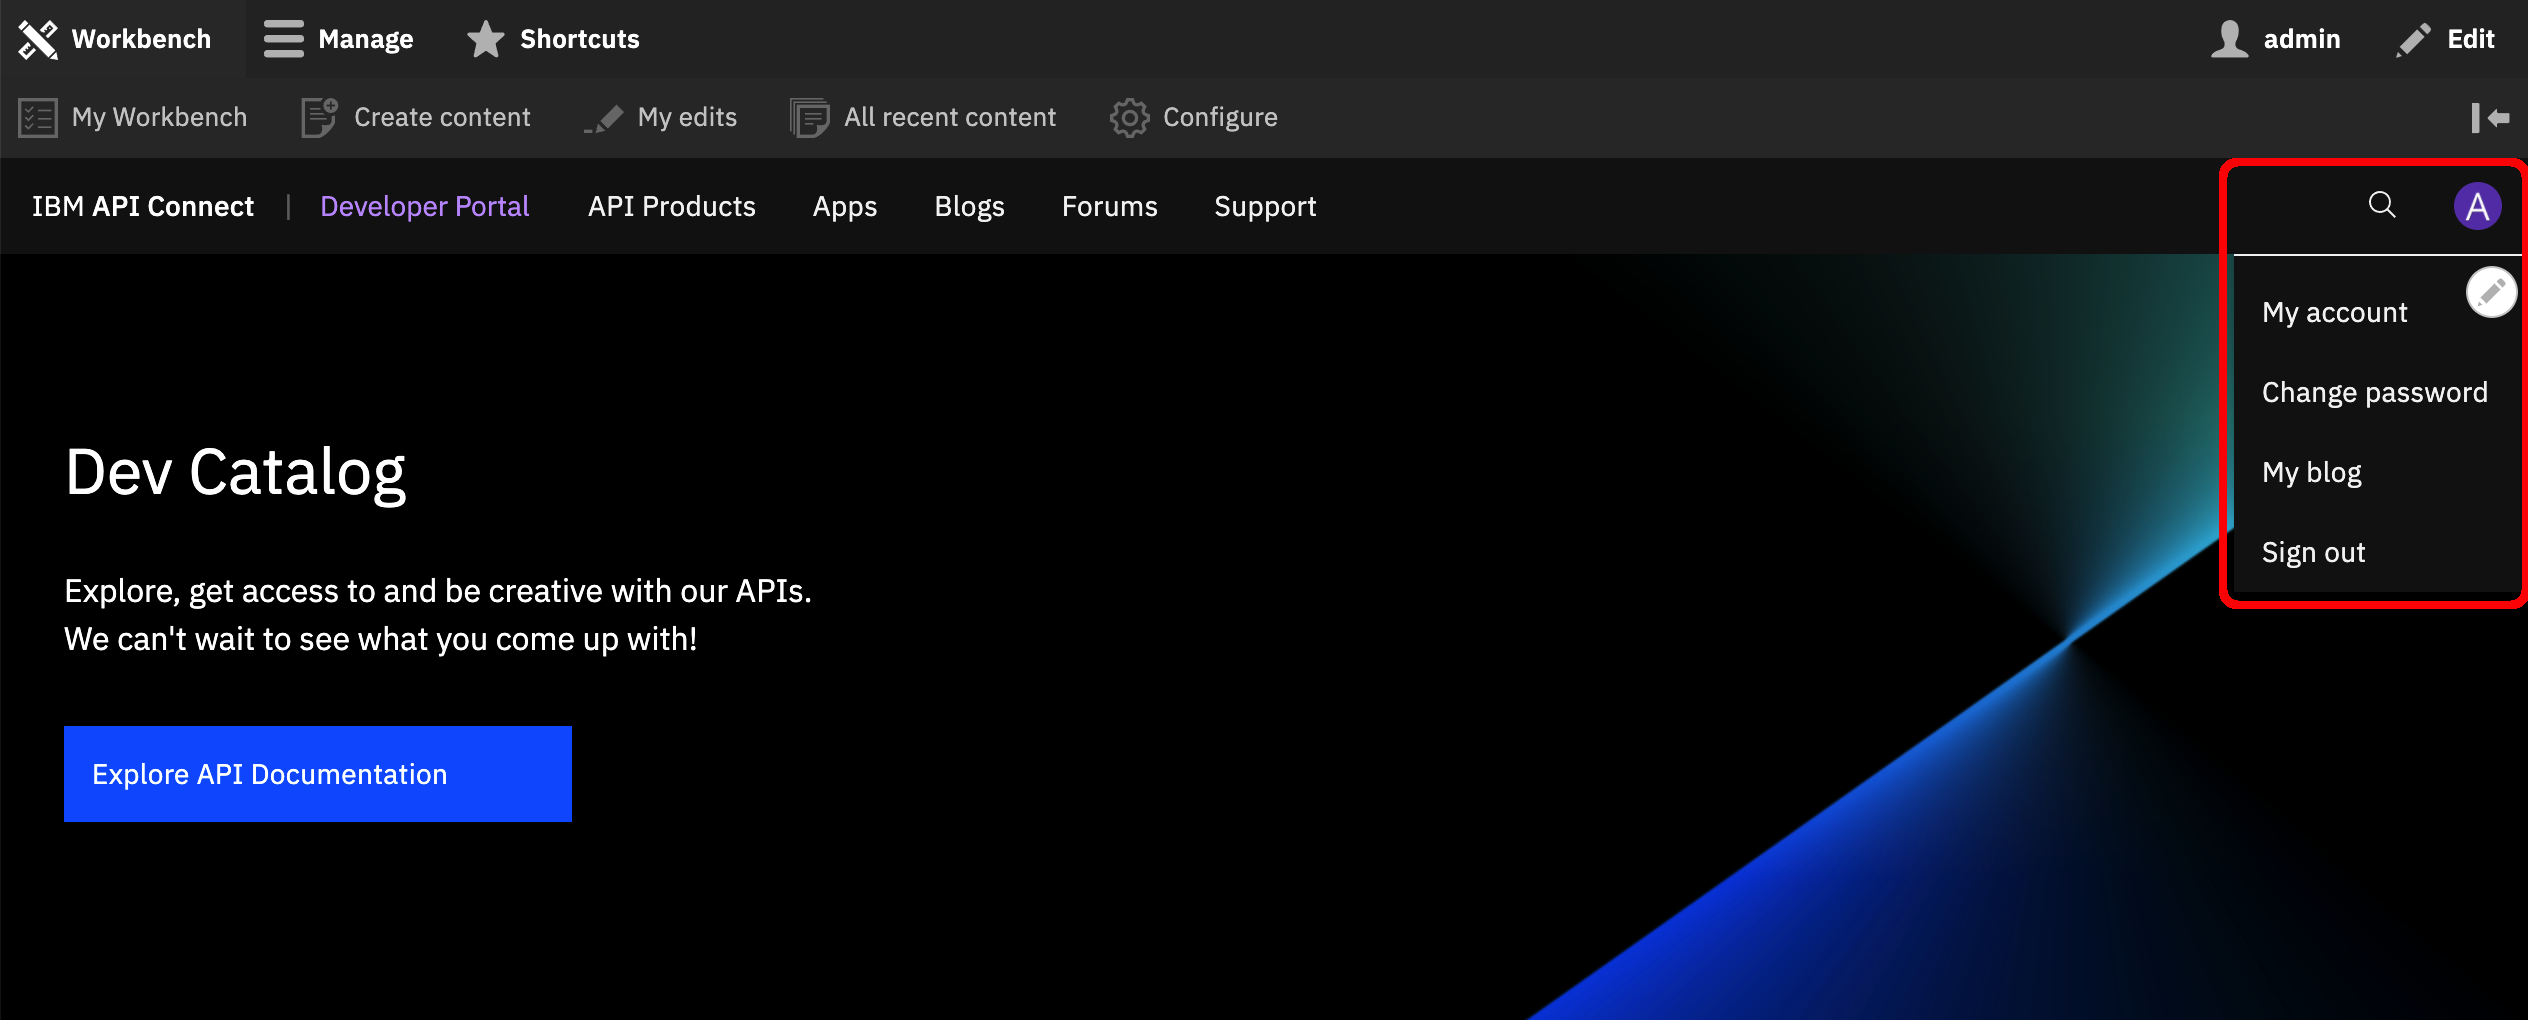
Now that you have done a little customization to your Developer Portal so that it provides better information at a glance, lets create a developer user account so that you can start consuming your Spring MQ Application APIs from this Developer Portal. Click on your avatar on the top right corner and click on Sign Out.
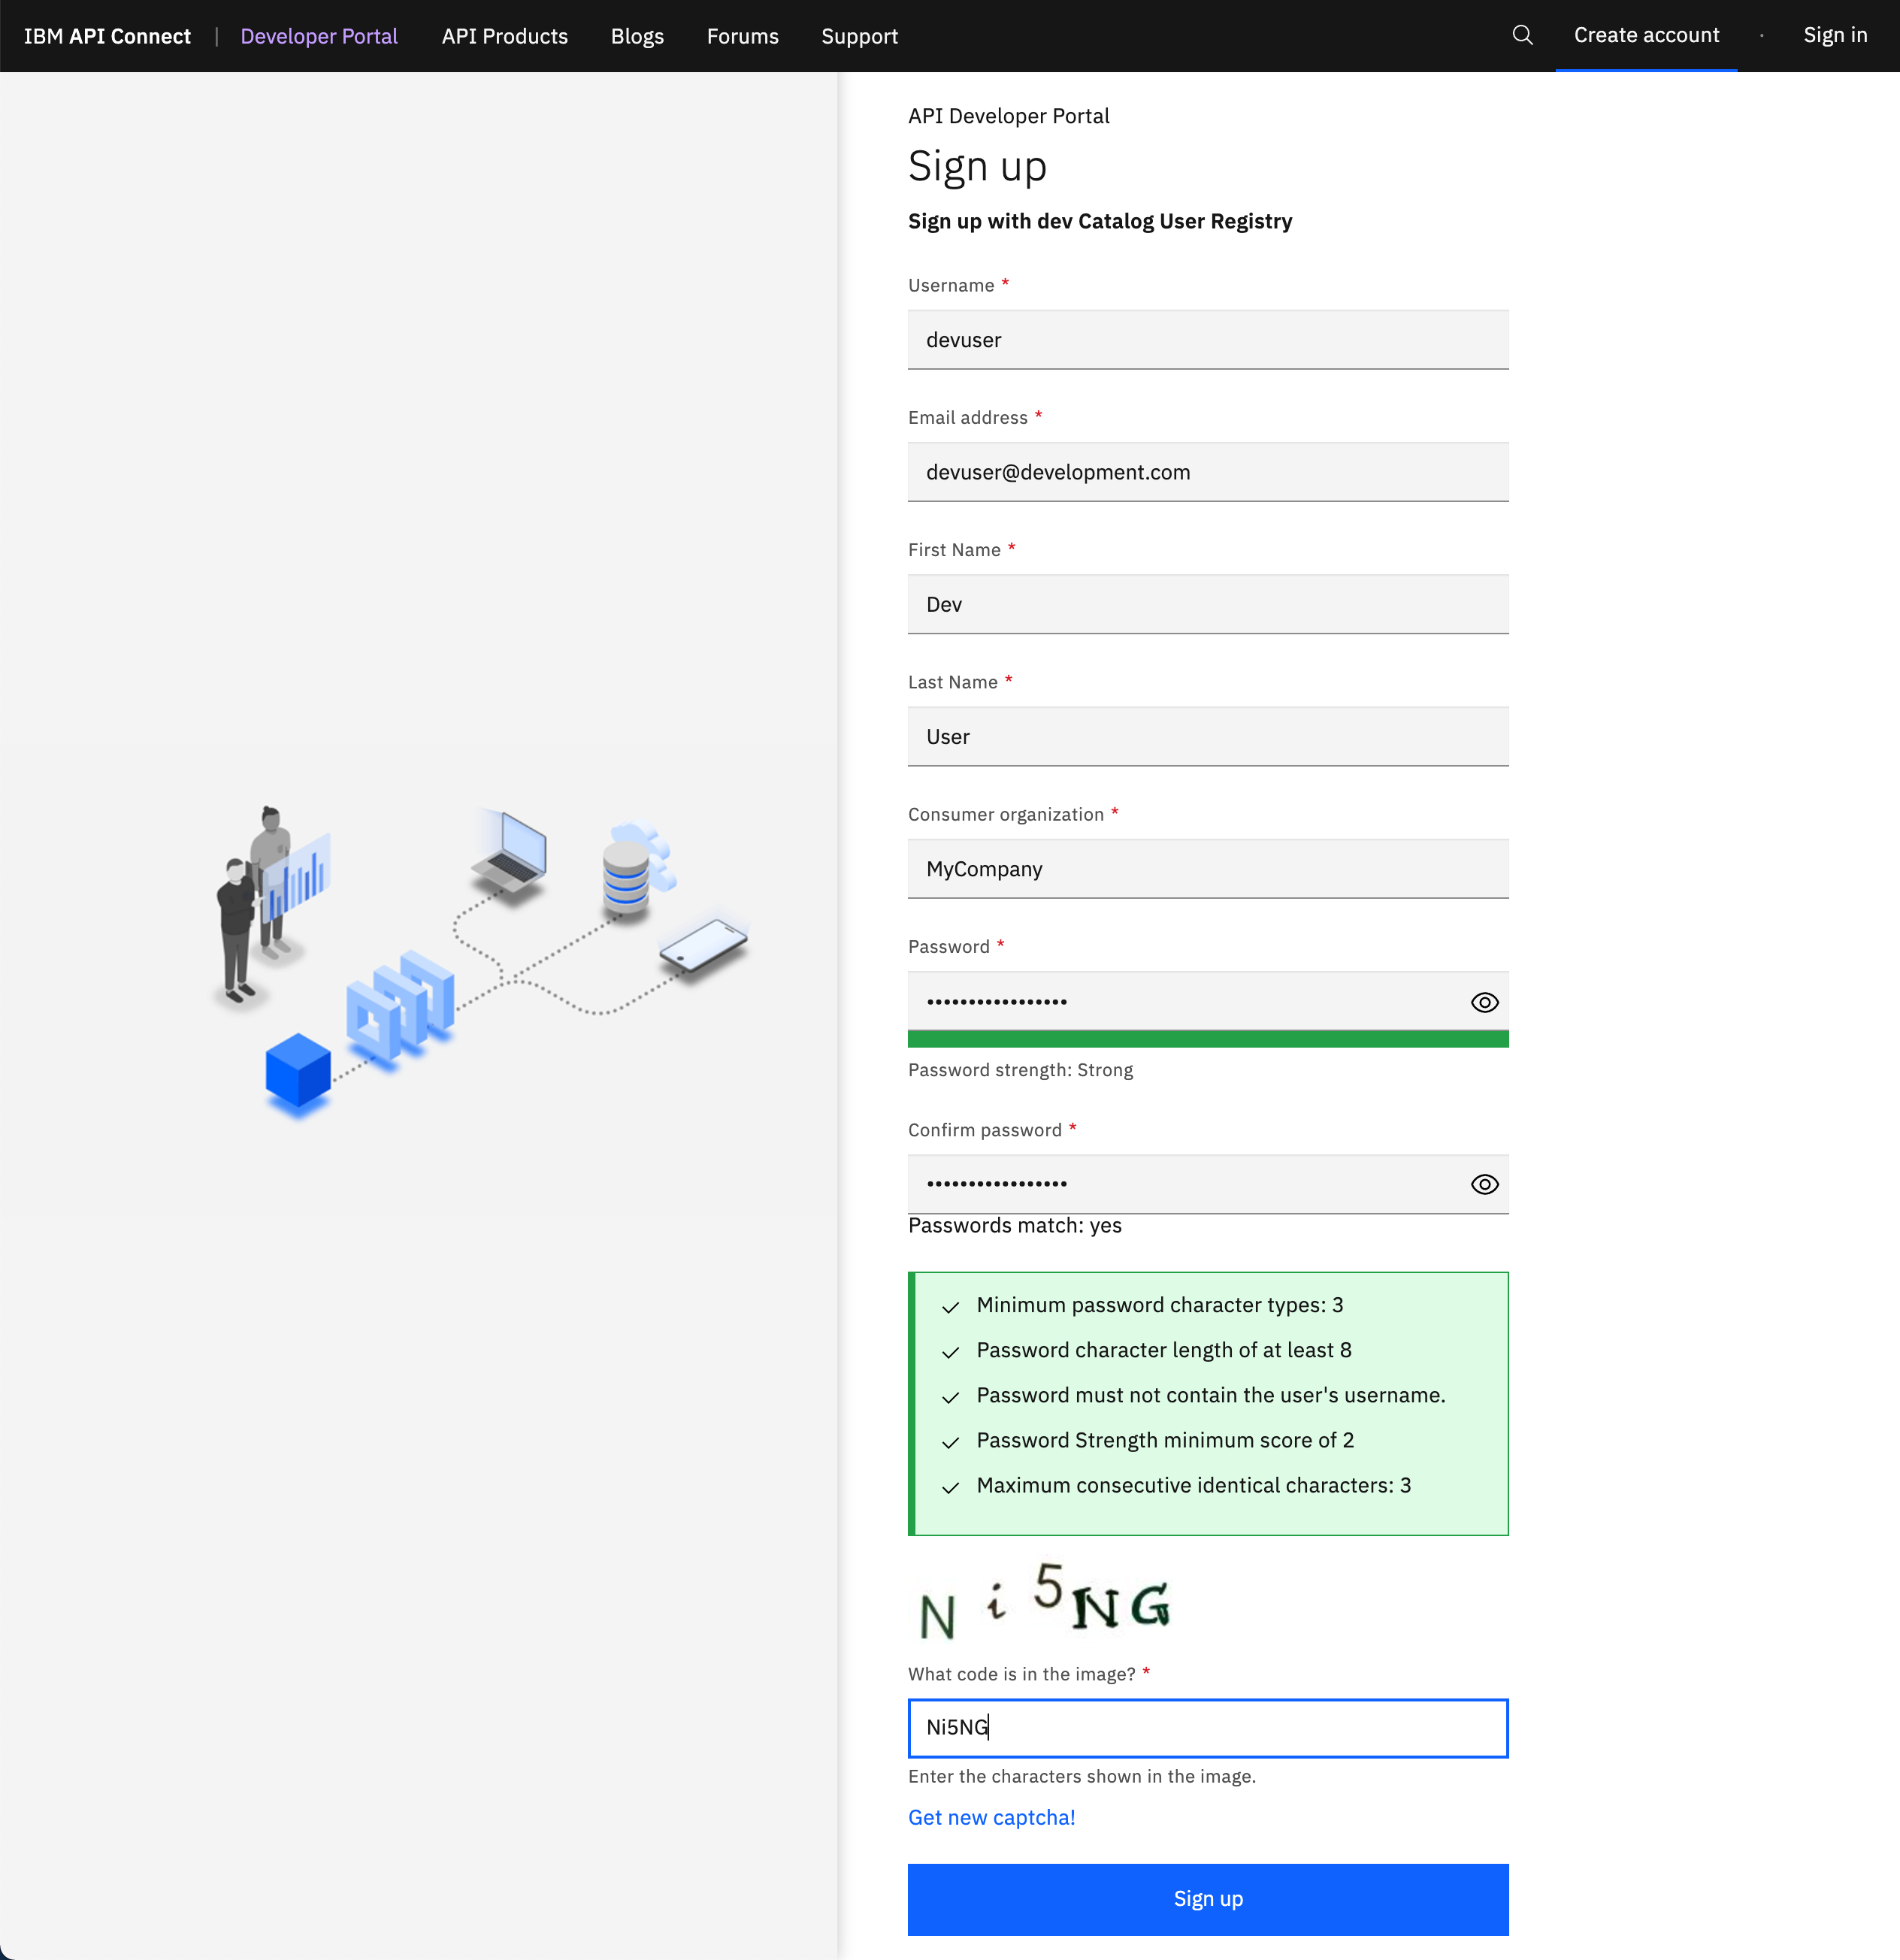
From the main Developer Portal welcome page, click on Create account on the right of the menu bar at the top of the screen. Then, fill in the form in order to create a new user. There is no need to provide real information at all as you can see in the picture below. Once you have filled in the form (do not forget the username and password) click on Sign up.
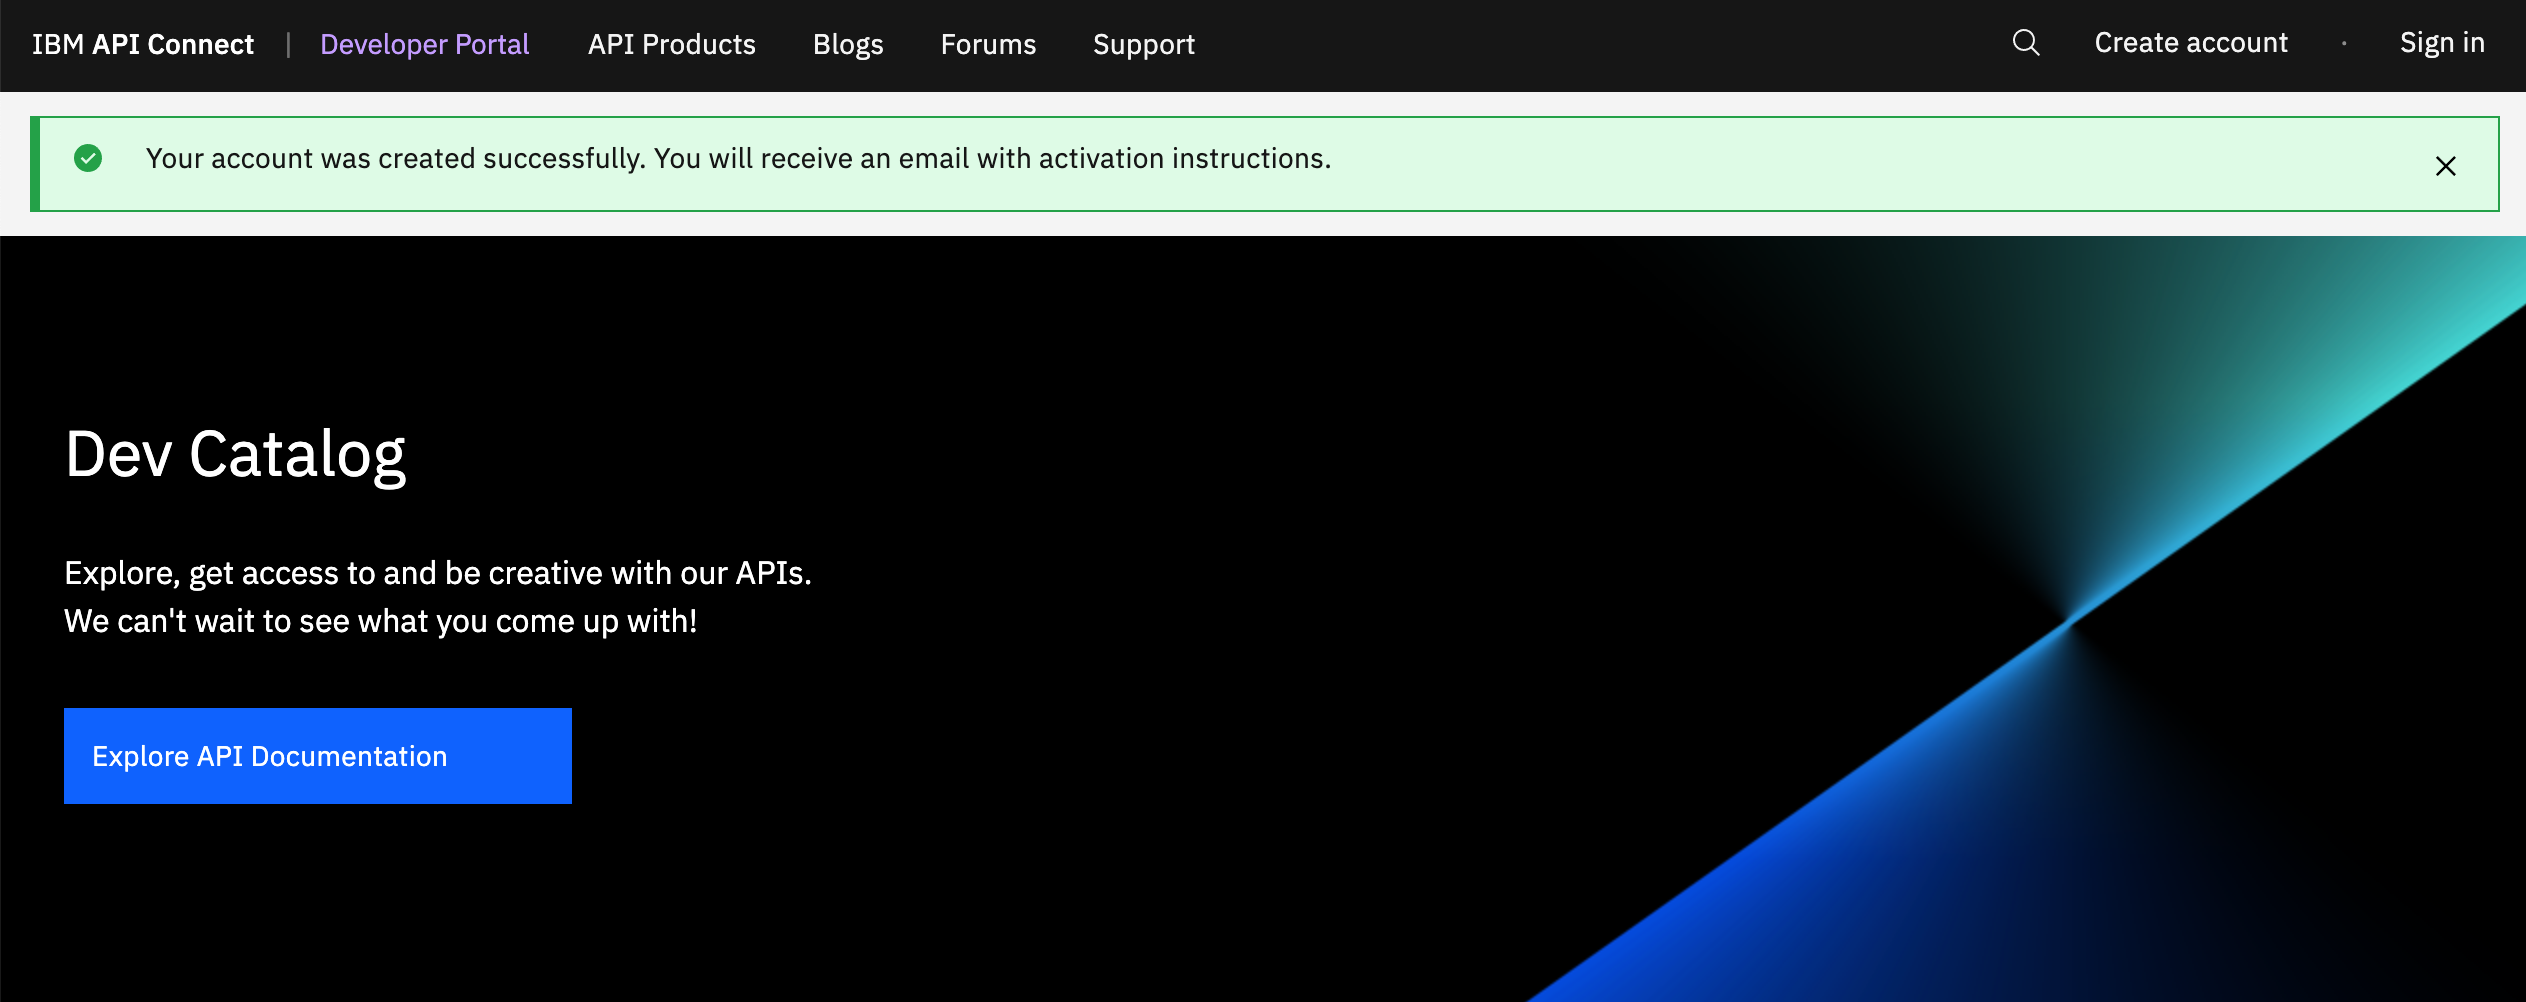
You should see a banner with a message that the user account has been successfully created and that you should receive an email with instructions as to how to go on from here.
If you check your Mailtrap inbox again, you should have received another email with yet another kind of validation link again in it.

Use that validation link to complete the registration of your developer user account. The link should get you to your Developer Portal welcome page with a message at the top indicating that your developer user account has been successfully activated. You can now sign in.
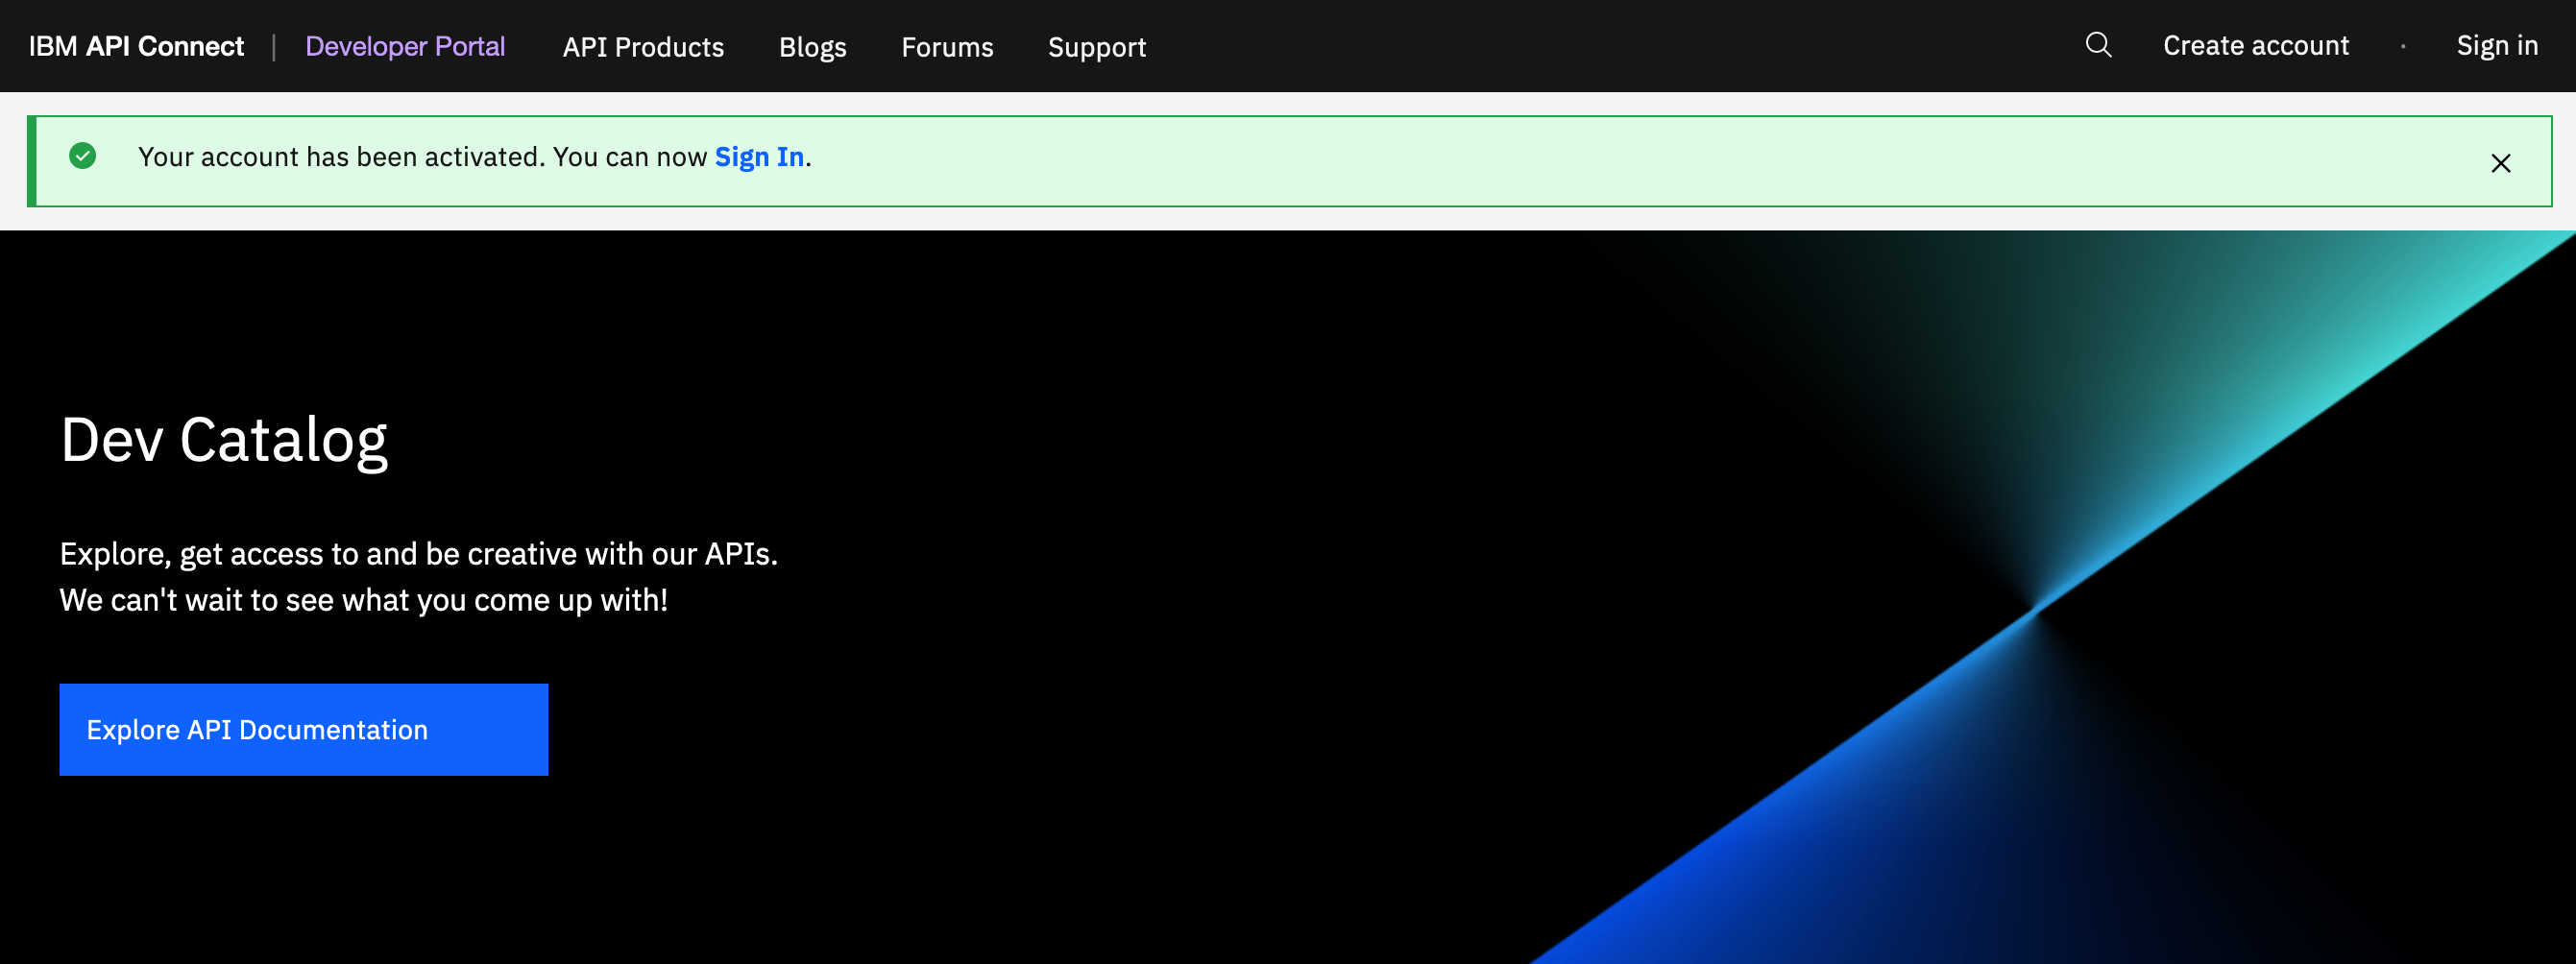
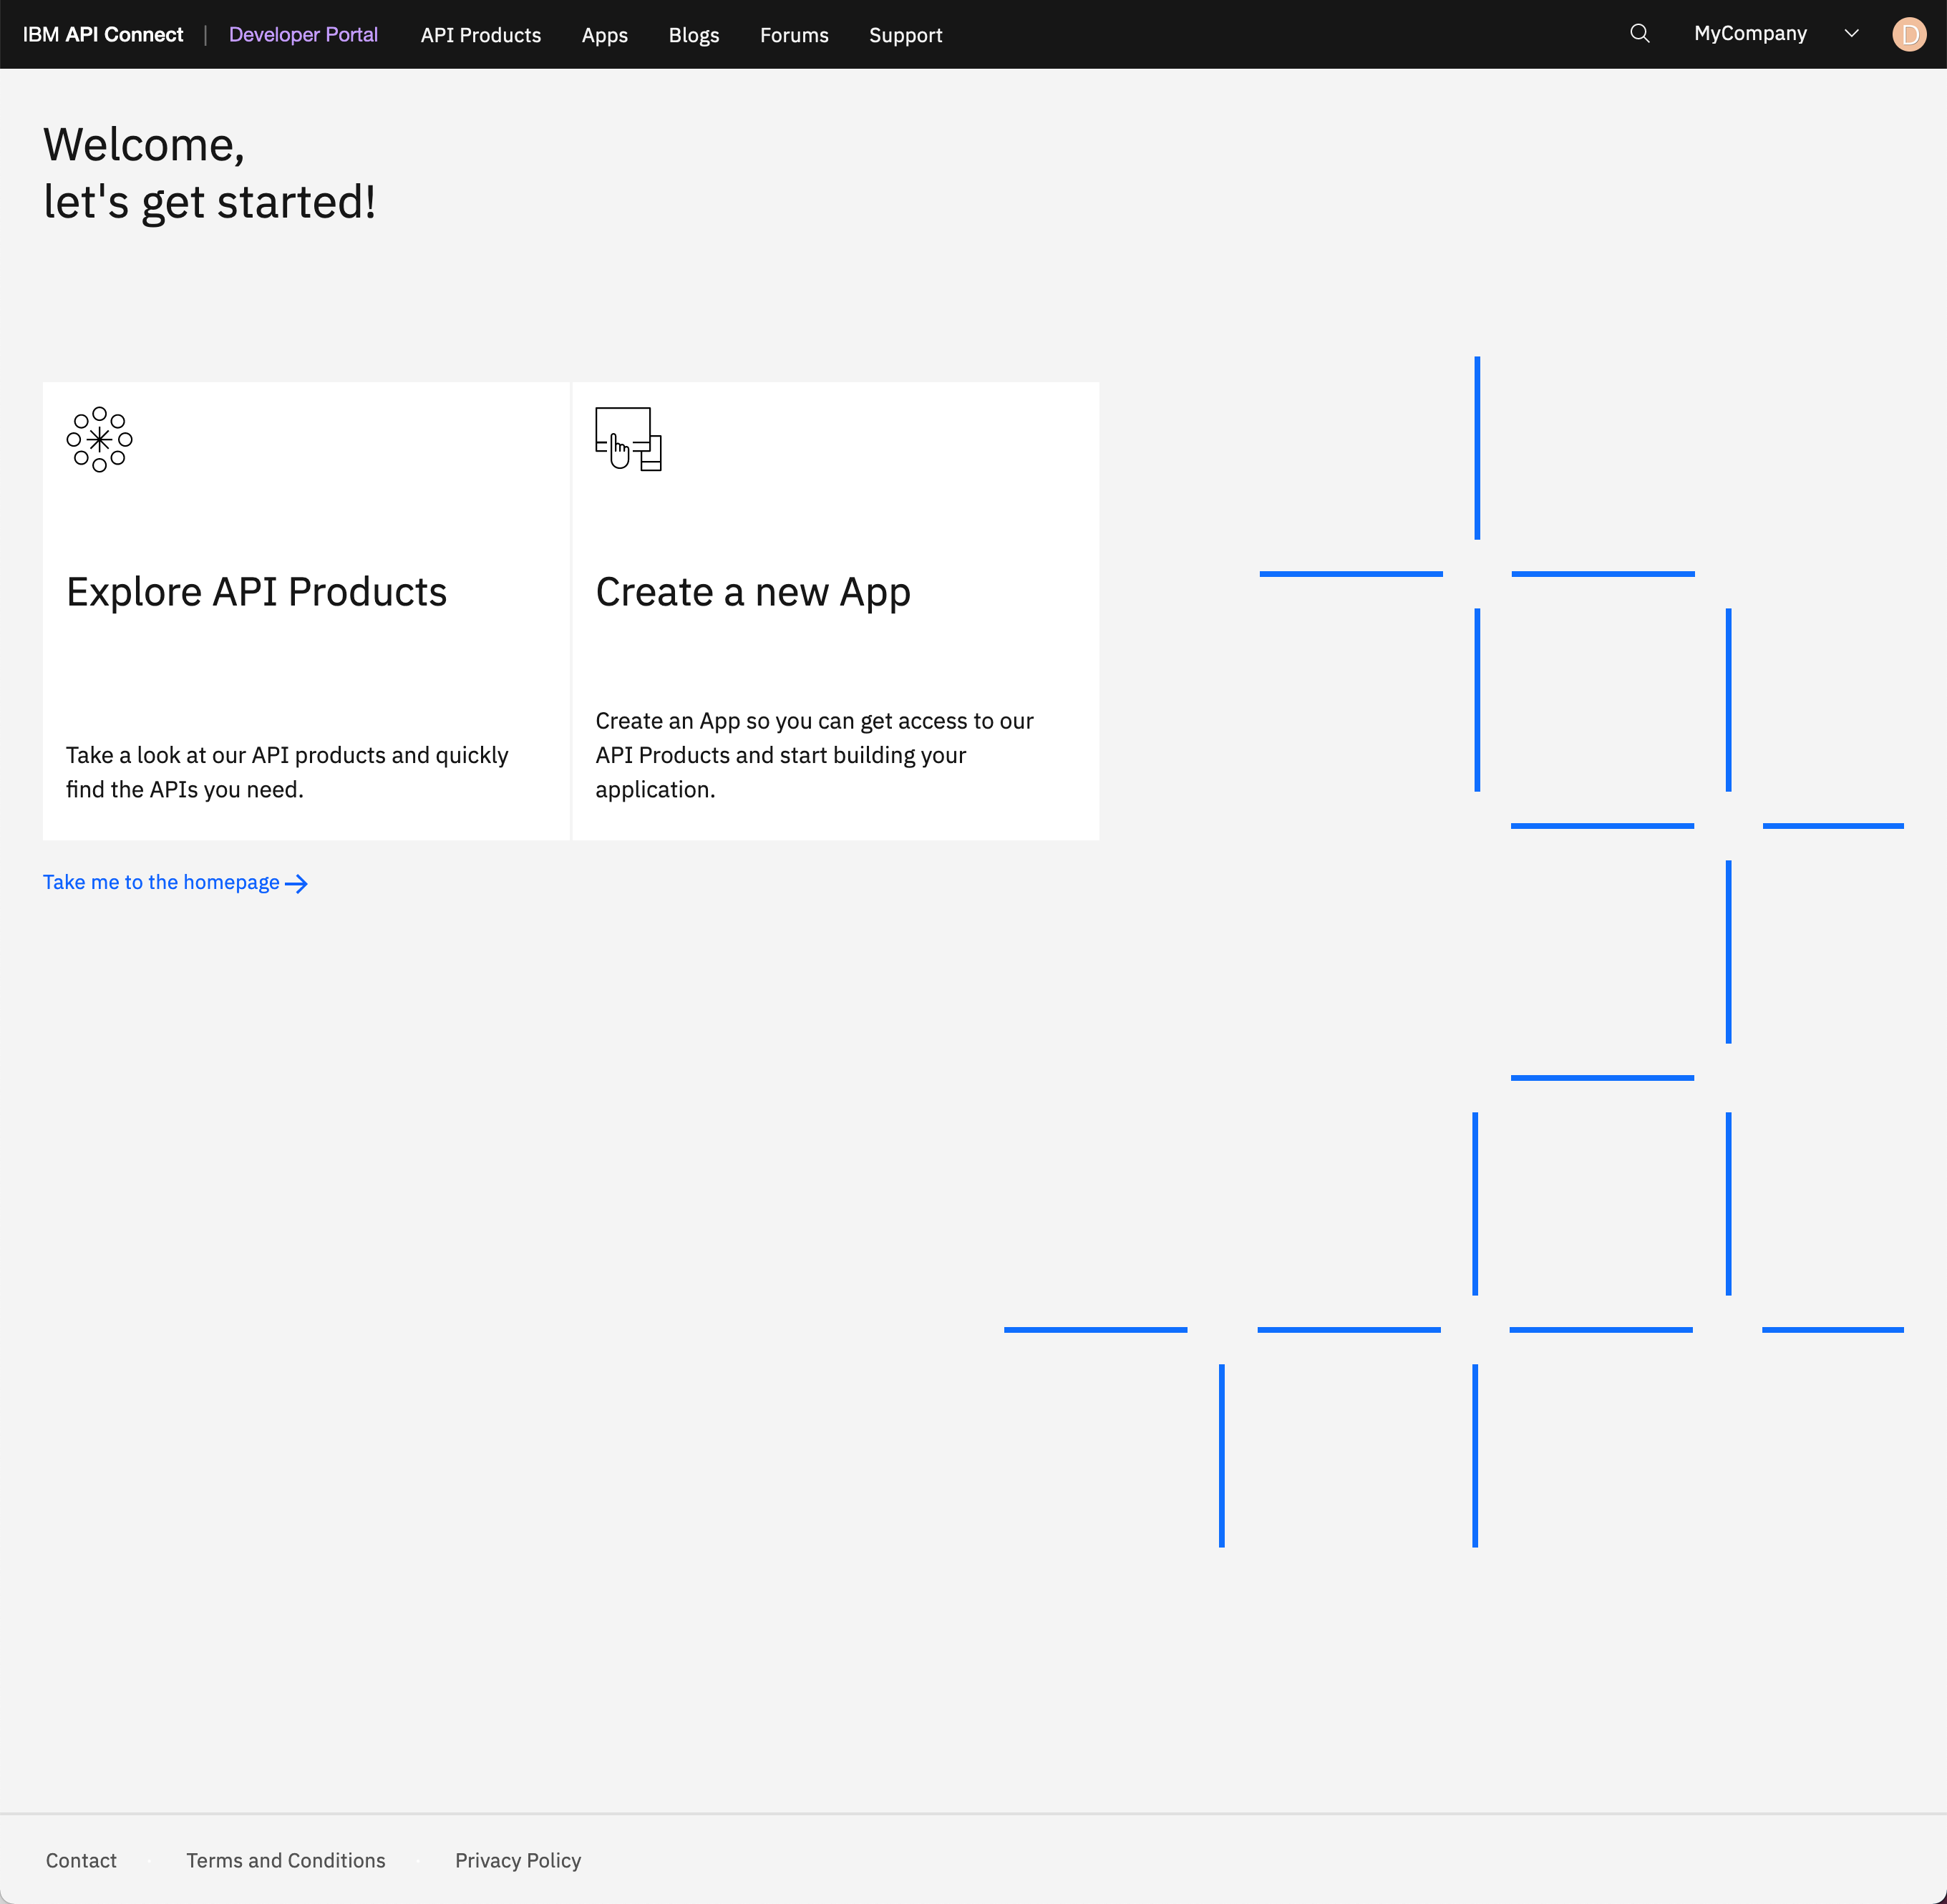
Click on Sign in either in the link displayed on the message or on the top right corner of your screen. Use your developer user credentials to log in. You should then see the Developer Portal dashboard for developers/API Consumers.
Explore Developer Portal
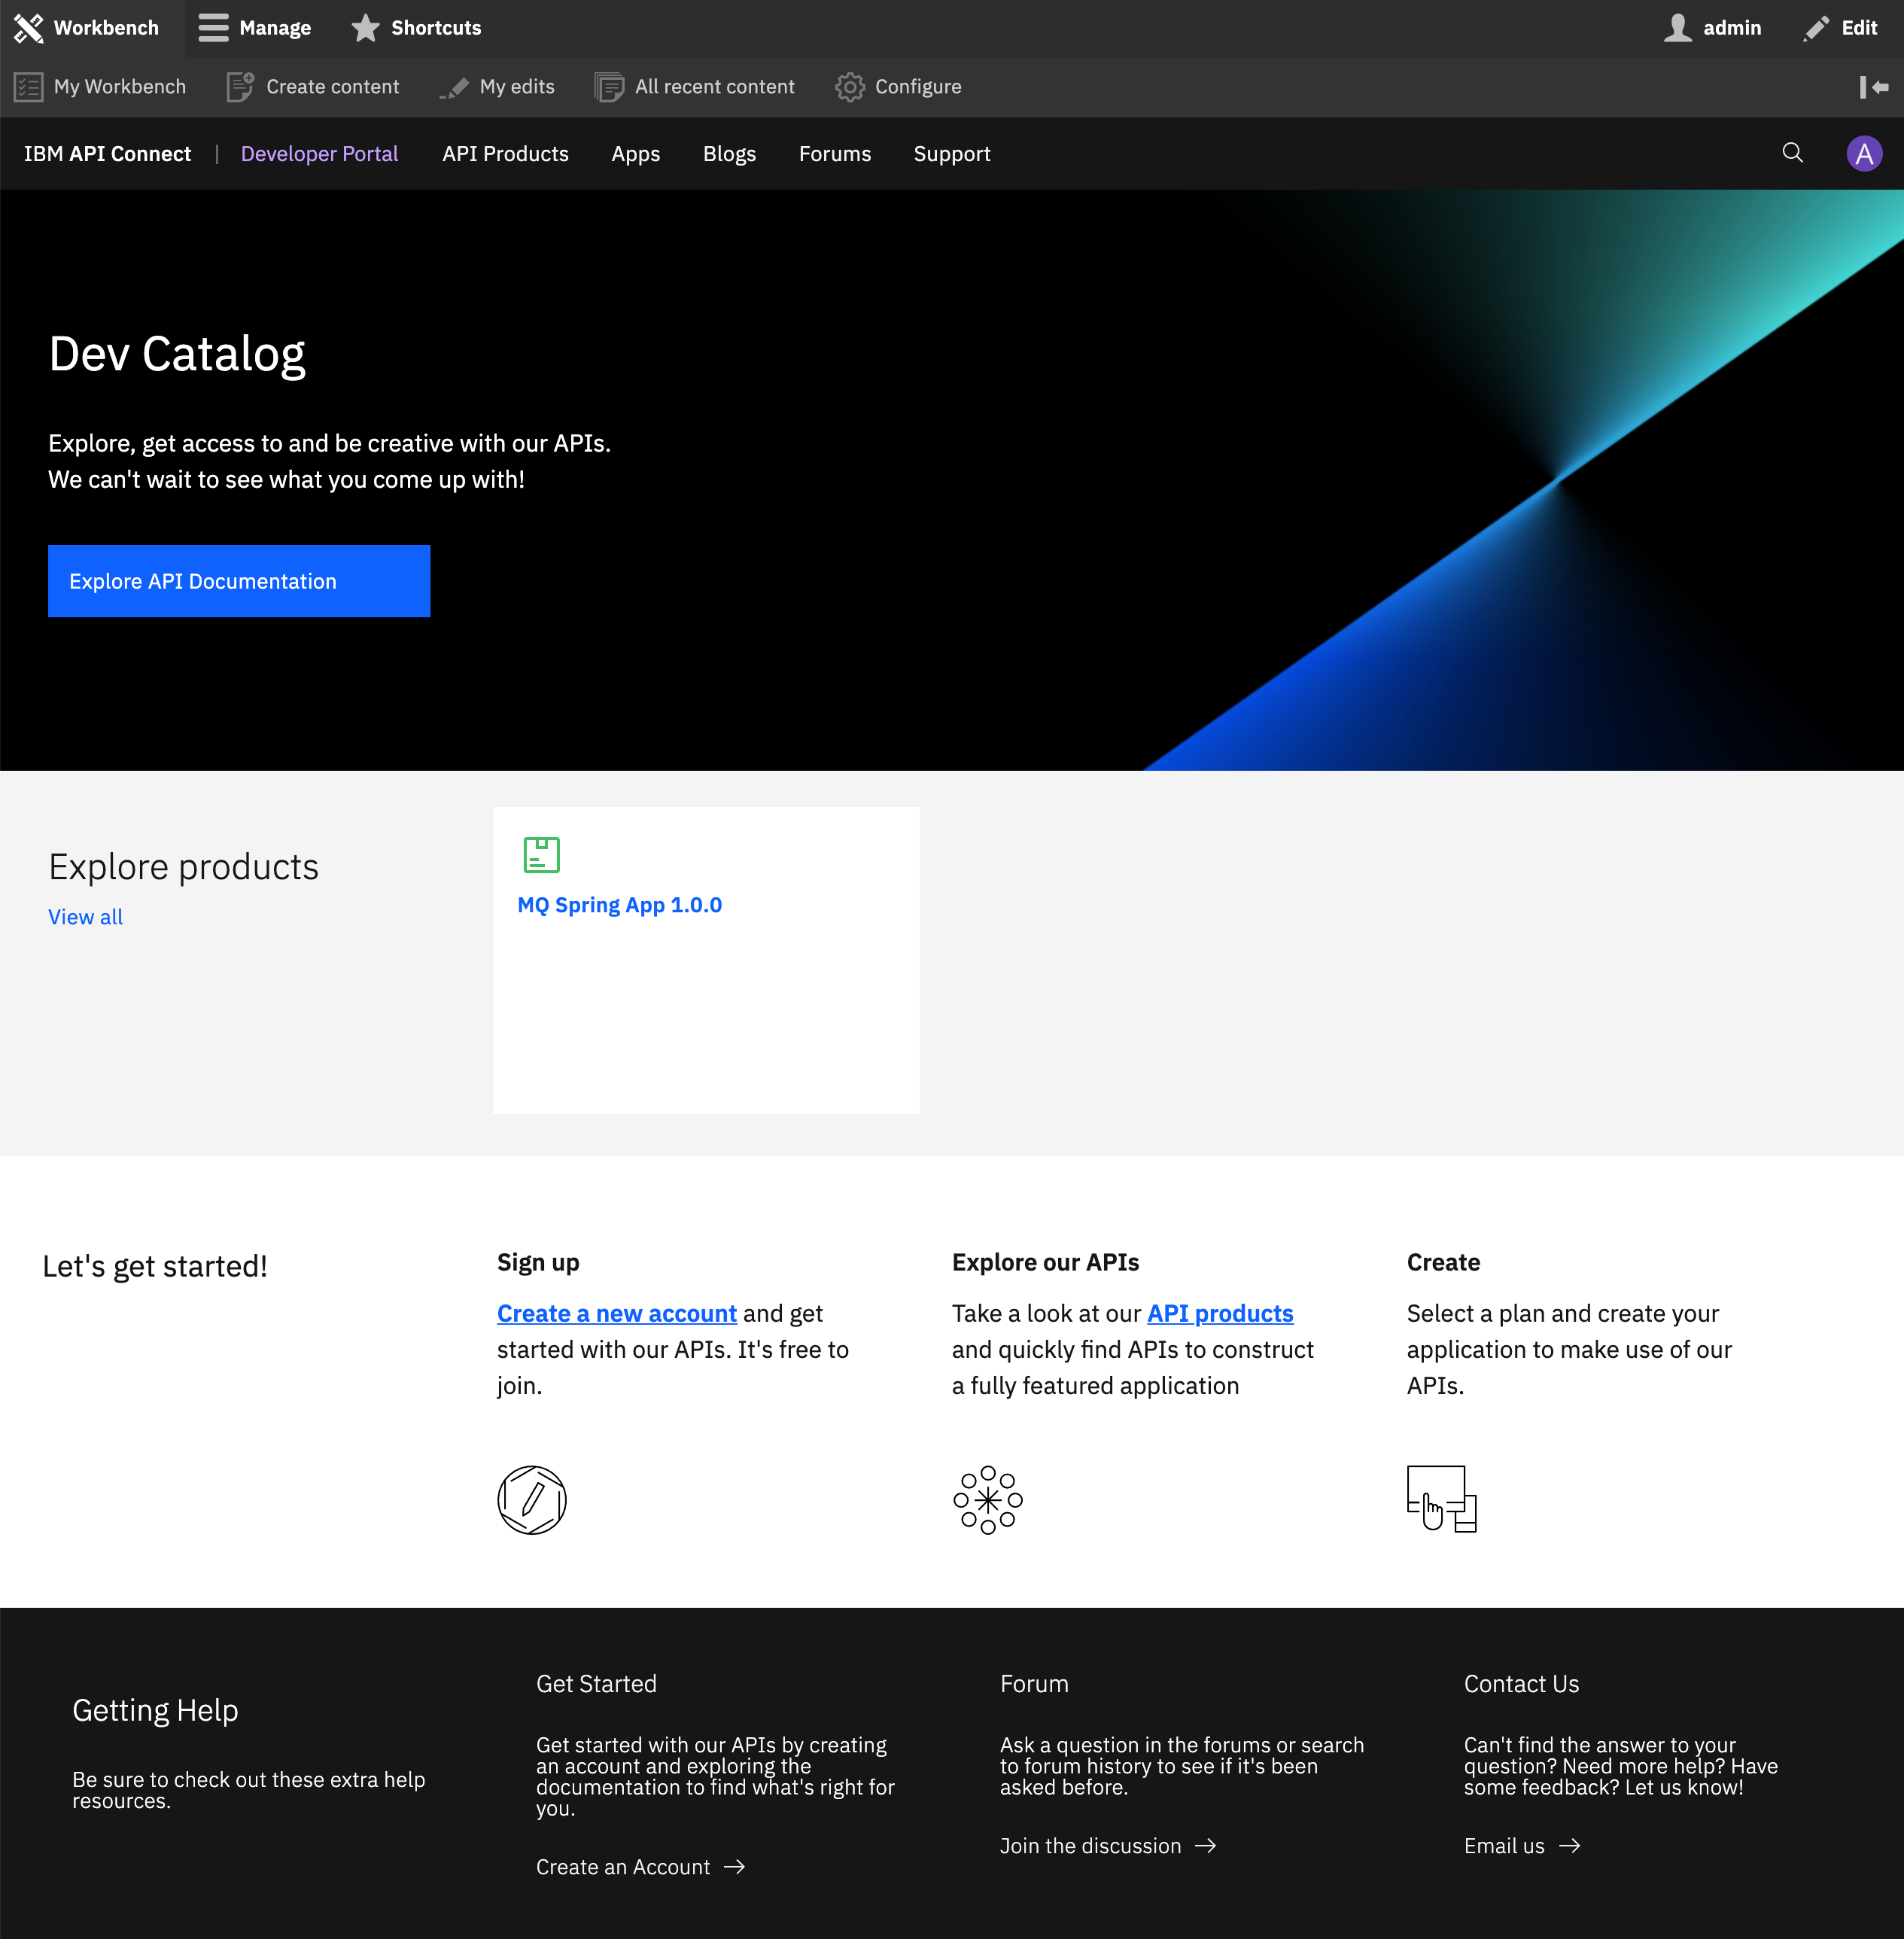
From this Developer Portal dashboard you should see on the top right corner of the screen your avatar (that is, who you are logged in as) as well as the consumer organization your user belongs to. If you don't remember what a consumer organization was, you can review the explanation on the Configure API Connect chapter here. On this Developer Portal dashboard you should also see two options: Explore API Products and Create a new App.
Click on Explore API Products.
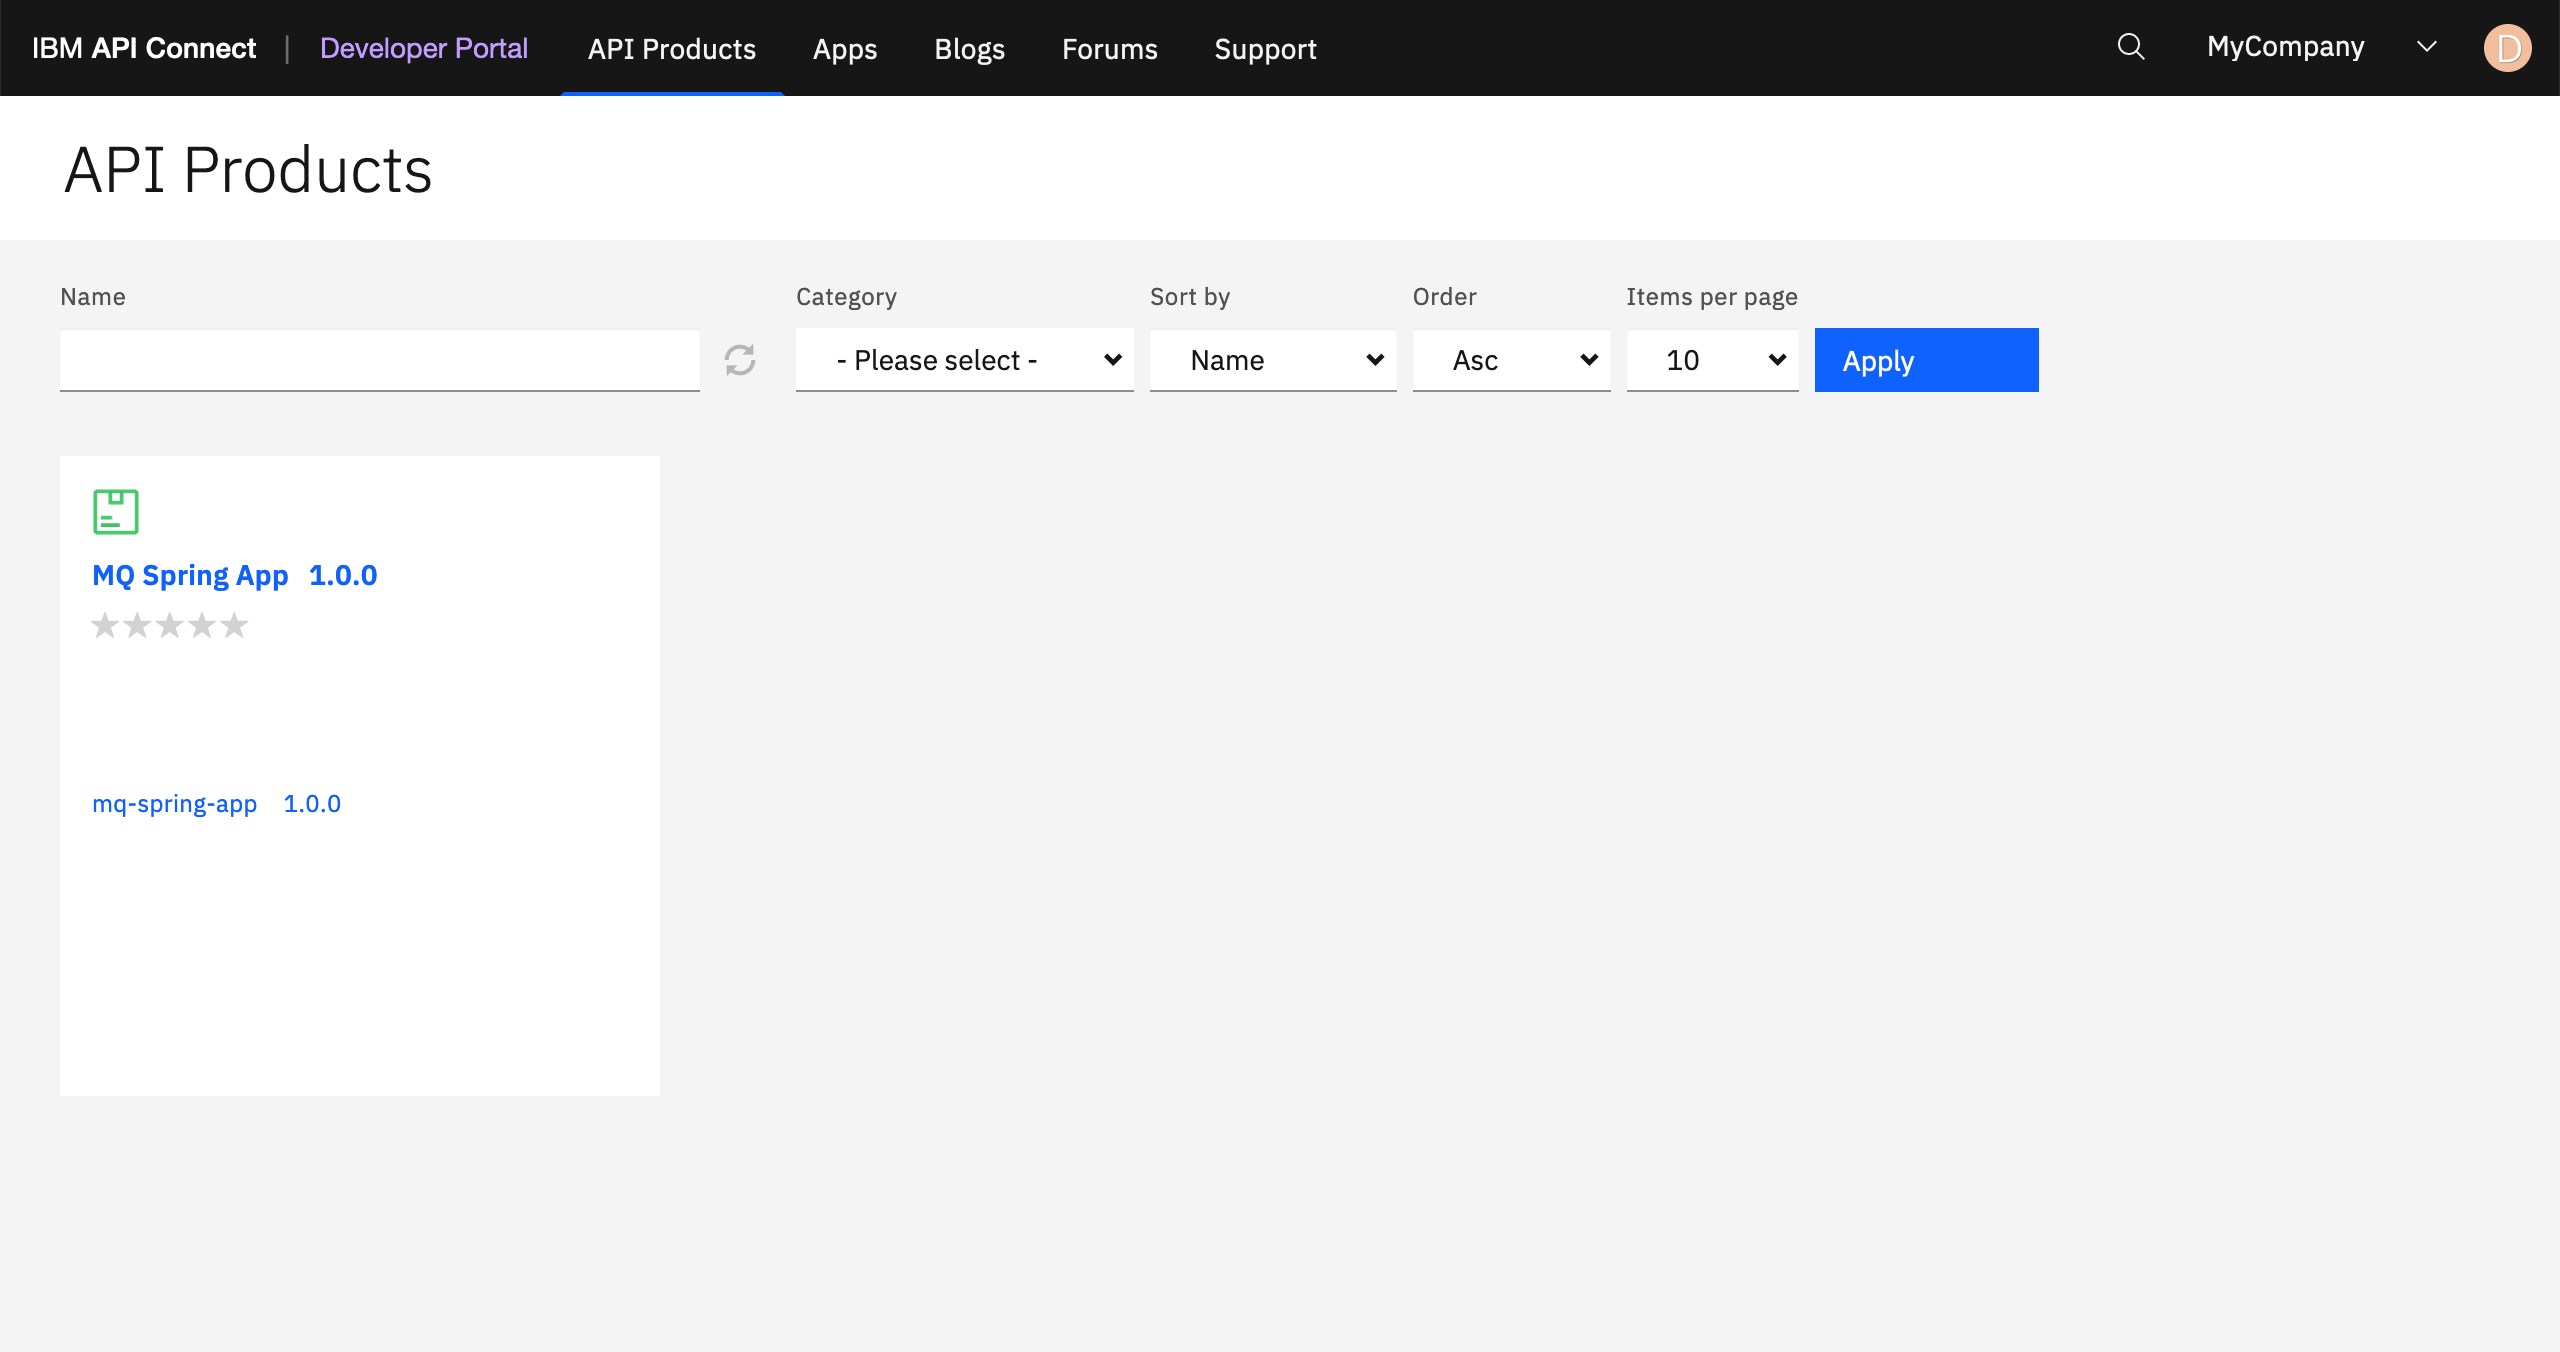
You should see your only MQ Spring App product, along with its version, and the only mq-spring-app API it contains, along with its version. You have also the ability to provide a description to your products from the IBM API Connect API Manager if you edit those products. These descriptions for better understanding of your products would show on this screen too. Your products also display 5 stars and these are meant to display the rating of their users.
Click on the MQ Spring App product.
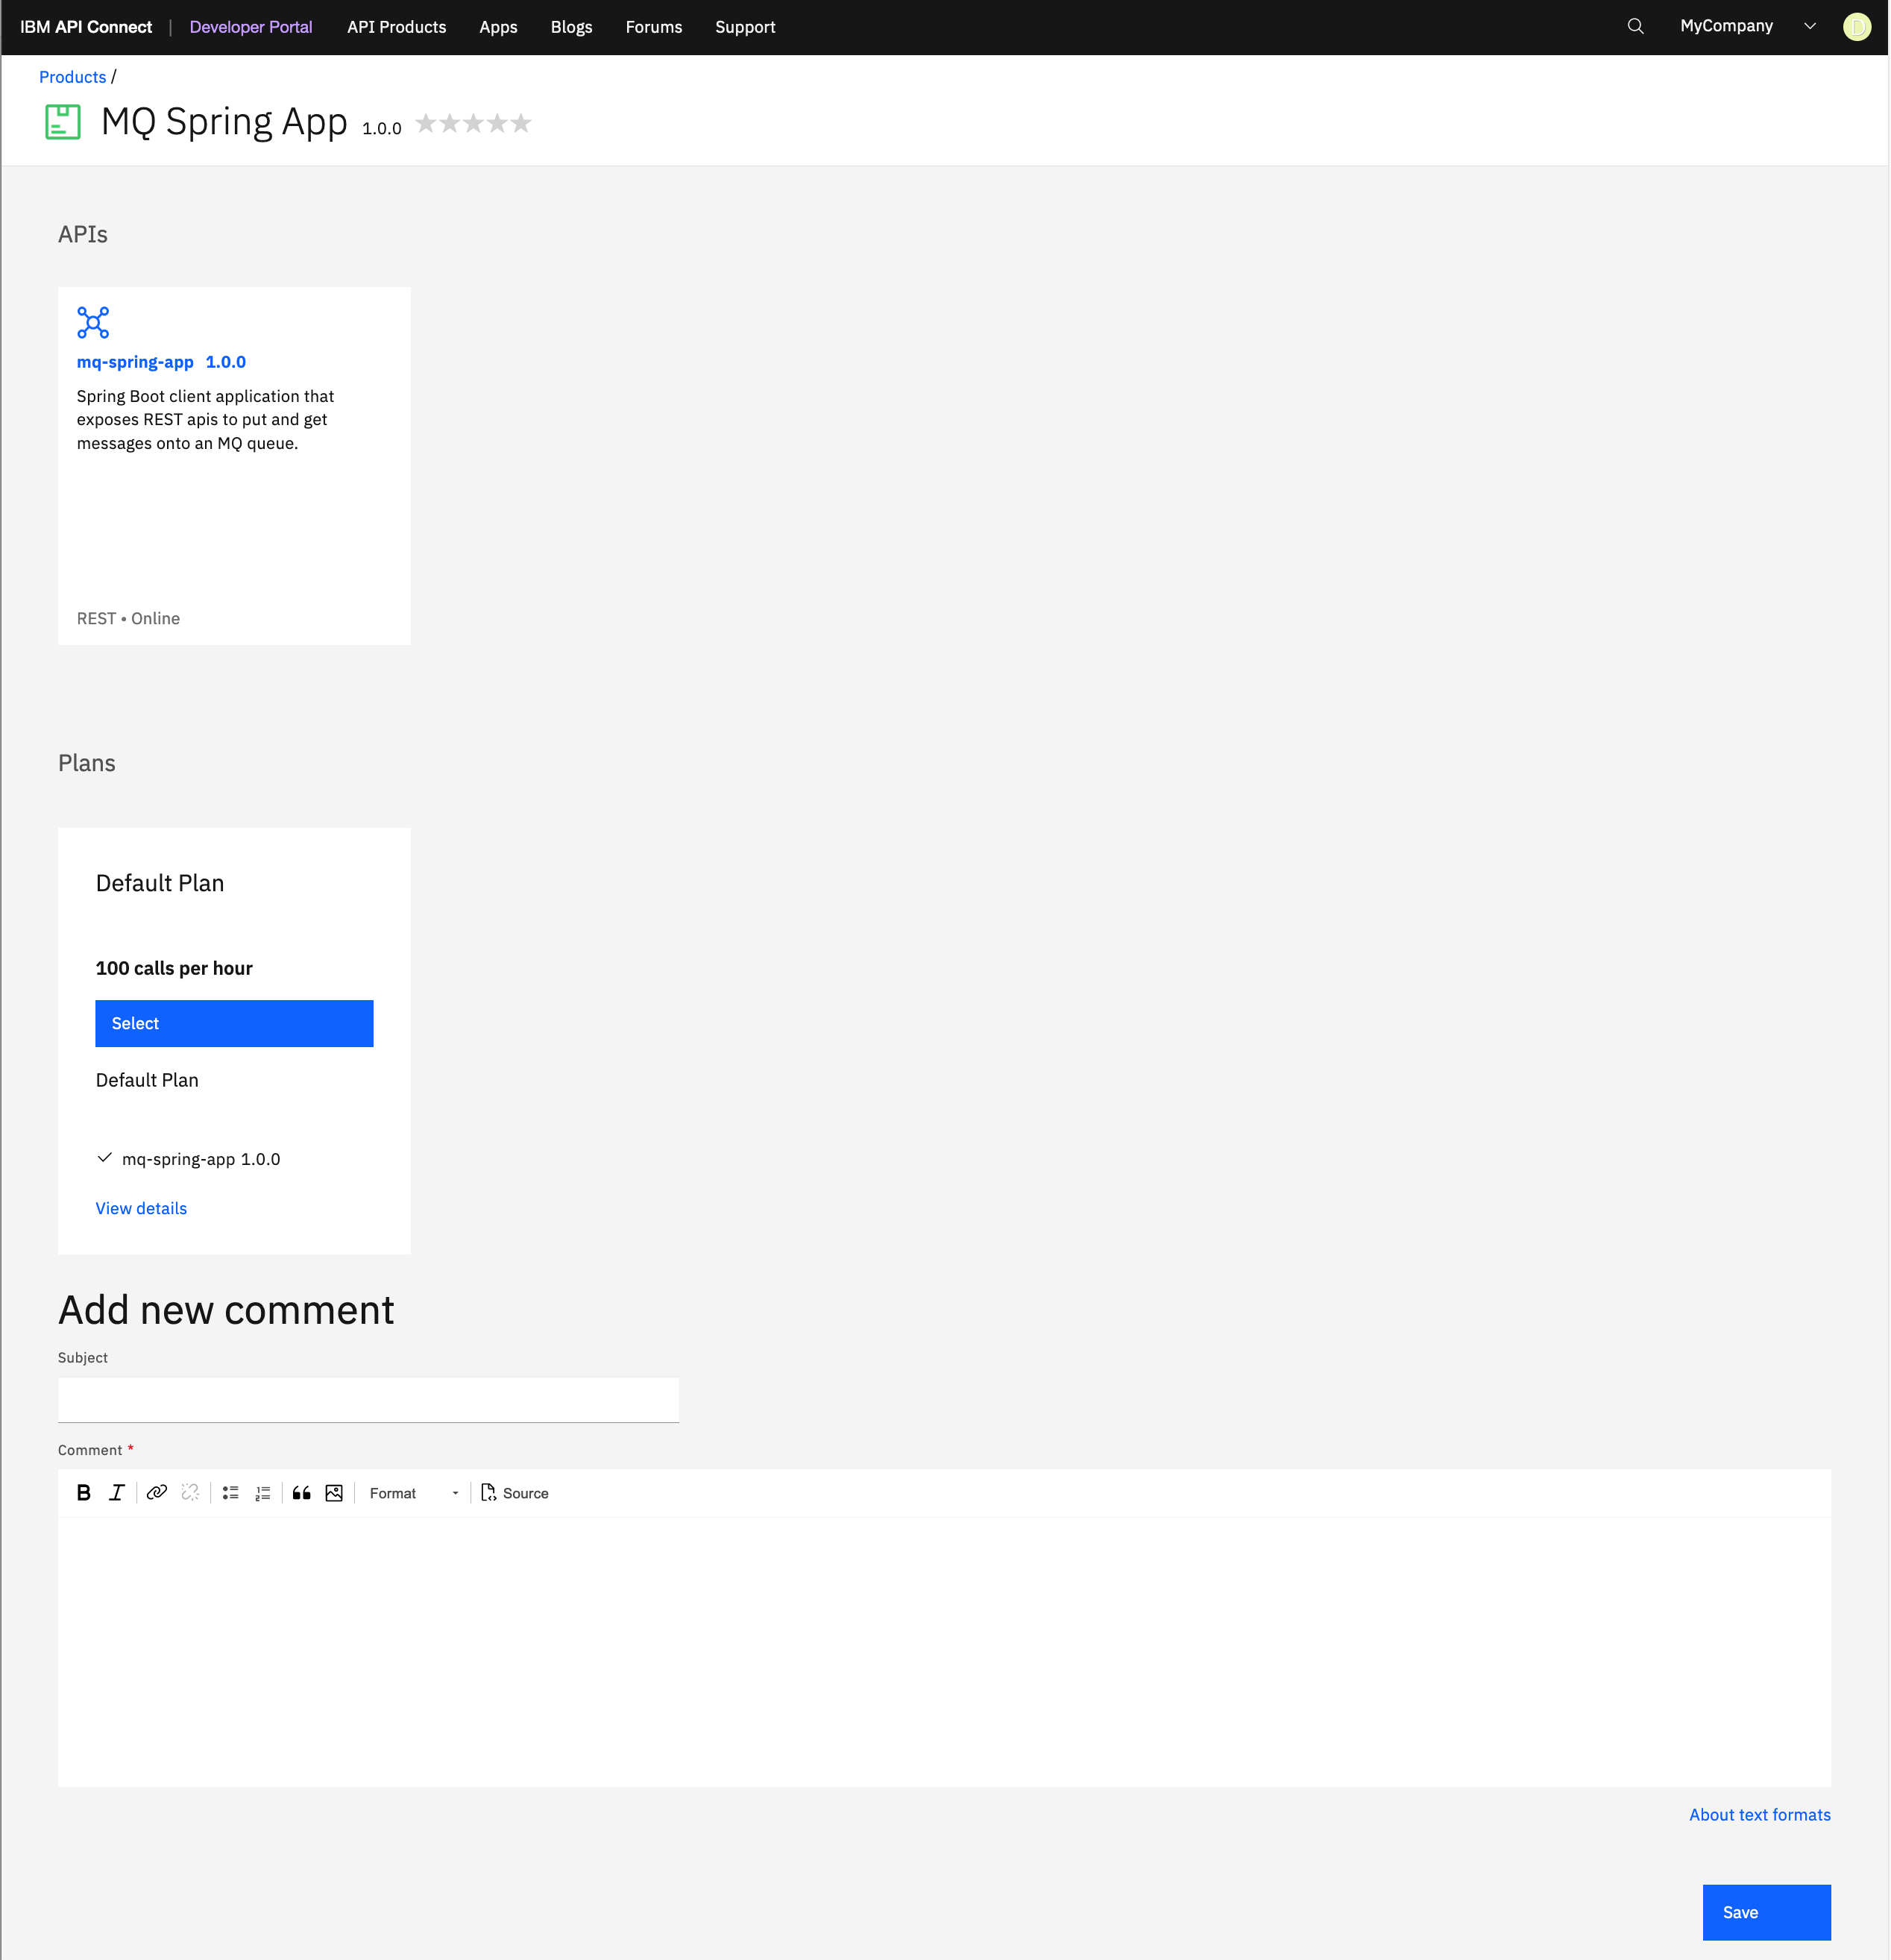
You should now see the APIs your product contain. As expected there is only one, the mq-spring-app. You can also see the available plans (again, for more information about plans for a product, check the official documentation here) as well as any comment from other users. You can also leave a comment.
Info
If you want to have your application APIs shown on a more detailed fashion at a glance, you would need to create an OpenAPI definition for each of them and use those OpenAPI definitions in IBM API Connect API Manager to create separate APIs. On the one hand, you would have a more detailed view of each of your application APIs at a glance here on your Developer Portal. On the other hand, it requires extra work for creating separate OpenAPI definition files and their respective APIs in IBM API Connect API Manager.
Tip
Not always makes sense to have an OpenAPI definition per application API. Sometimes, it makes sense to group some of your APIs by functionality into one OpenAPI definition. For instance, if you had a getProduct API that returns product, you might want to have several APIs to return a product based on its name, id, etc. All these APIs could be grouped on the same OpenAPI definition as the core goal of these is the same. Then, the user can drill into the API on the Developer Portal for more information about the individual application API as you will see below.
Click on the mp-spring-app API. You should now see, similar to Swagger UI, the OpenAPI definition, IBM API Connect API Manager, etc a graphical view of your API definition, paths, properties, etc.
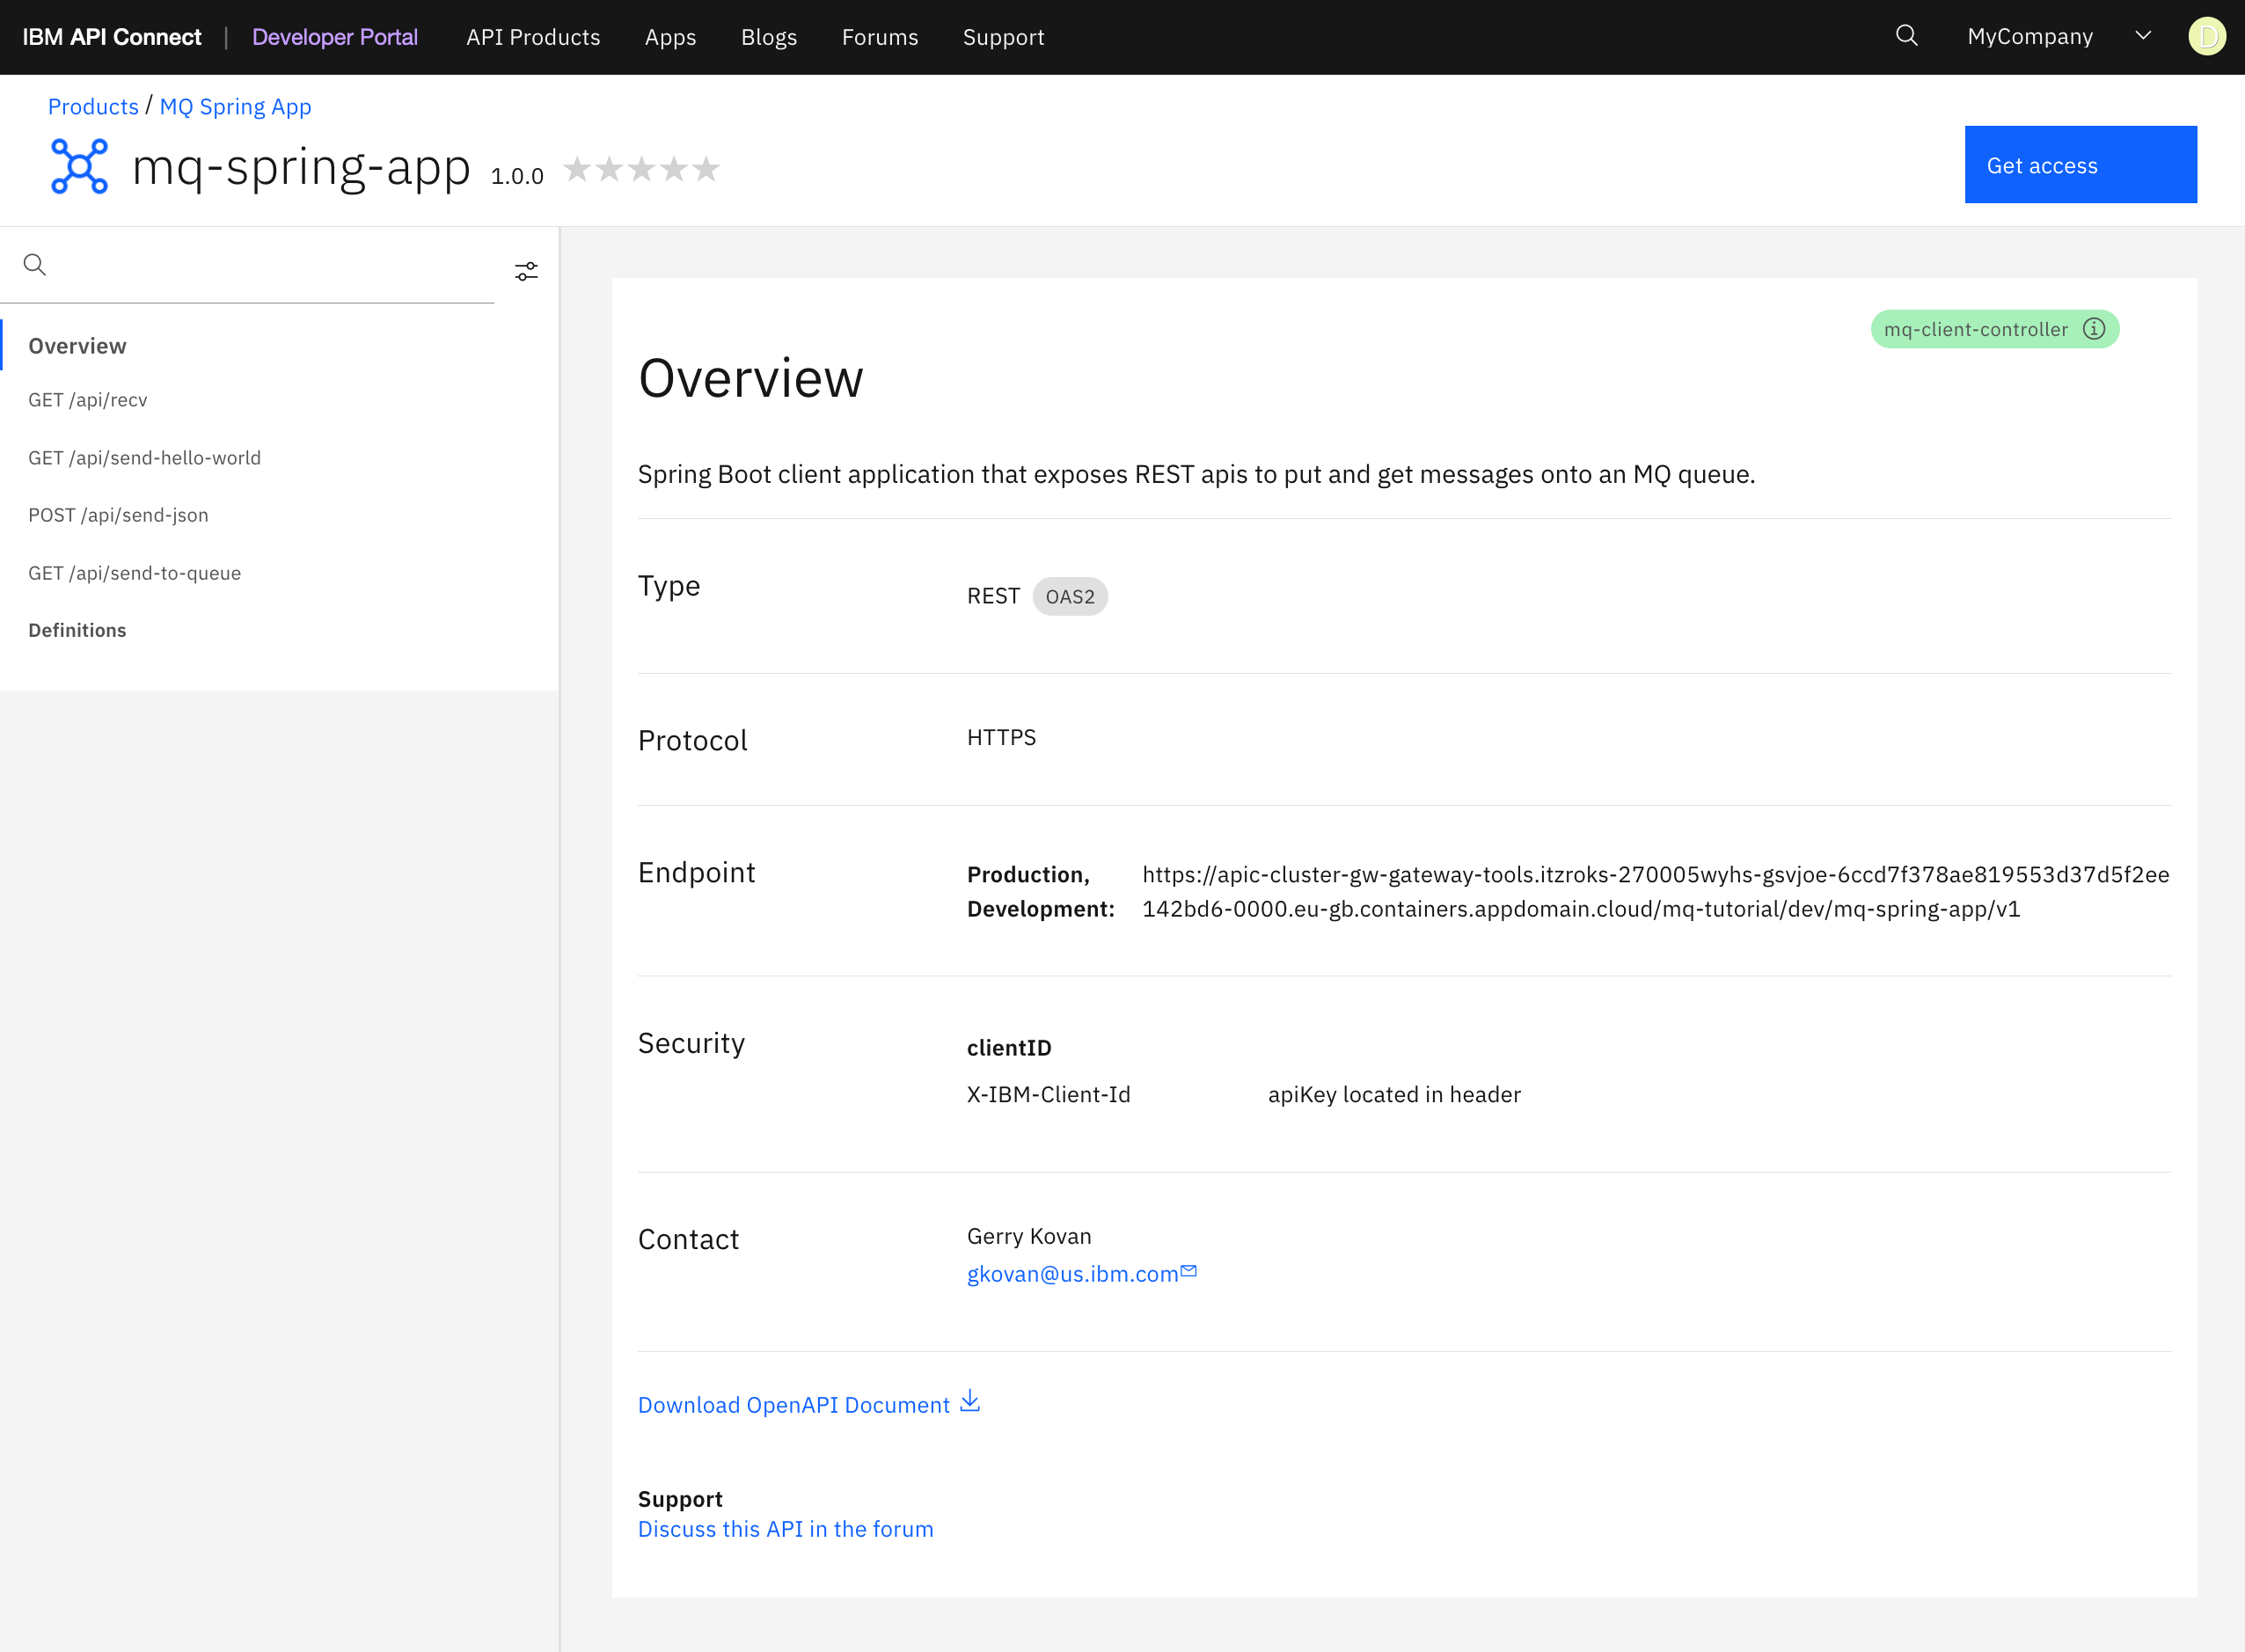
Consume APIs
In order to be able to, as a developer, call the different Spring MQ Application APIs contained in this mq-spring-app API, you need to create an application in the Developer Portal that subscribes to a plan of the MQ Spring App product. For all of this, click on Get access on the top right corner.
You will first be presented with the different available plans for the MQ Spring App product.
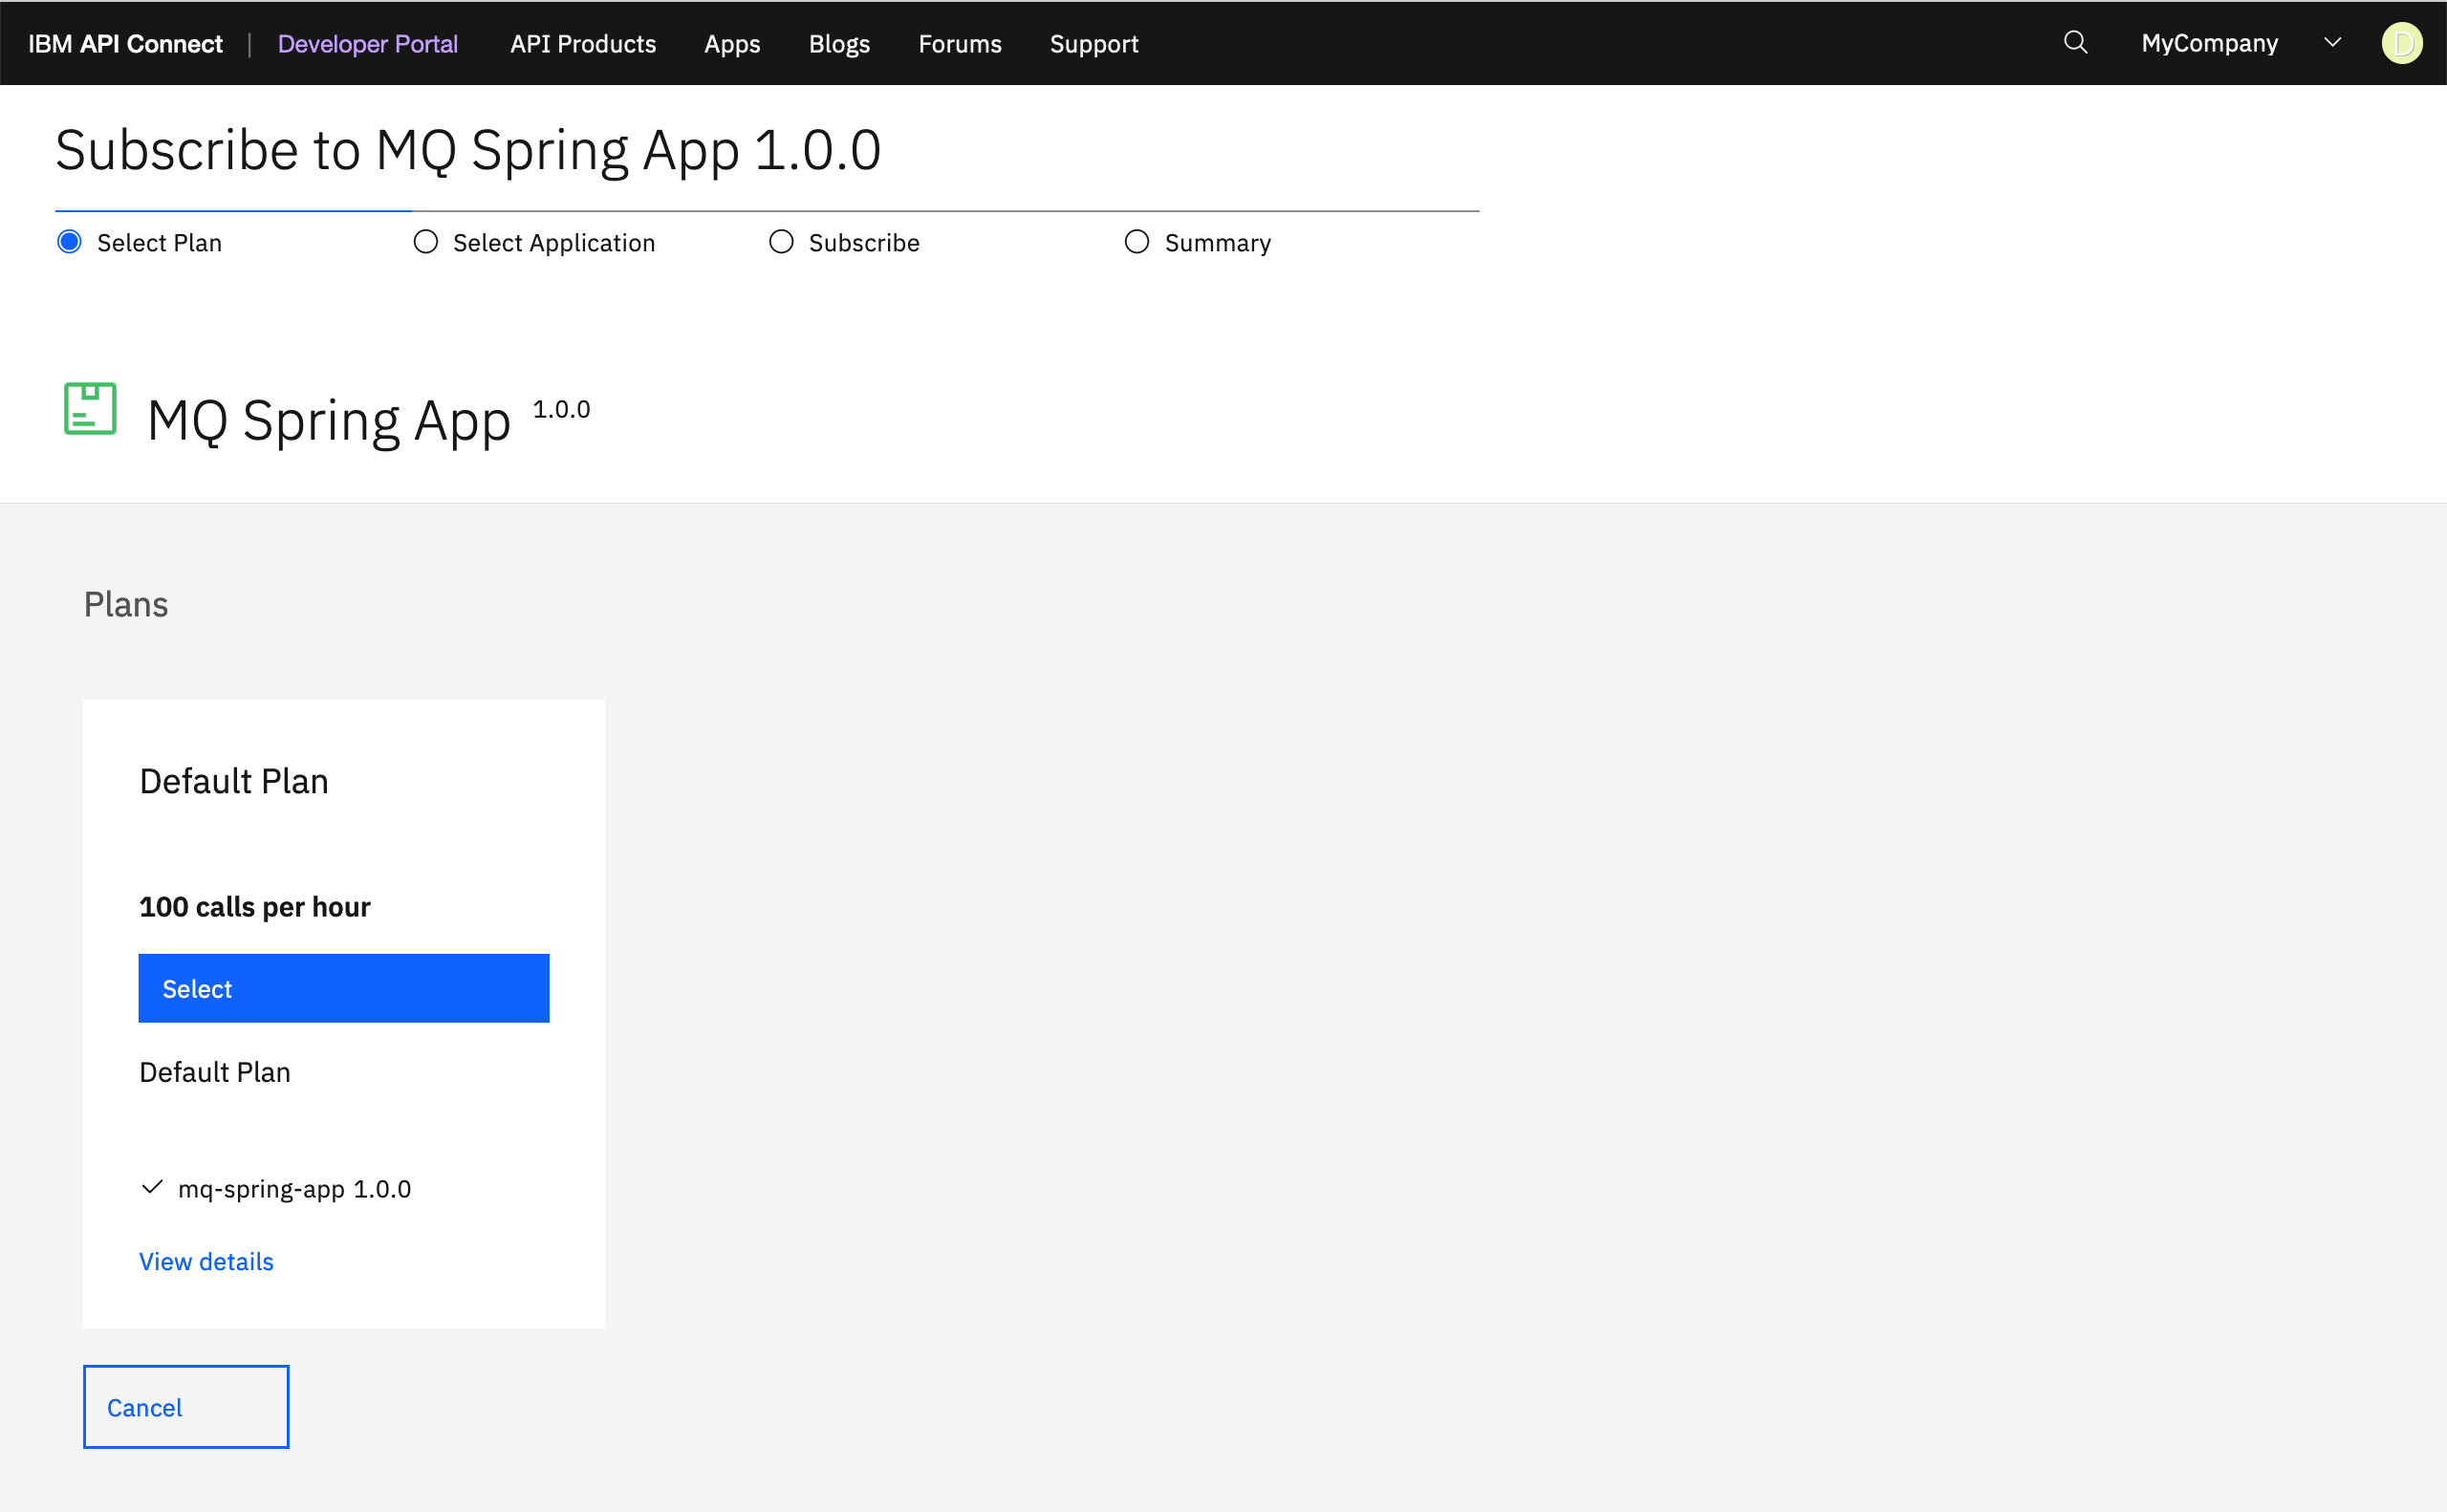
Click on the Select blue button for the only Default Plan displayed. Next, you are presented with your existing applications, if any, in case you want to subscribe with any of those.
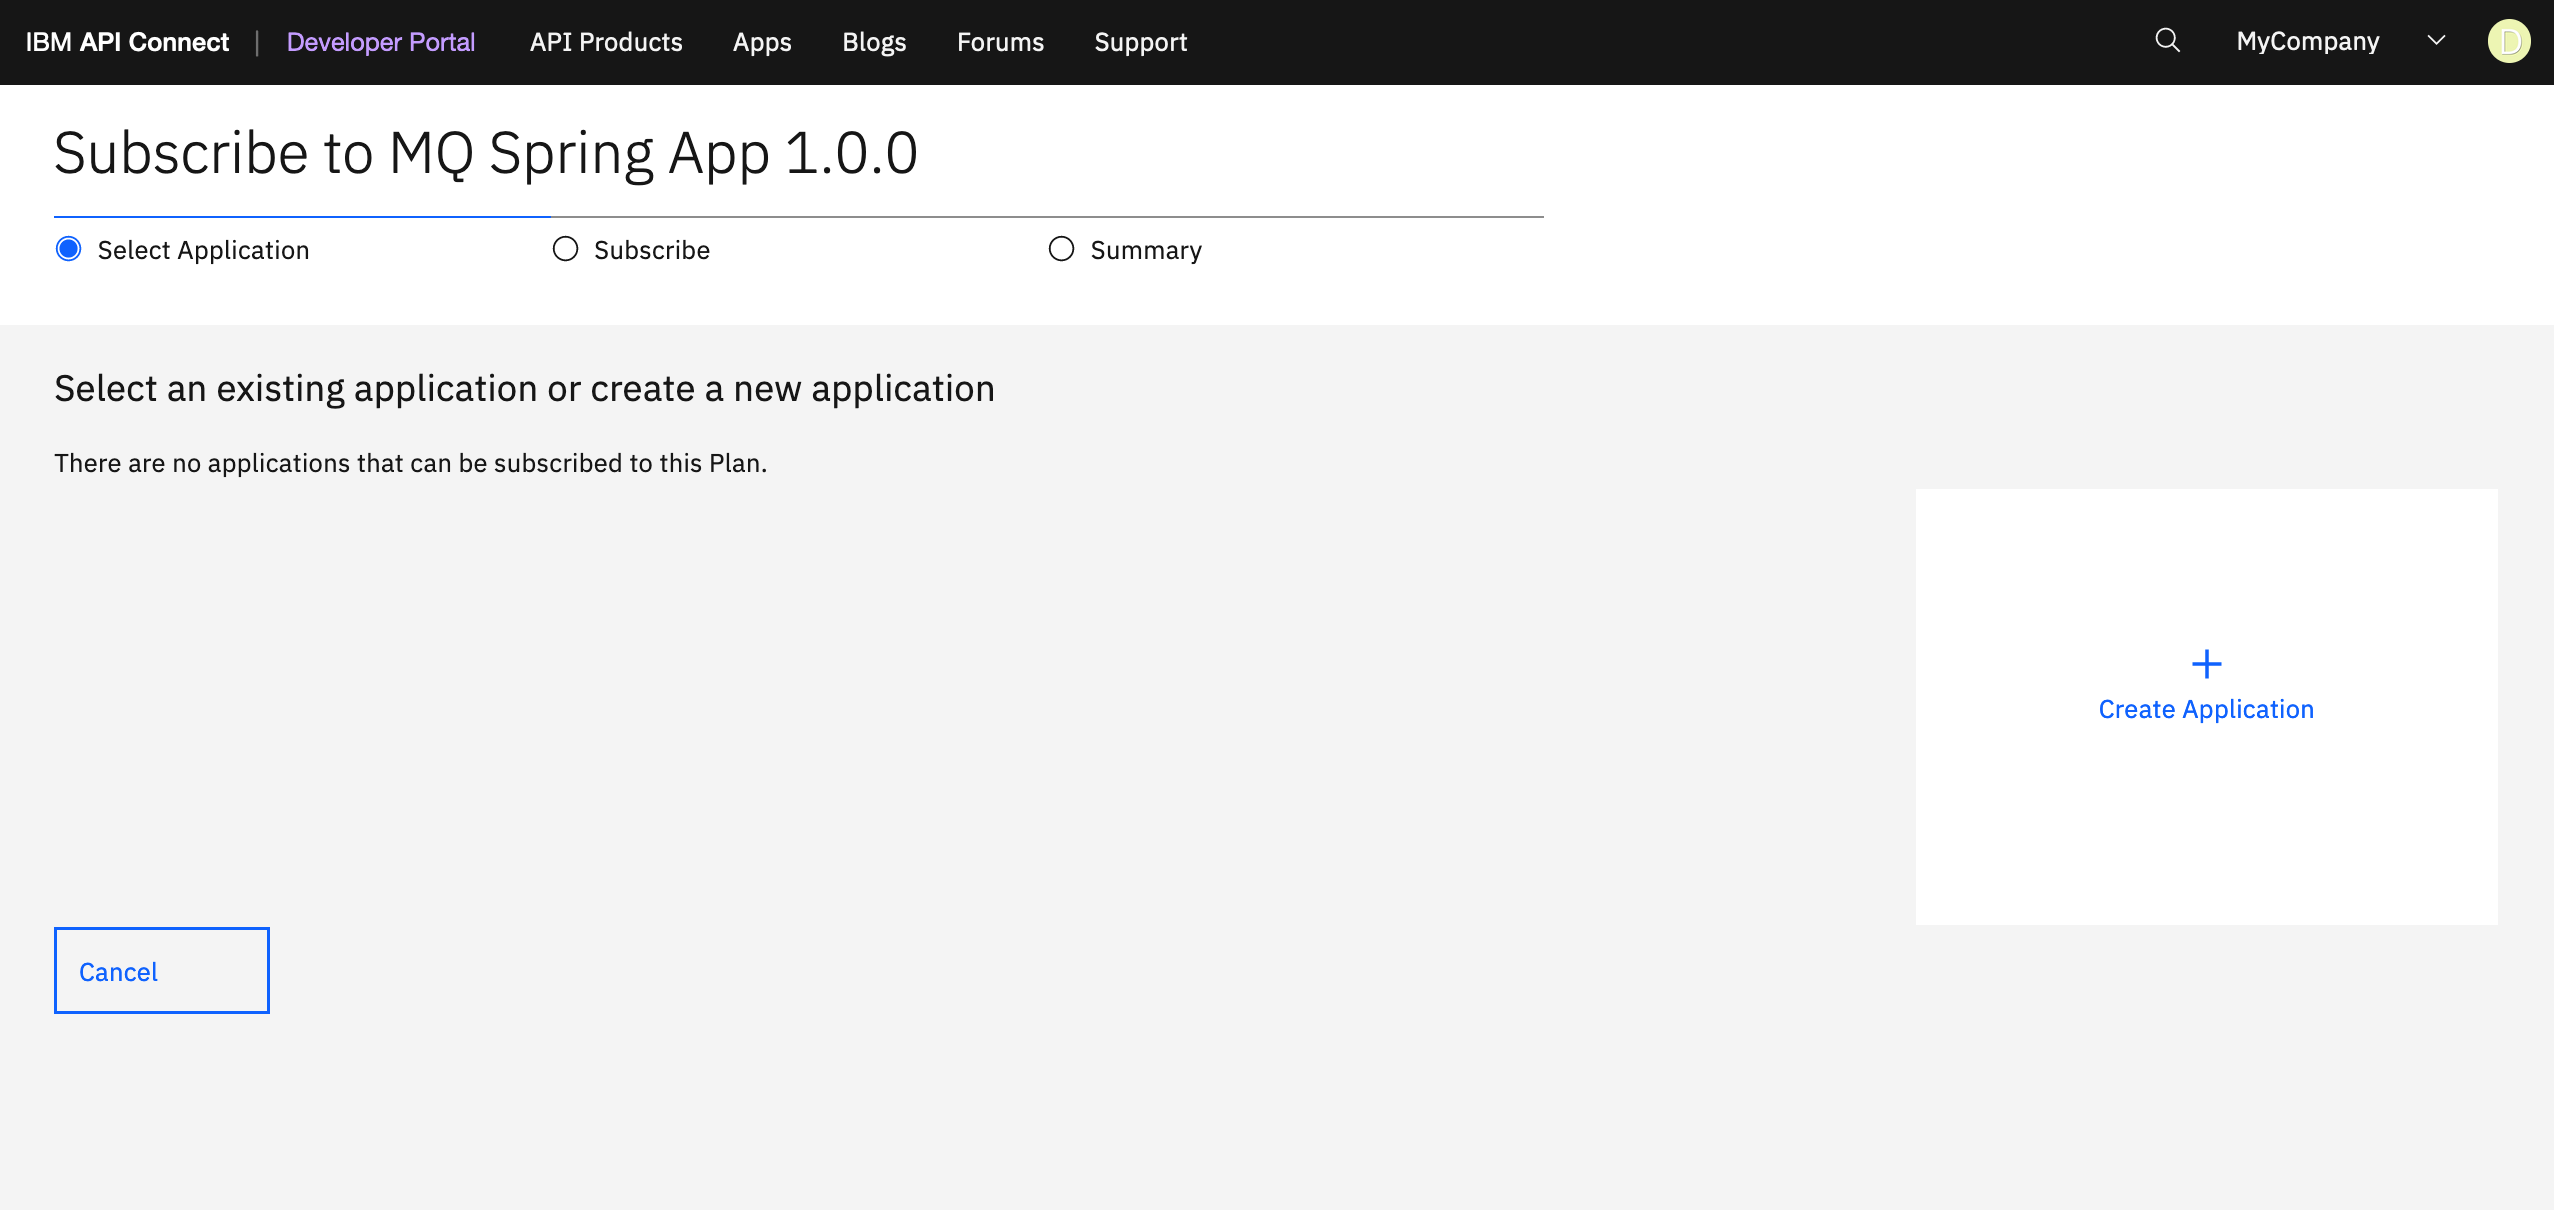
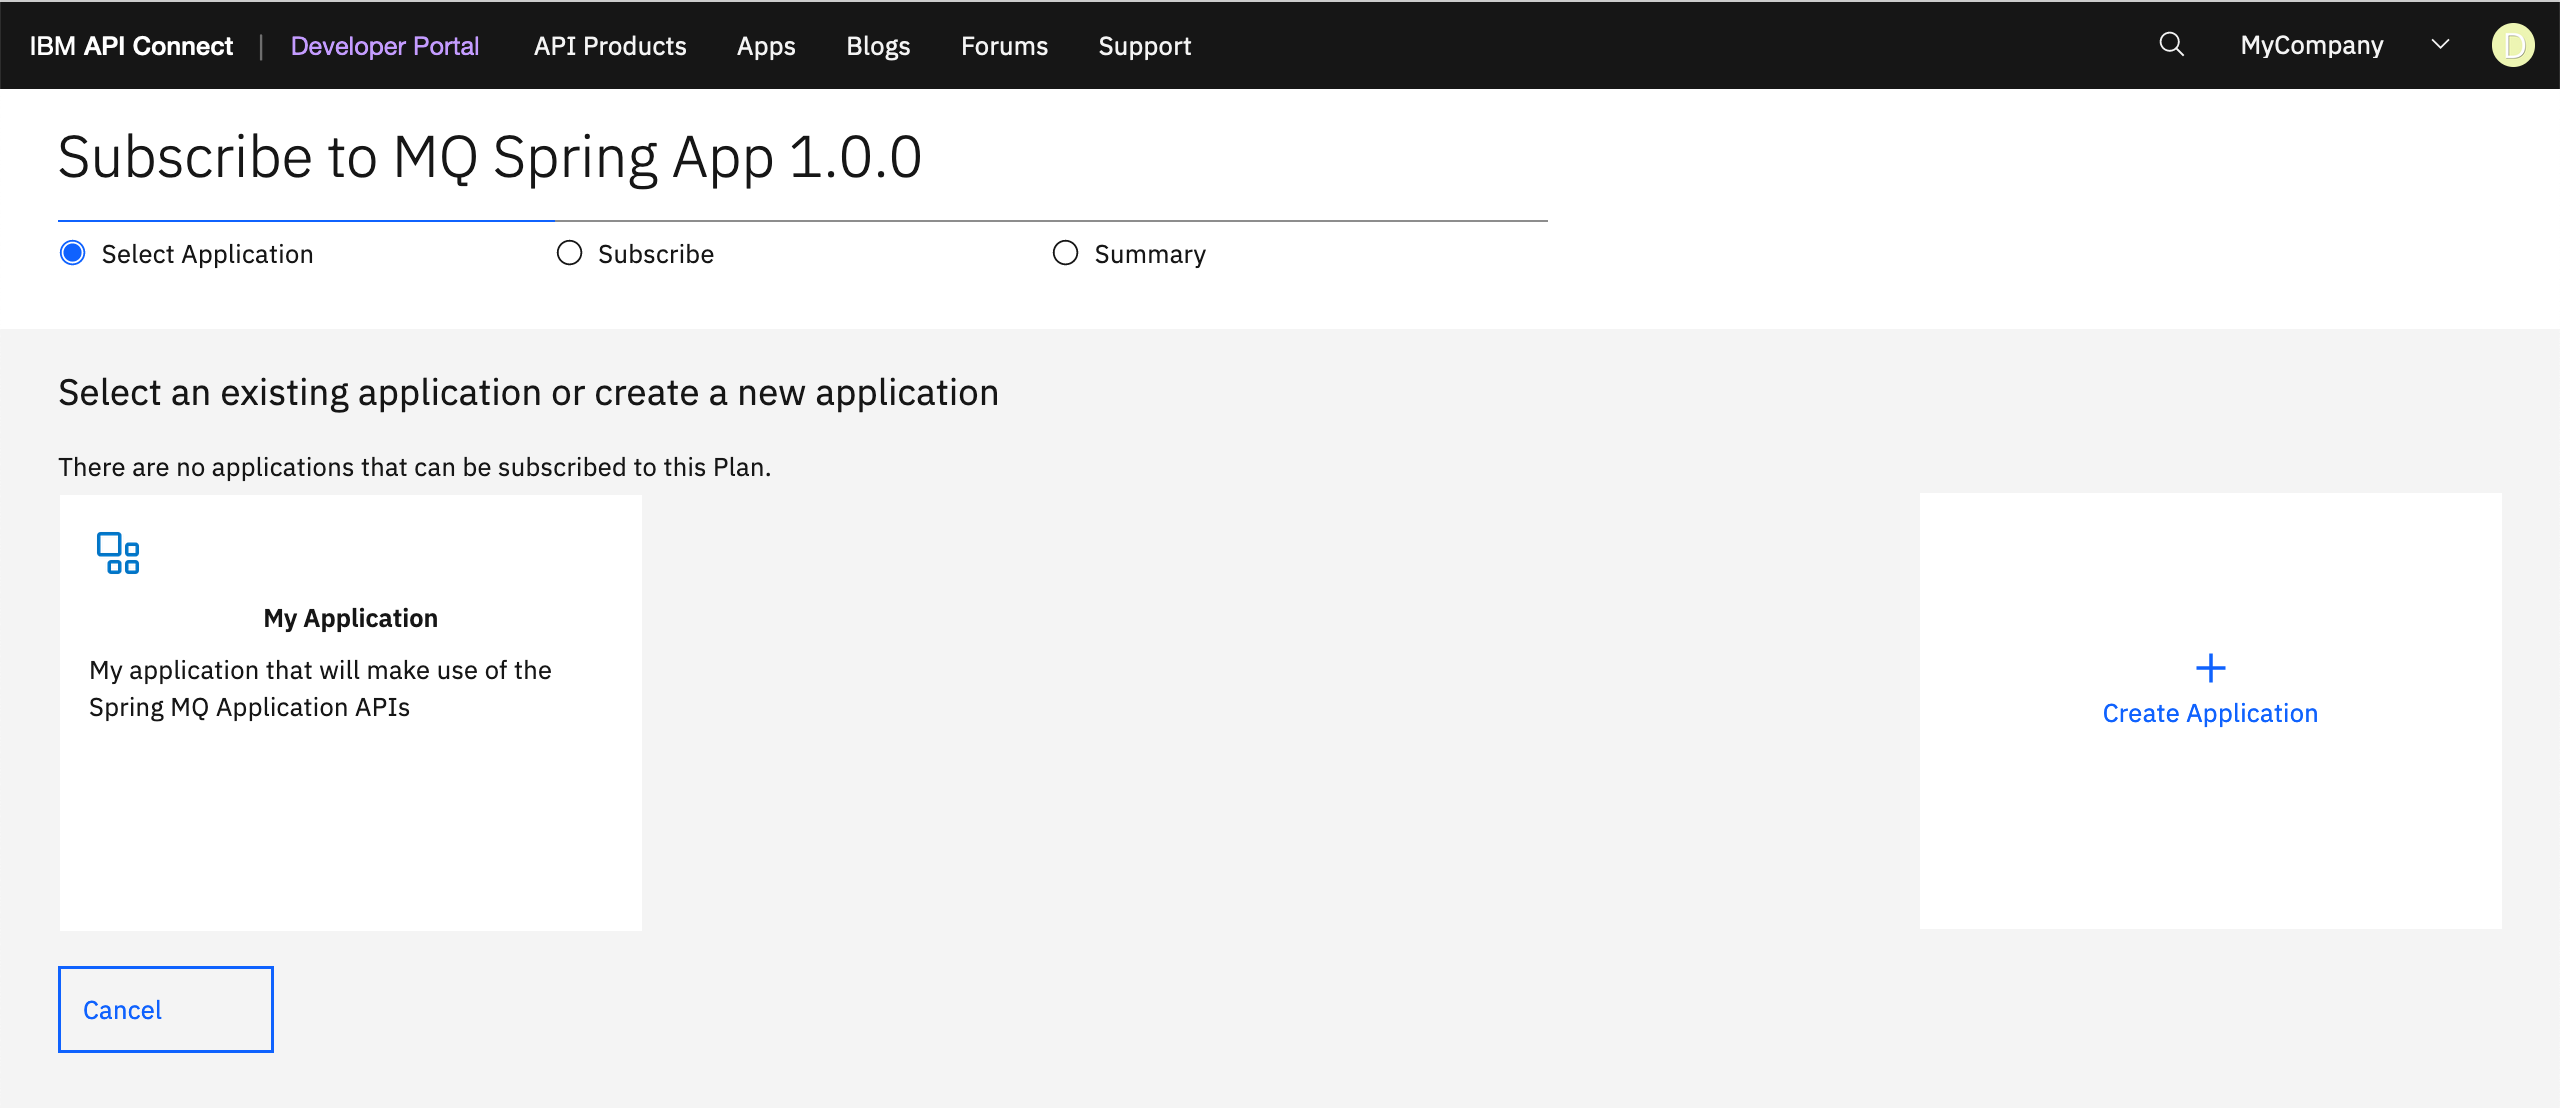
As expected, you don't have any application on your Developer Portal yet. Thus, click on the Create Application card that is shown on the right hand side. On the pop-up form, provide a title and optionally a description for your new application.
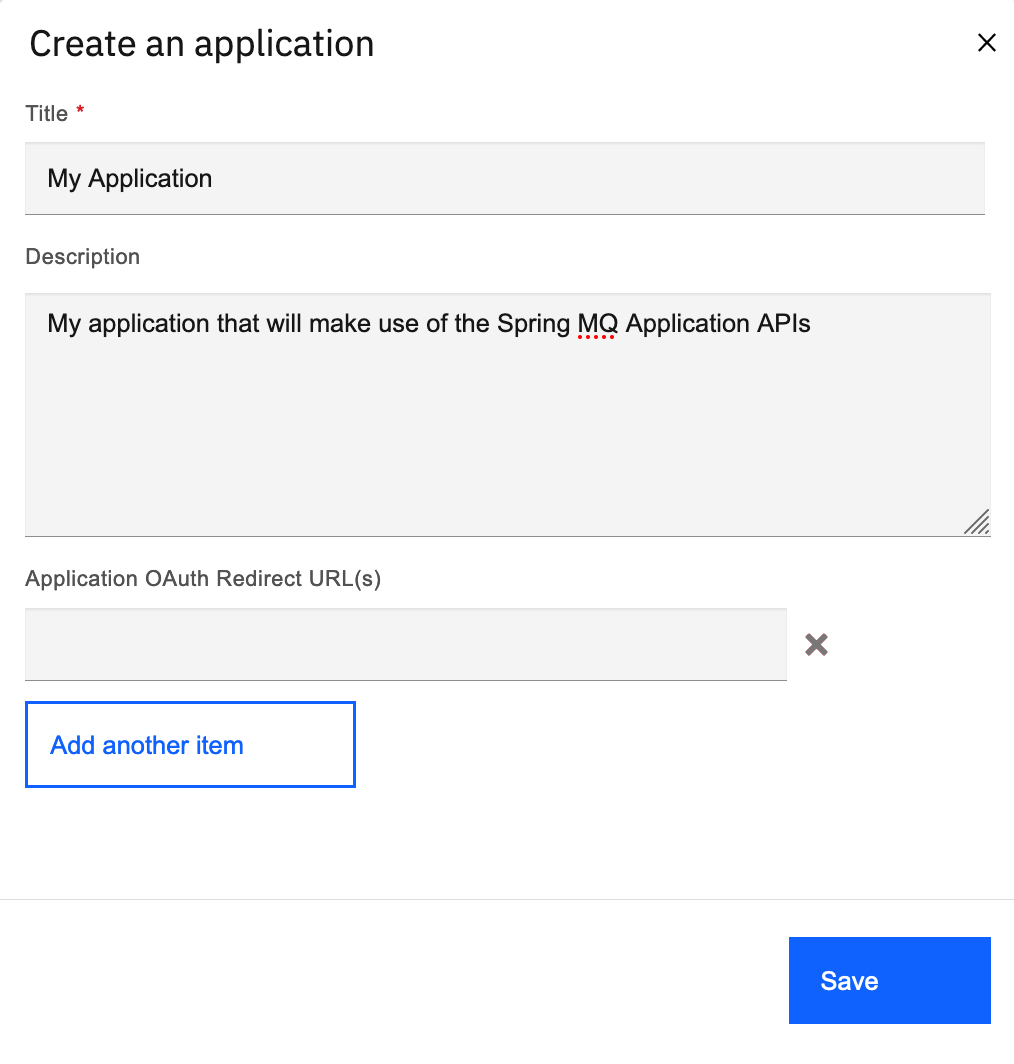
Click Save. You will be presented with the credentials for your application. IMPORTANT: These are the credentials you will need in order to be able to successfully reach your Spring MQ Application APIs since these will be checked on the IBM API Connect Gateway Services. key corresponds to Client ID and secret corresponds to Client secret. Copy the credentials so you can use them later.
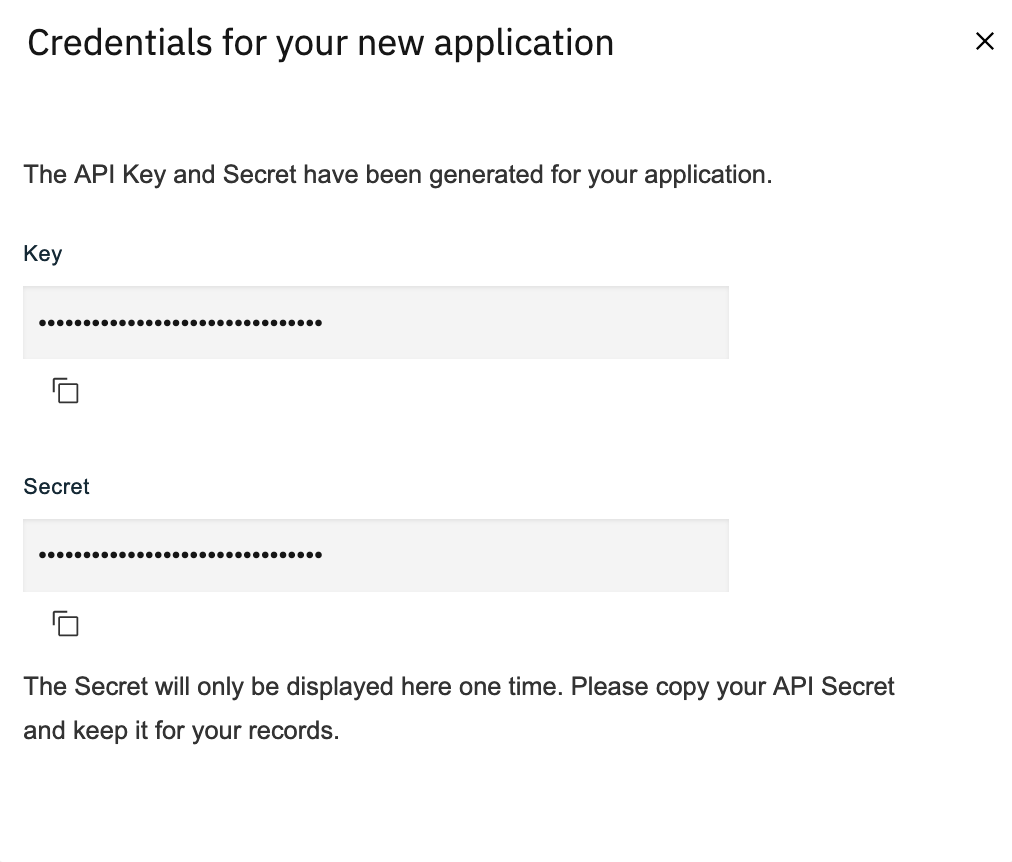
Once you have made a copy of your application's credentials, click on the x icon on the top right corner of the pop-up form. You should now see your new My Application listed.
Click on your new My Application. Make sure that the subscription looks correct for the product, application and plan.
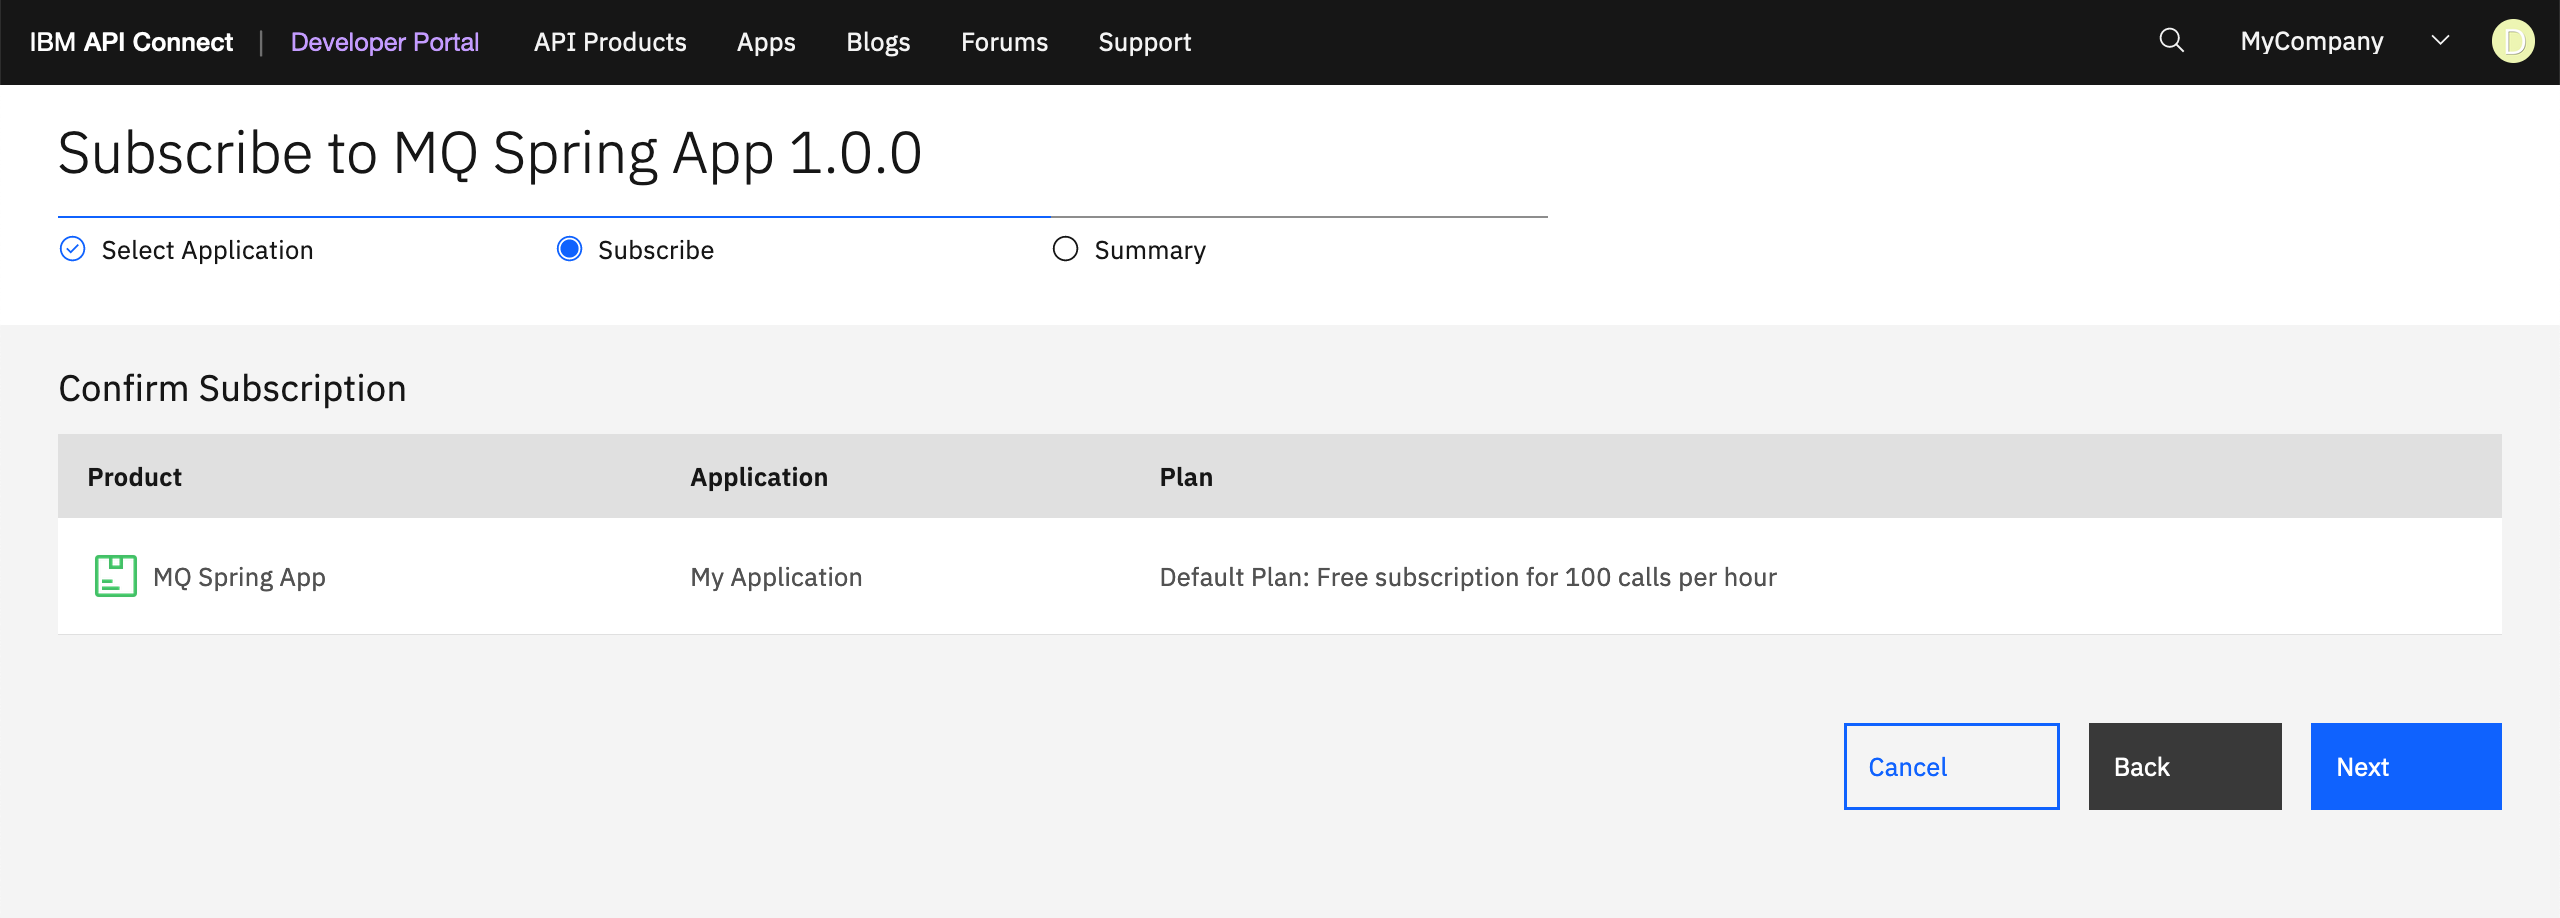
Click Next. Once again, make sure that the summary looks correct and click Done. You should get redirected back to your mq-spring-app screen.

Now, select the send-hello-world Spring MQ Application API from the left hand side list of APIs. Again, you will see a graphical description of this API's details.
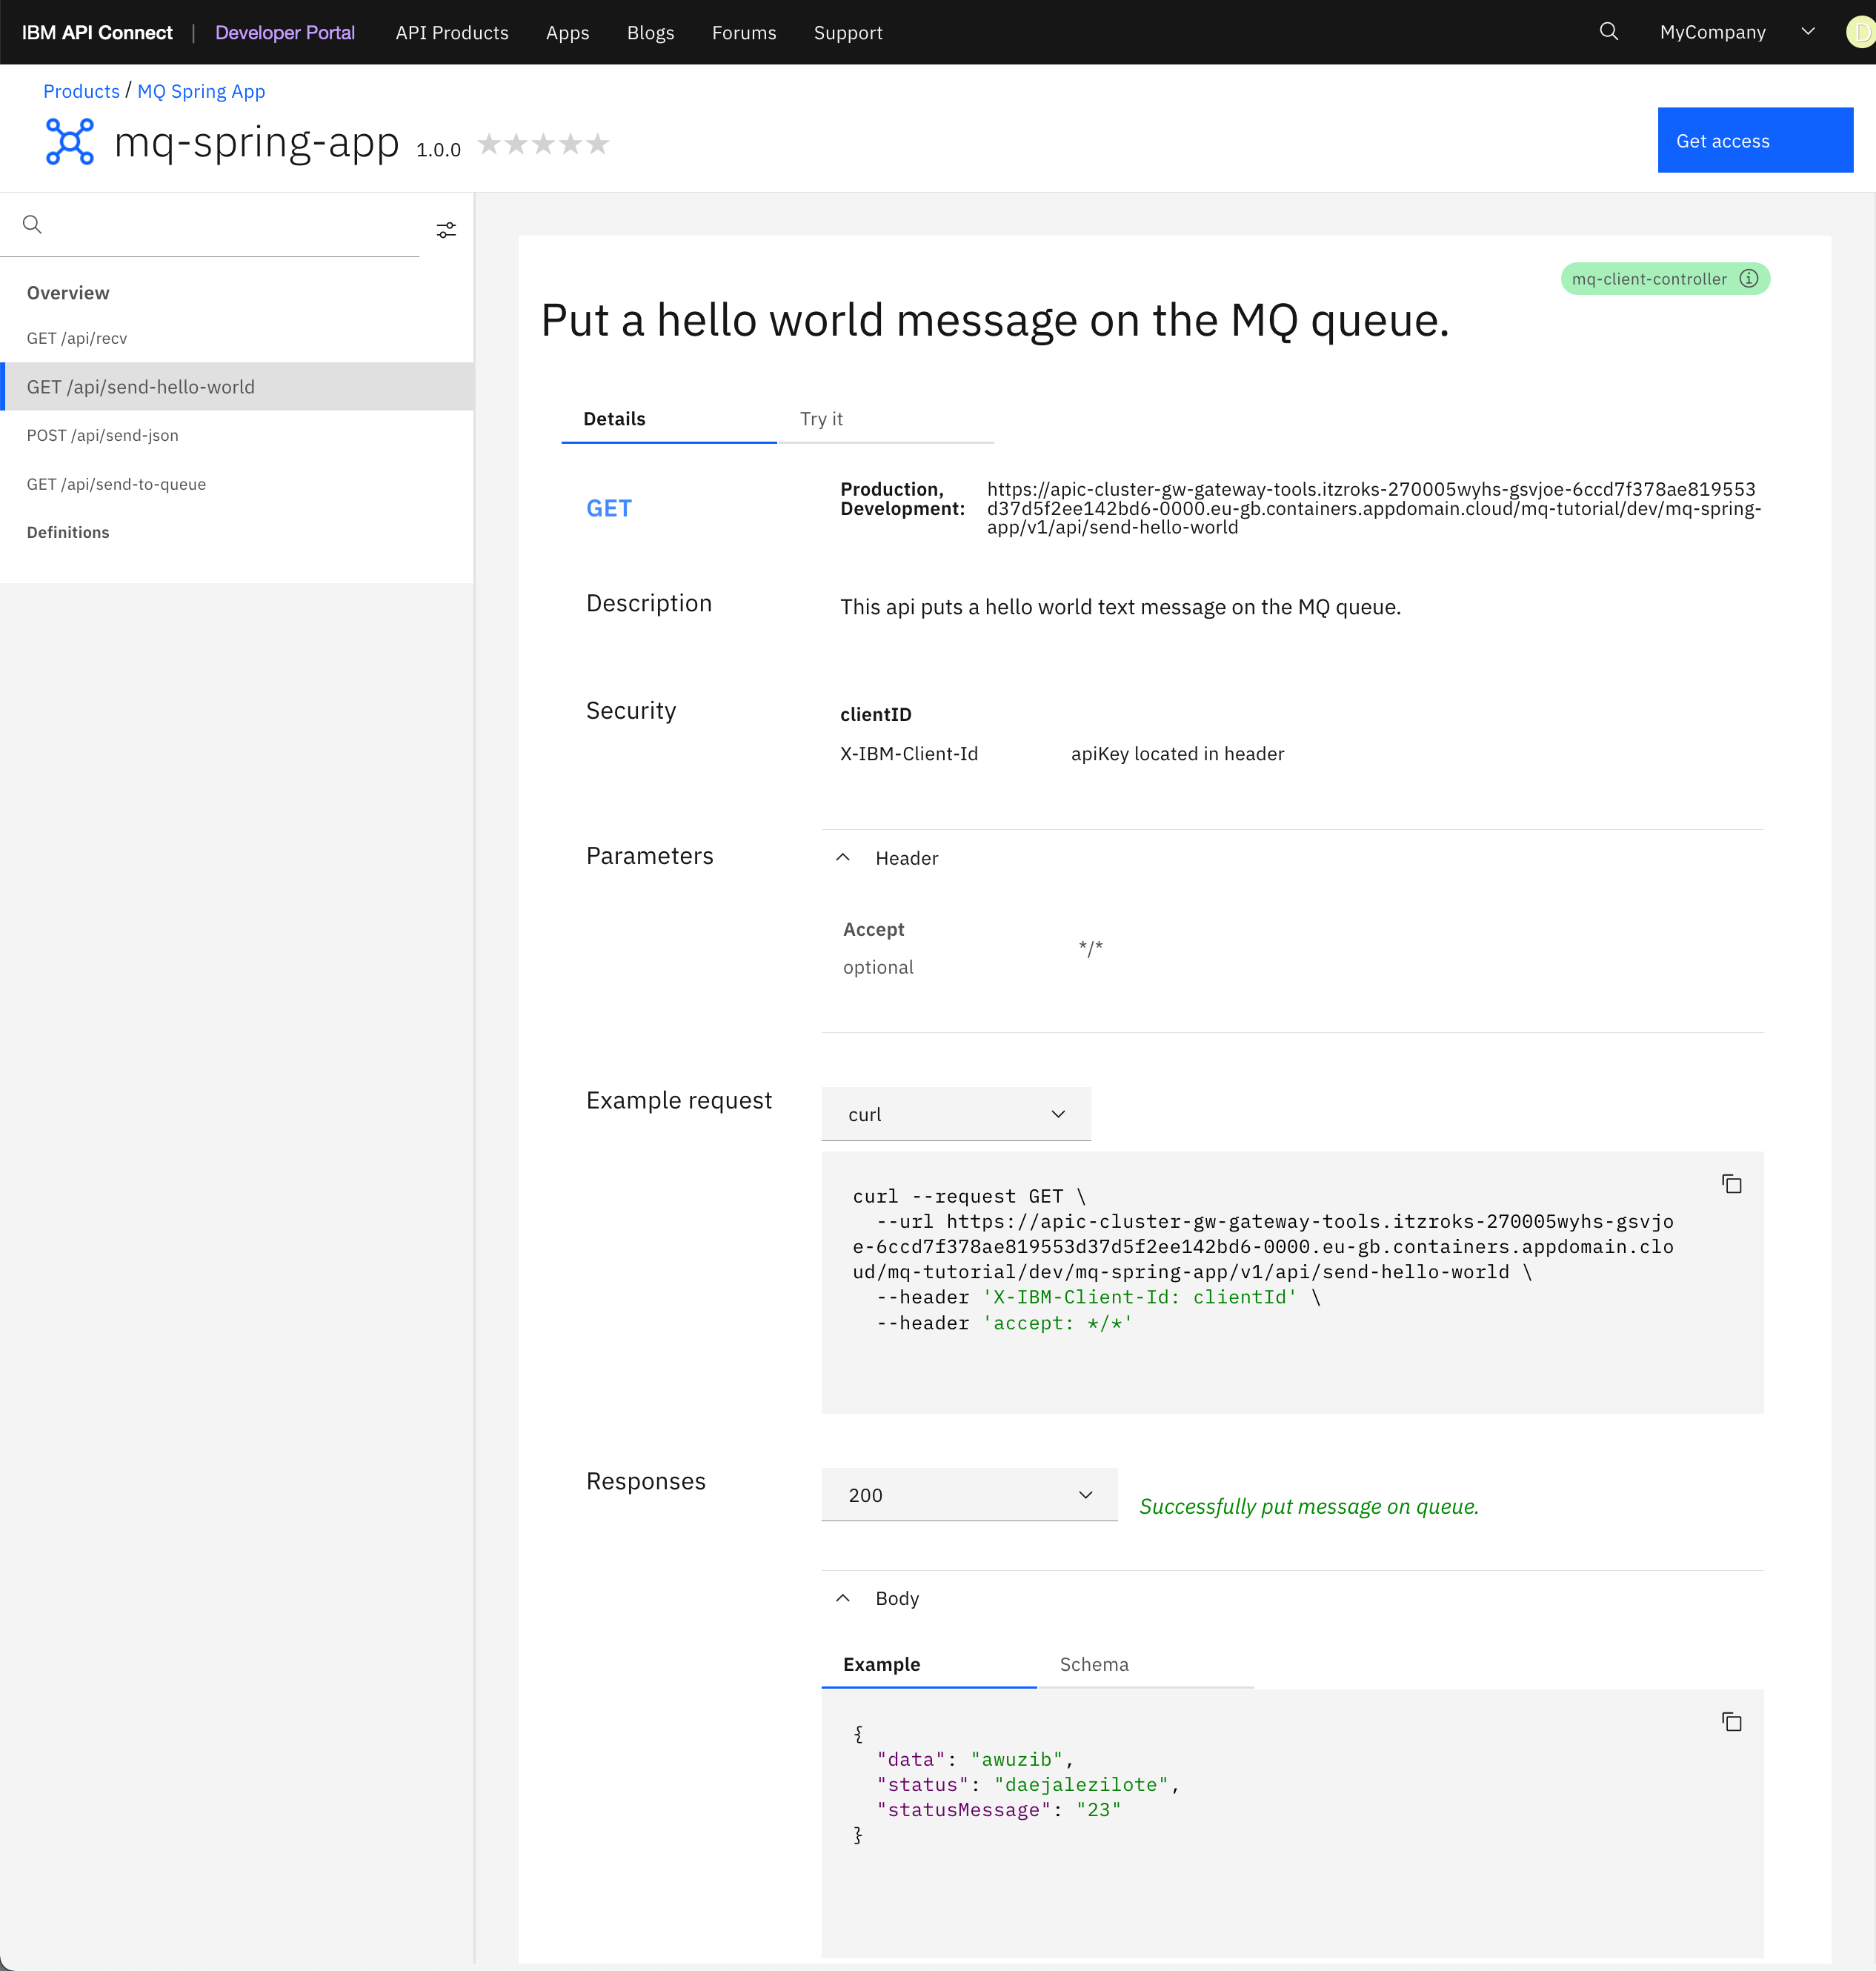
Click on the Try it for your API. You will be presented, in a similar fashion as the Swagger UI and the IBM API Connect API Manager, with a section that describes the url where the call will be made as well as the security parameters this API requires.
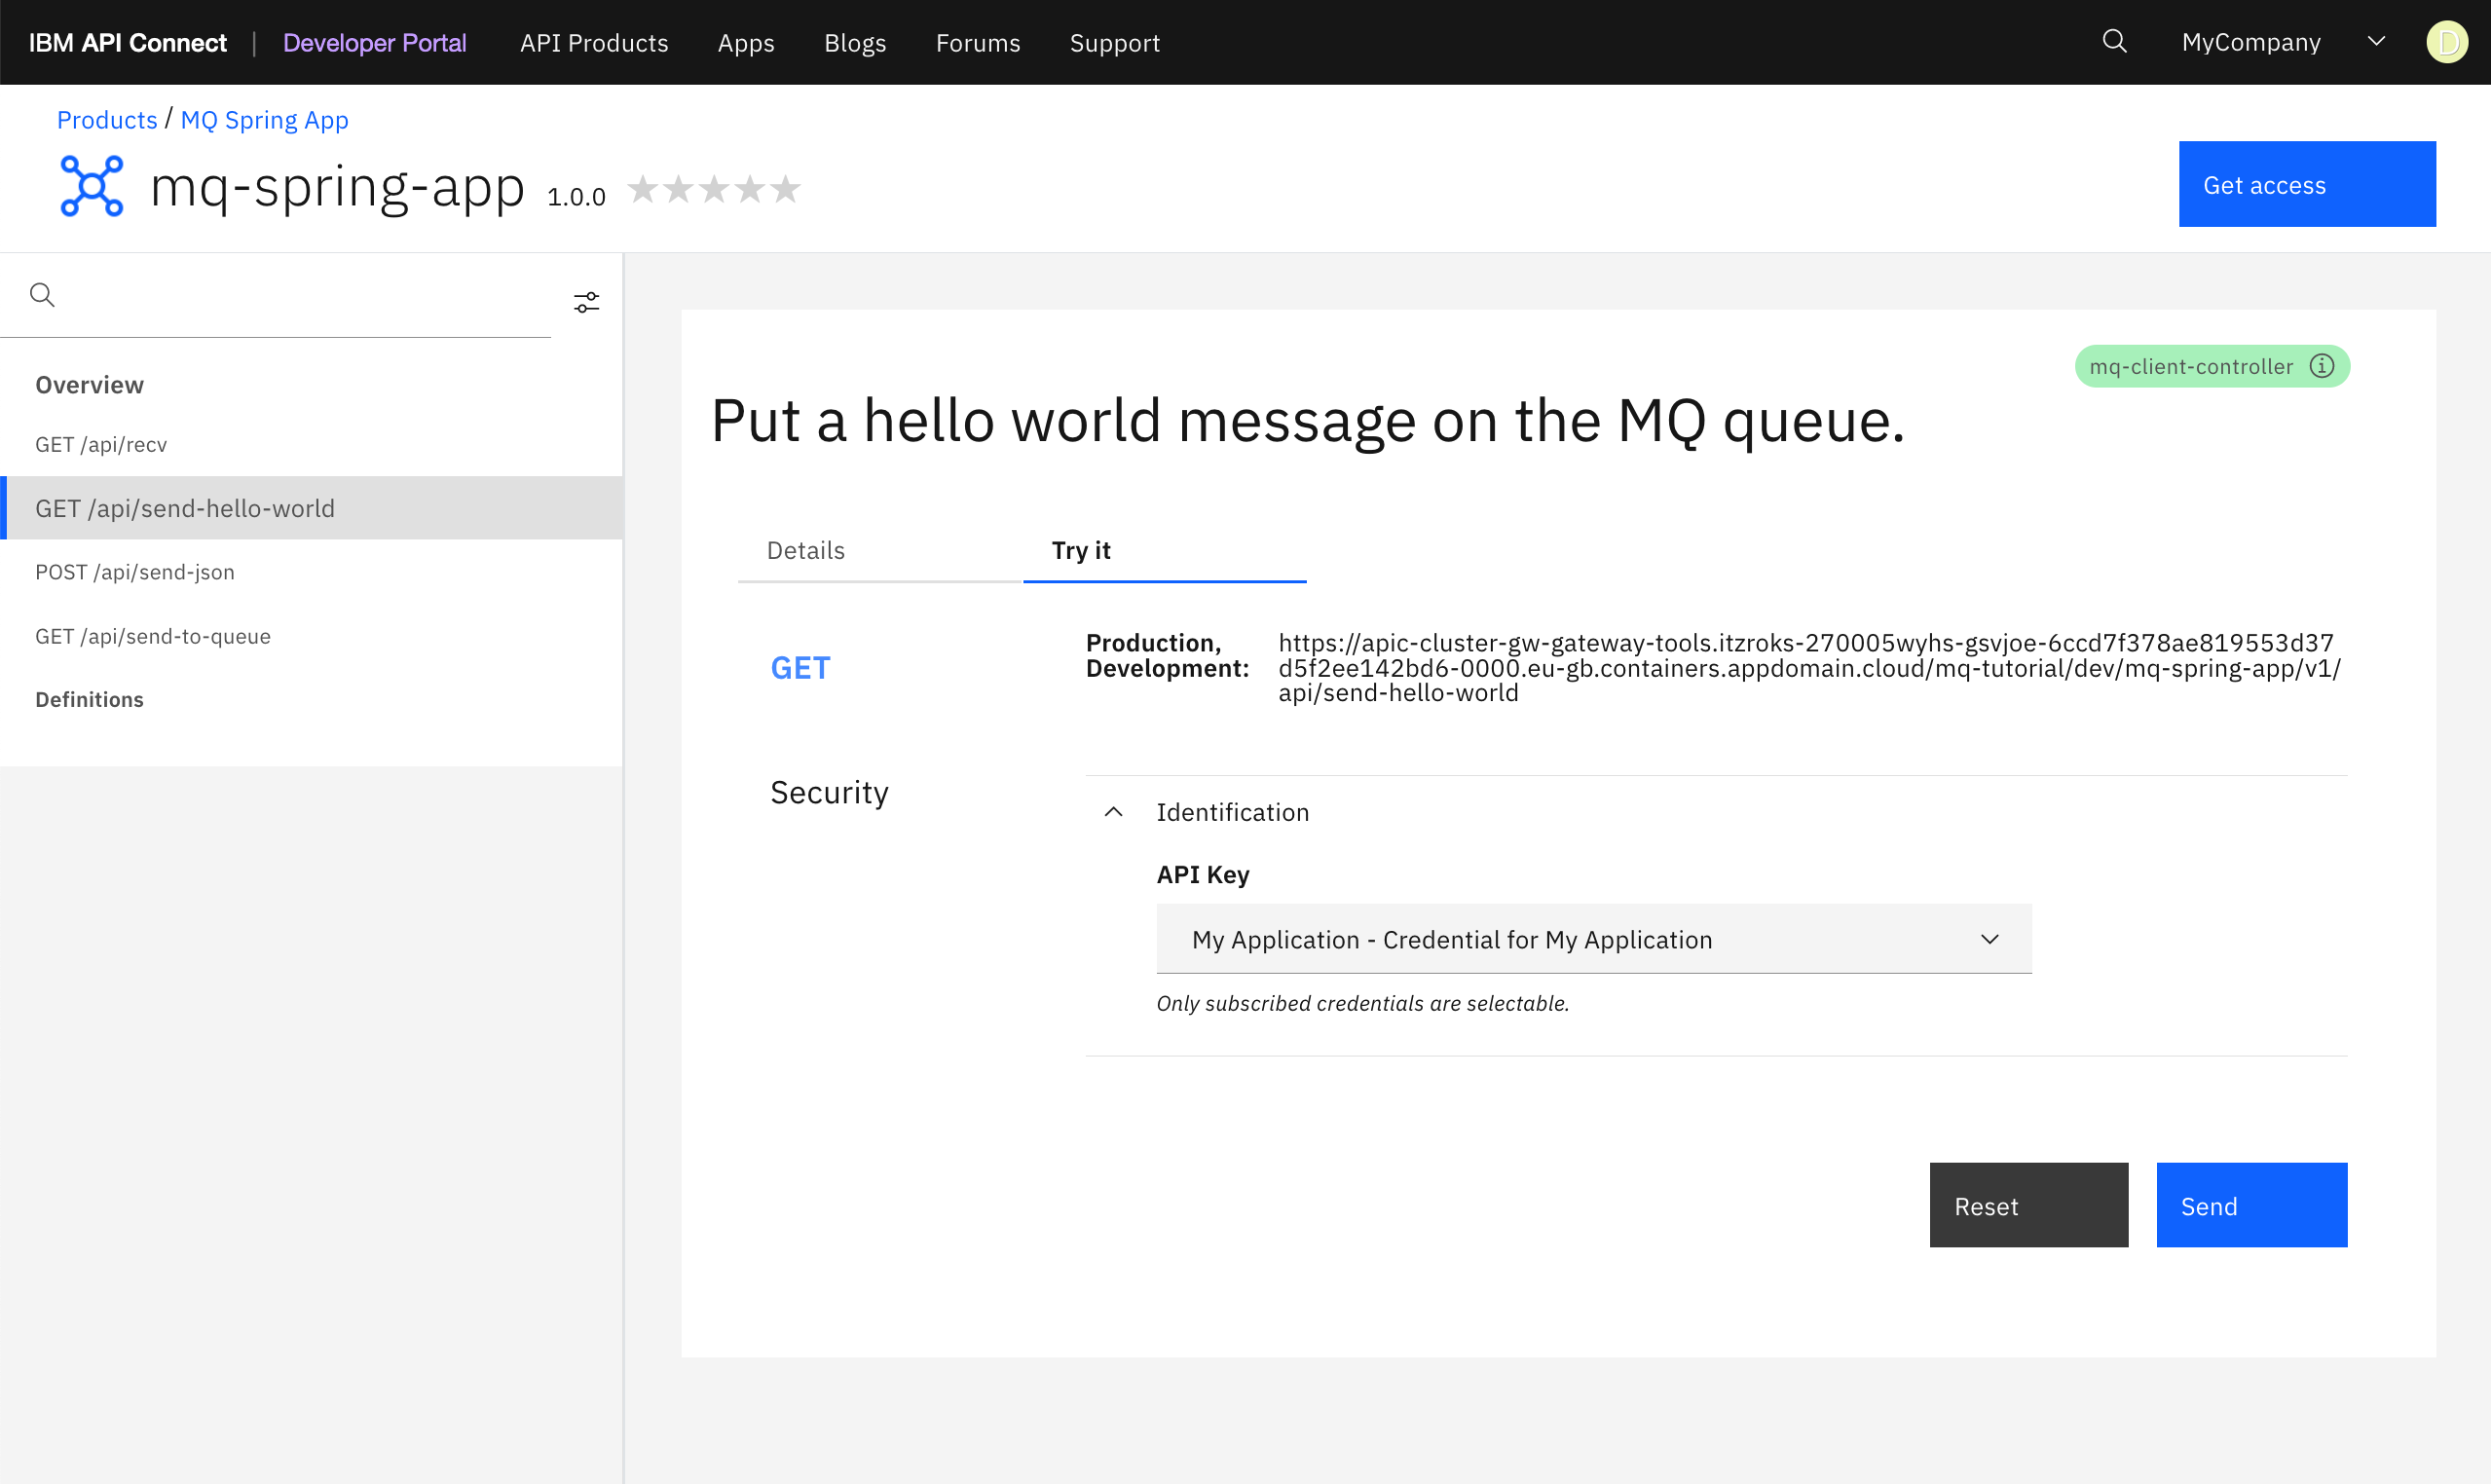
You can see that your My Application application's credentials appears selected by default as the credentials to be used for this API's security requirements. If you had another application that is also subscribed to the MQ Spring App product, you could select that one. Click Send.
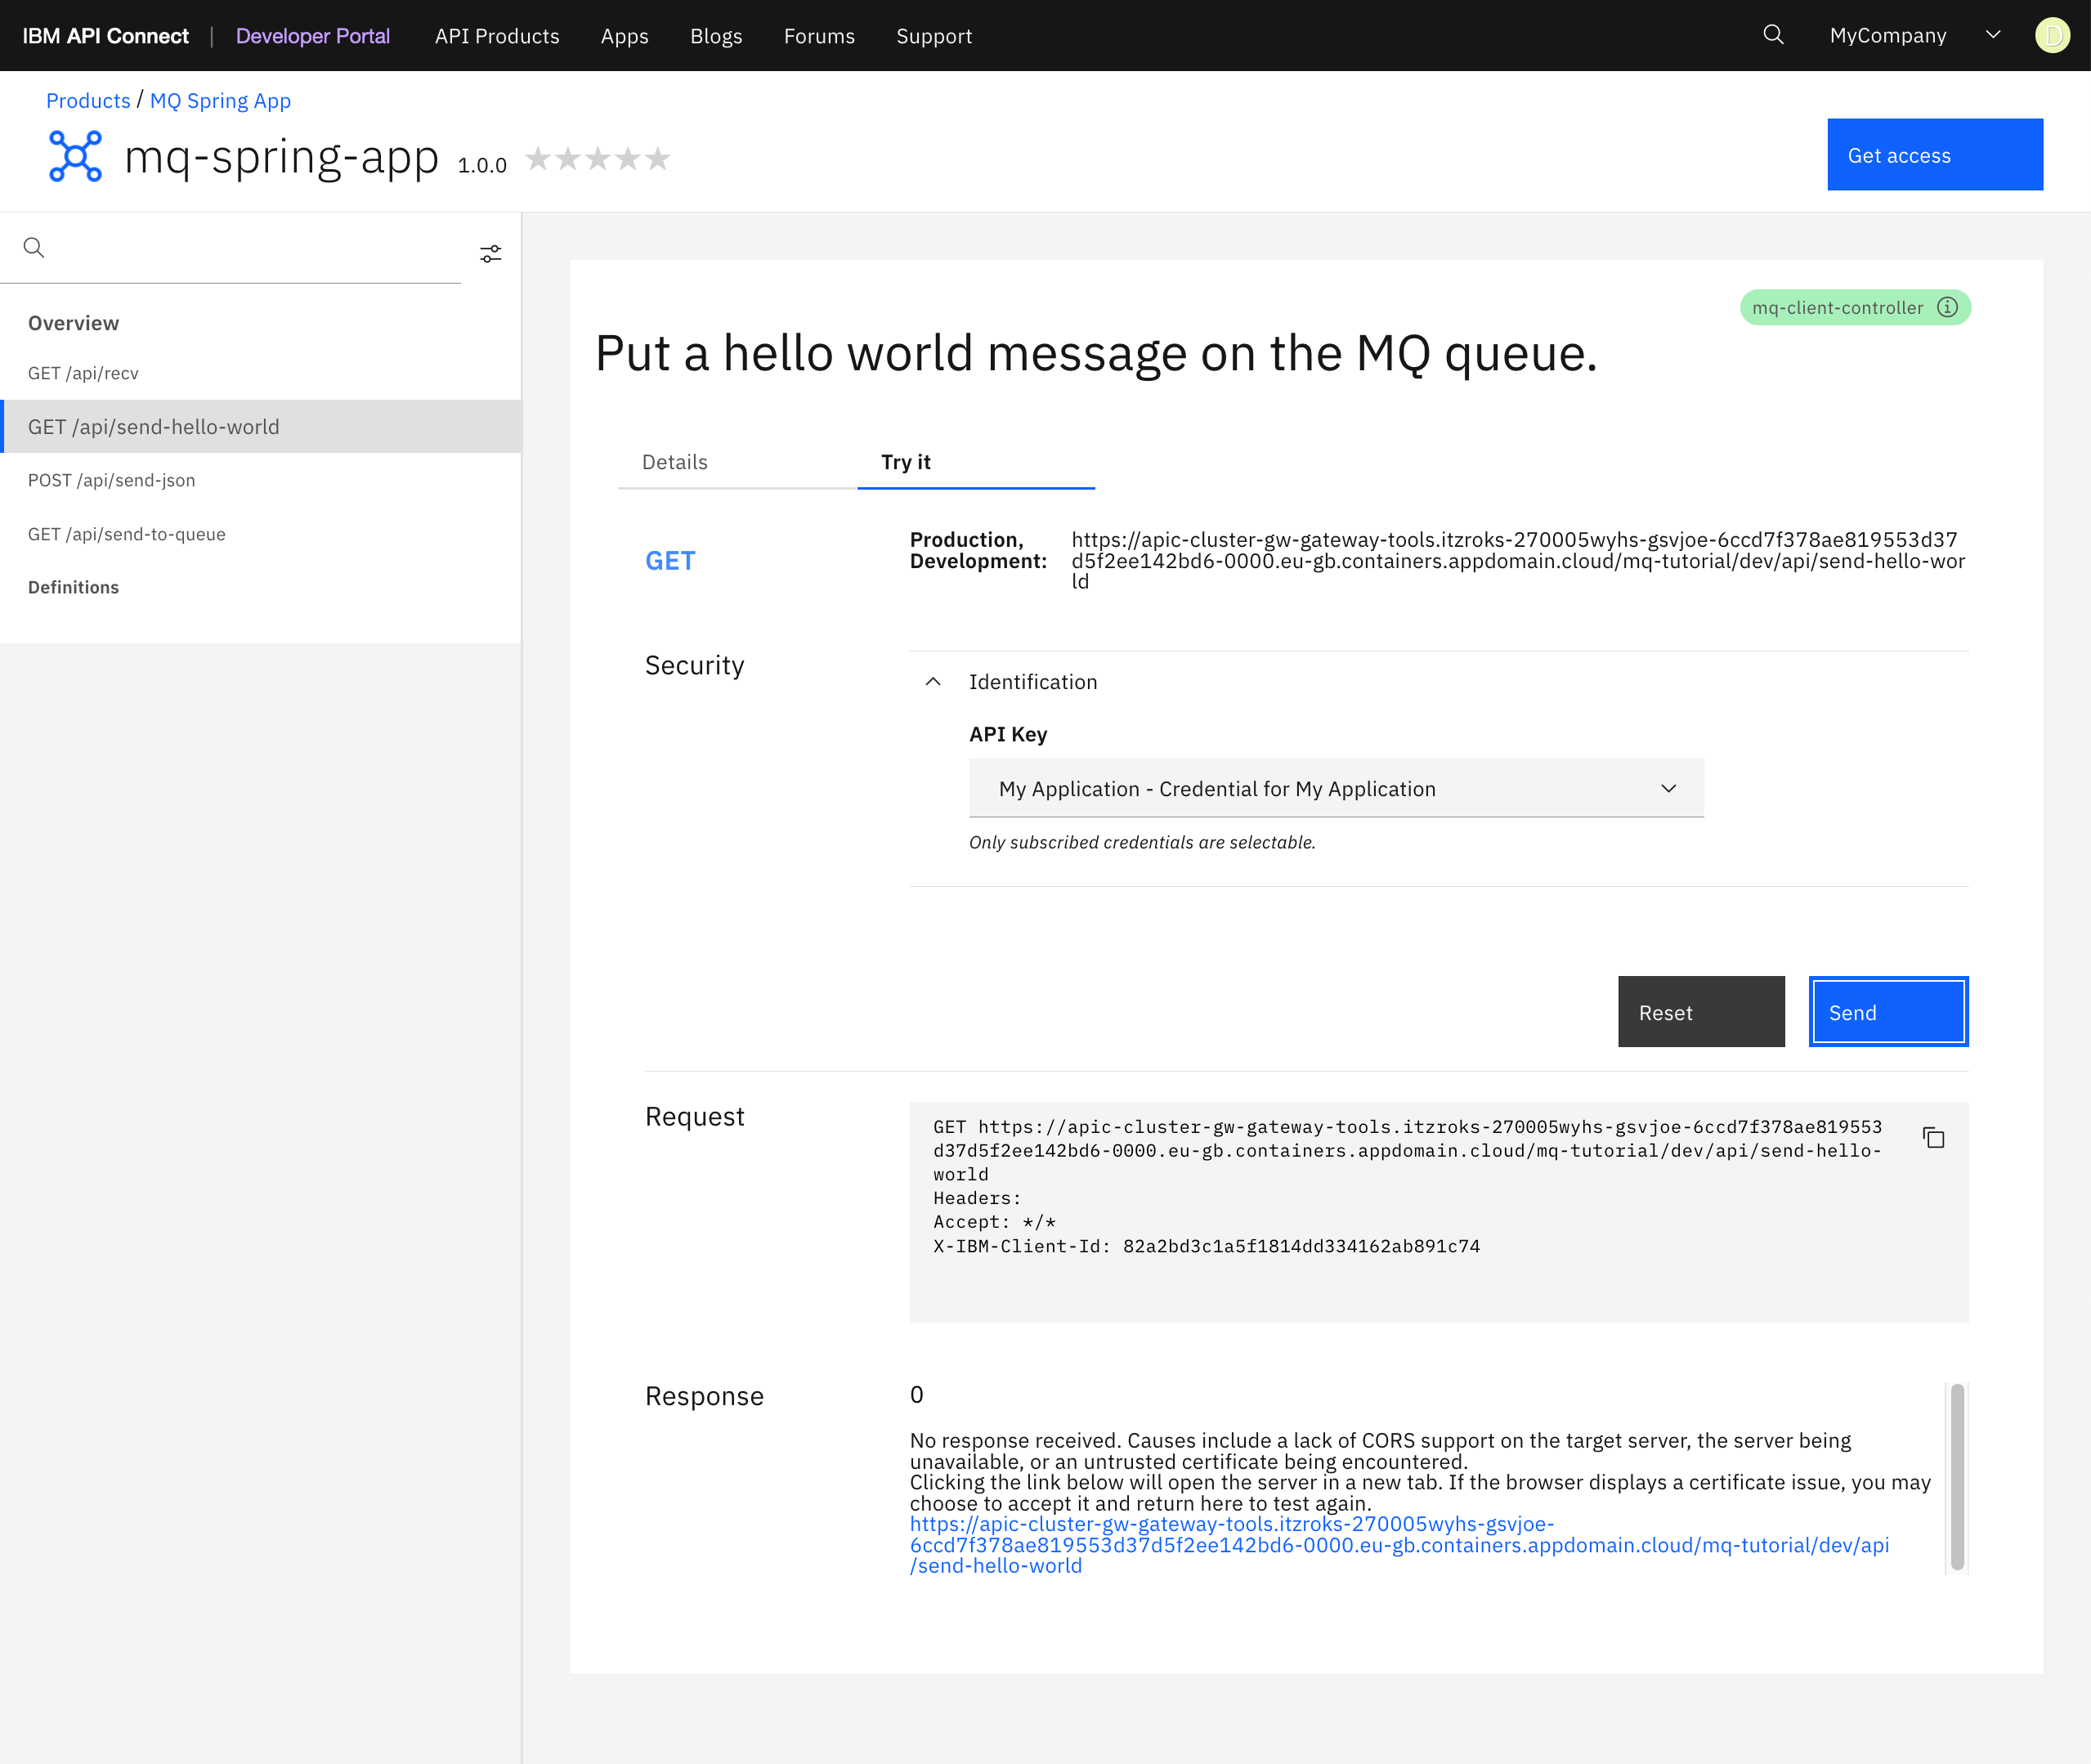
Info
It is possible that the first time you try your API you get a server security error like the one you can see in the picture above. If that is the case, follow the instructions indicated in the Response section. That is, click the link provided that will open the server in a new tab. If the browser displays a certificate issue, choose to accept it and return to test your API again.
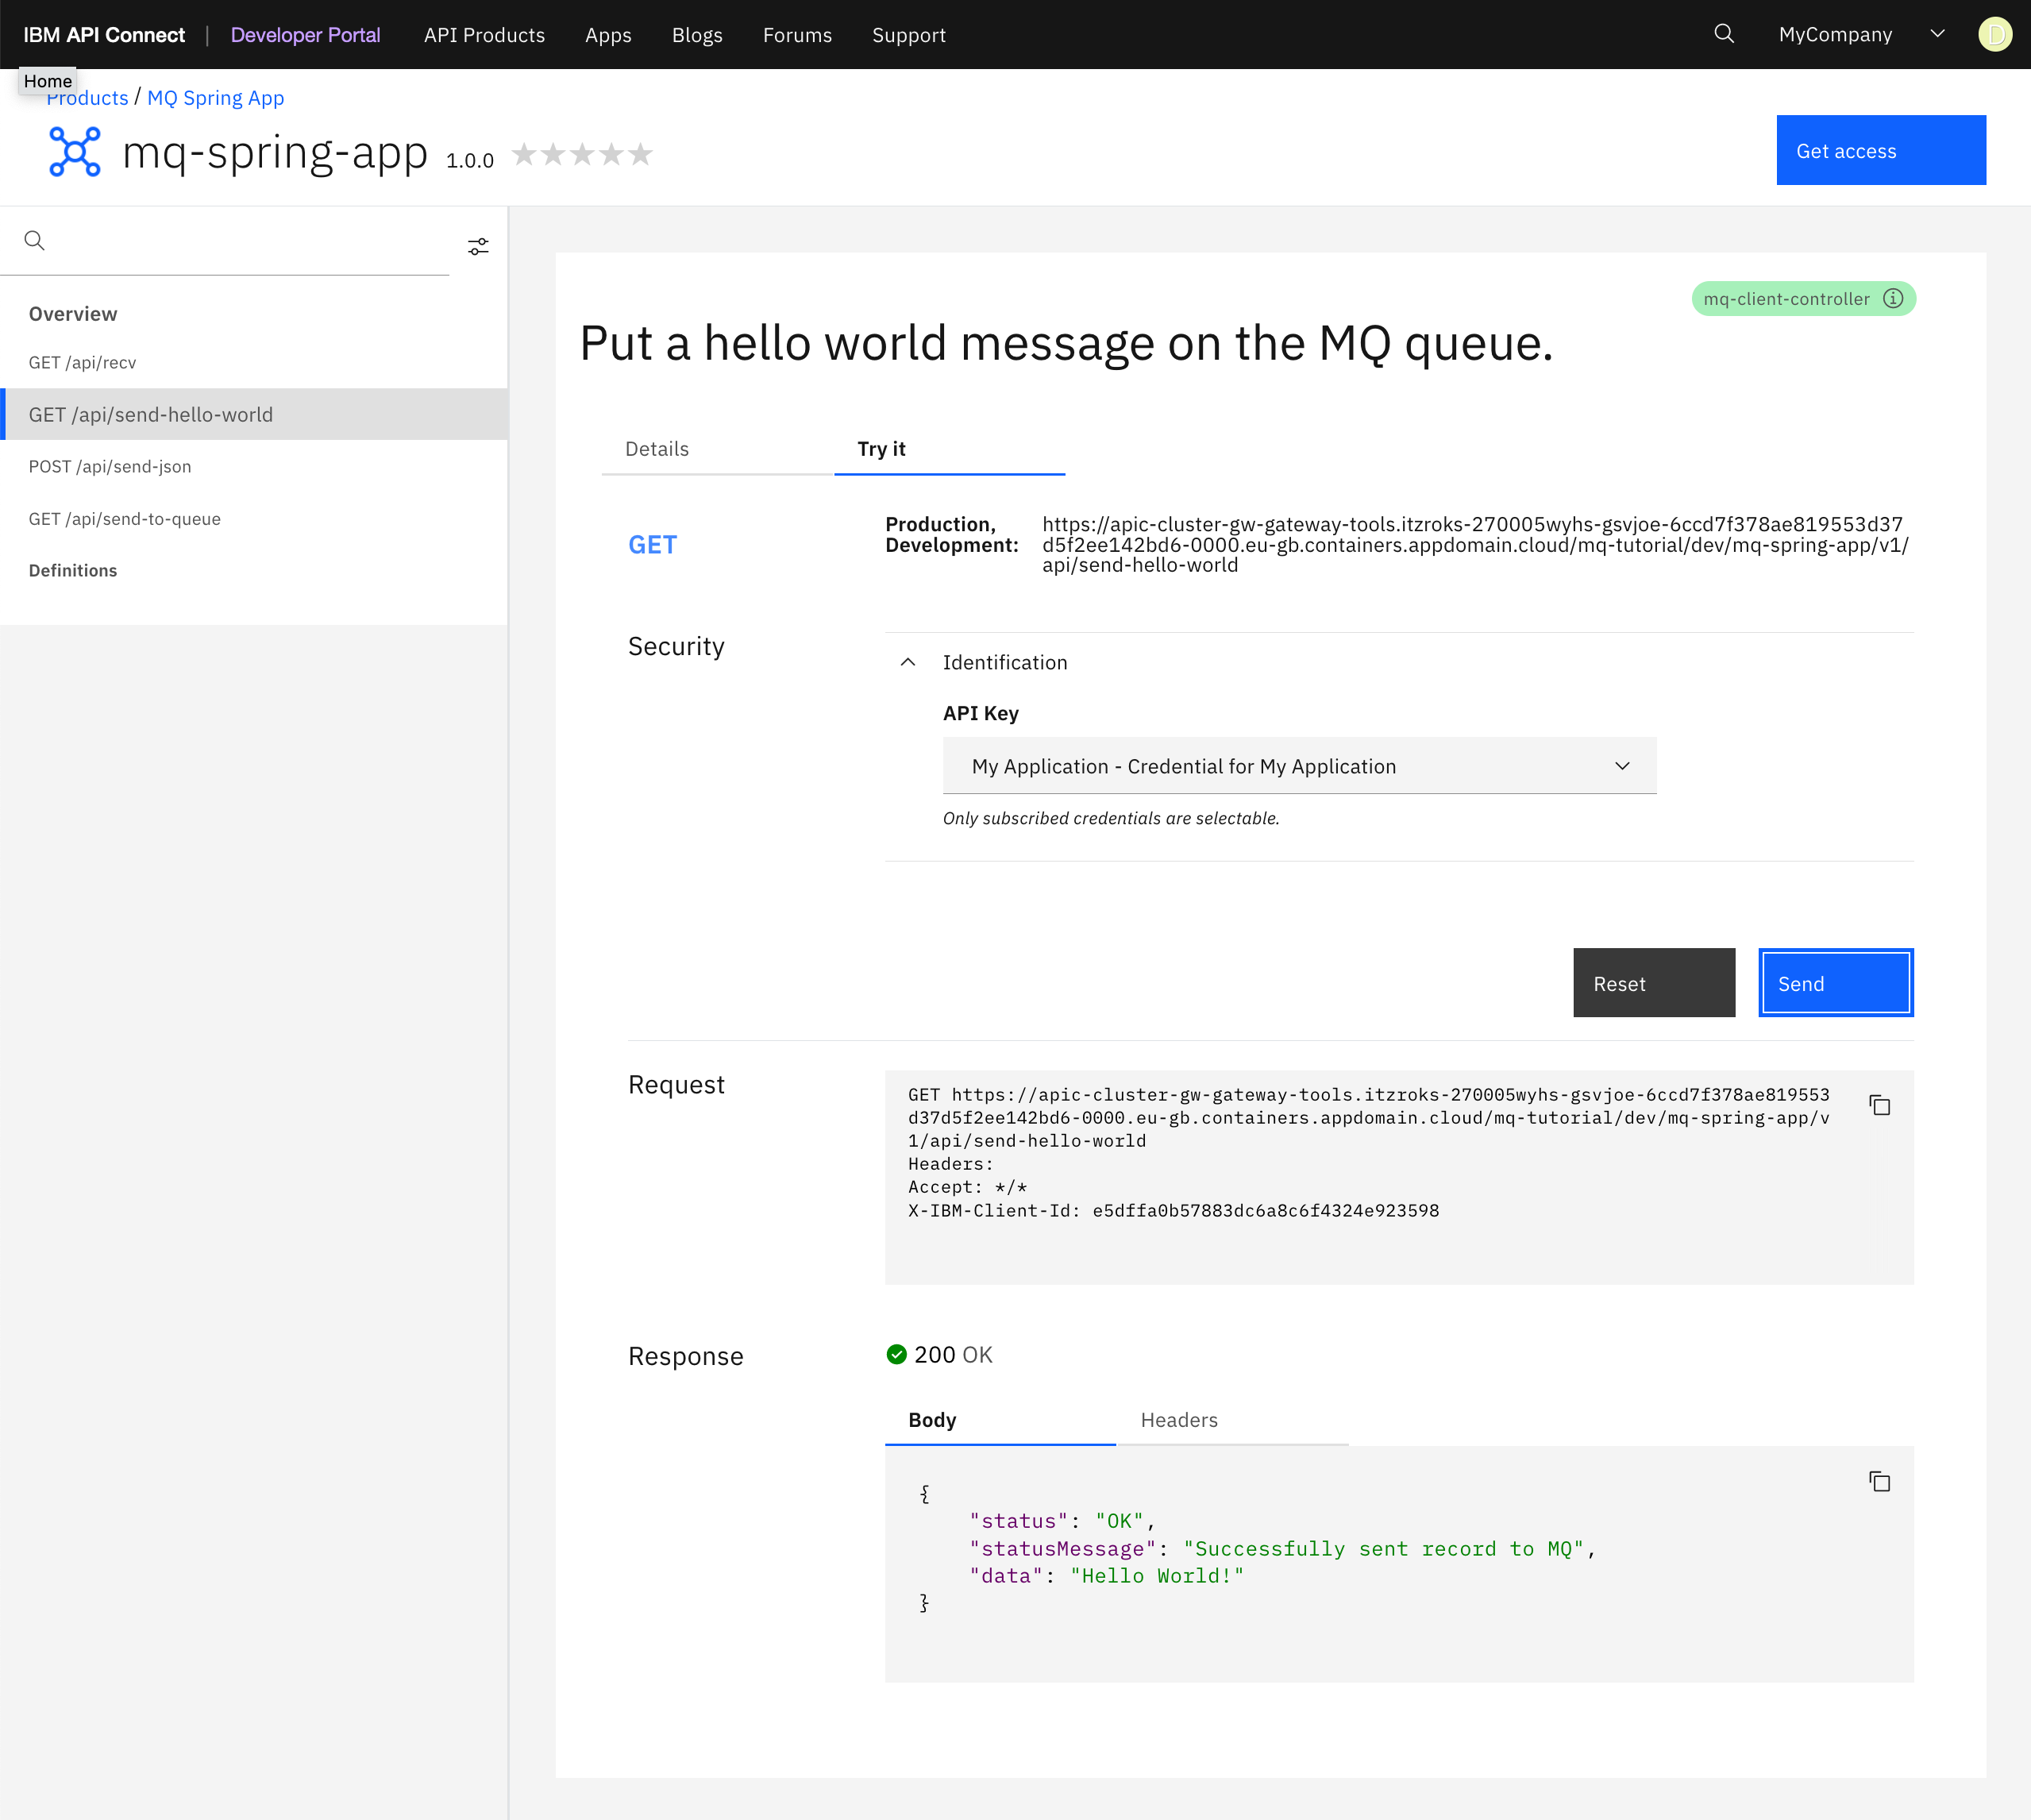
After you have sorted the server certificate security issue, you should see that you have successfully been able to call your Spring MQ Application send-hello-world API and the Response looks correct.
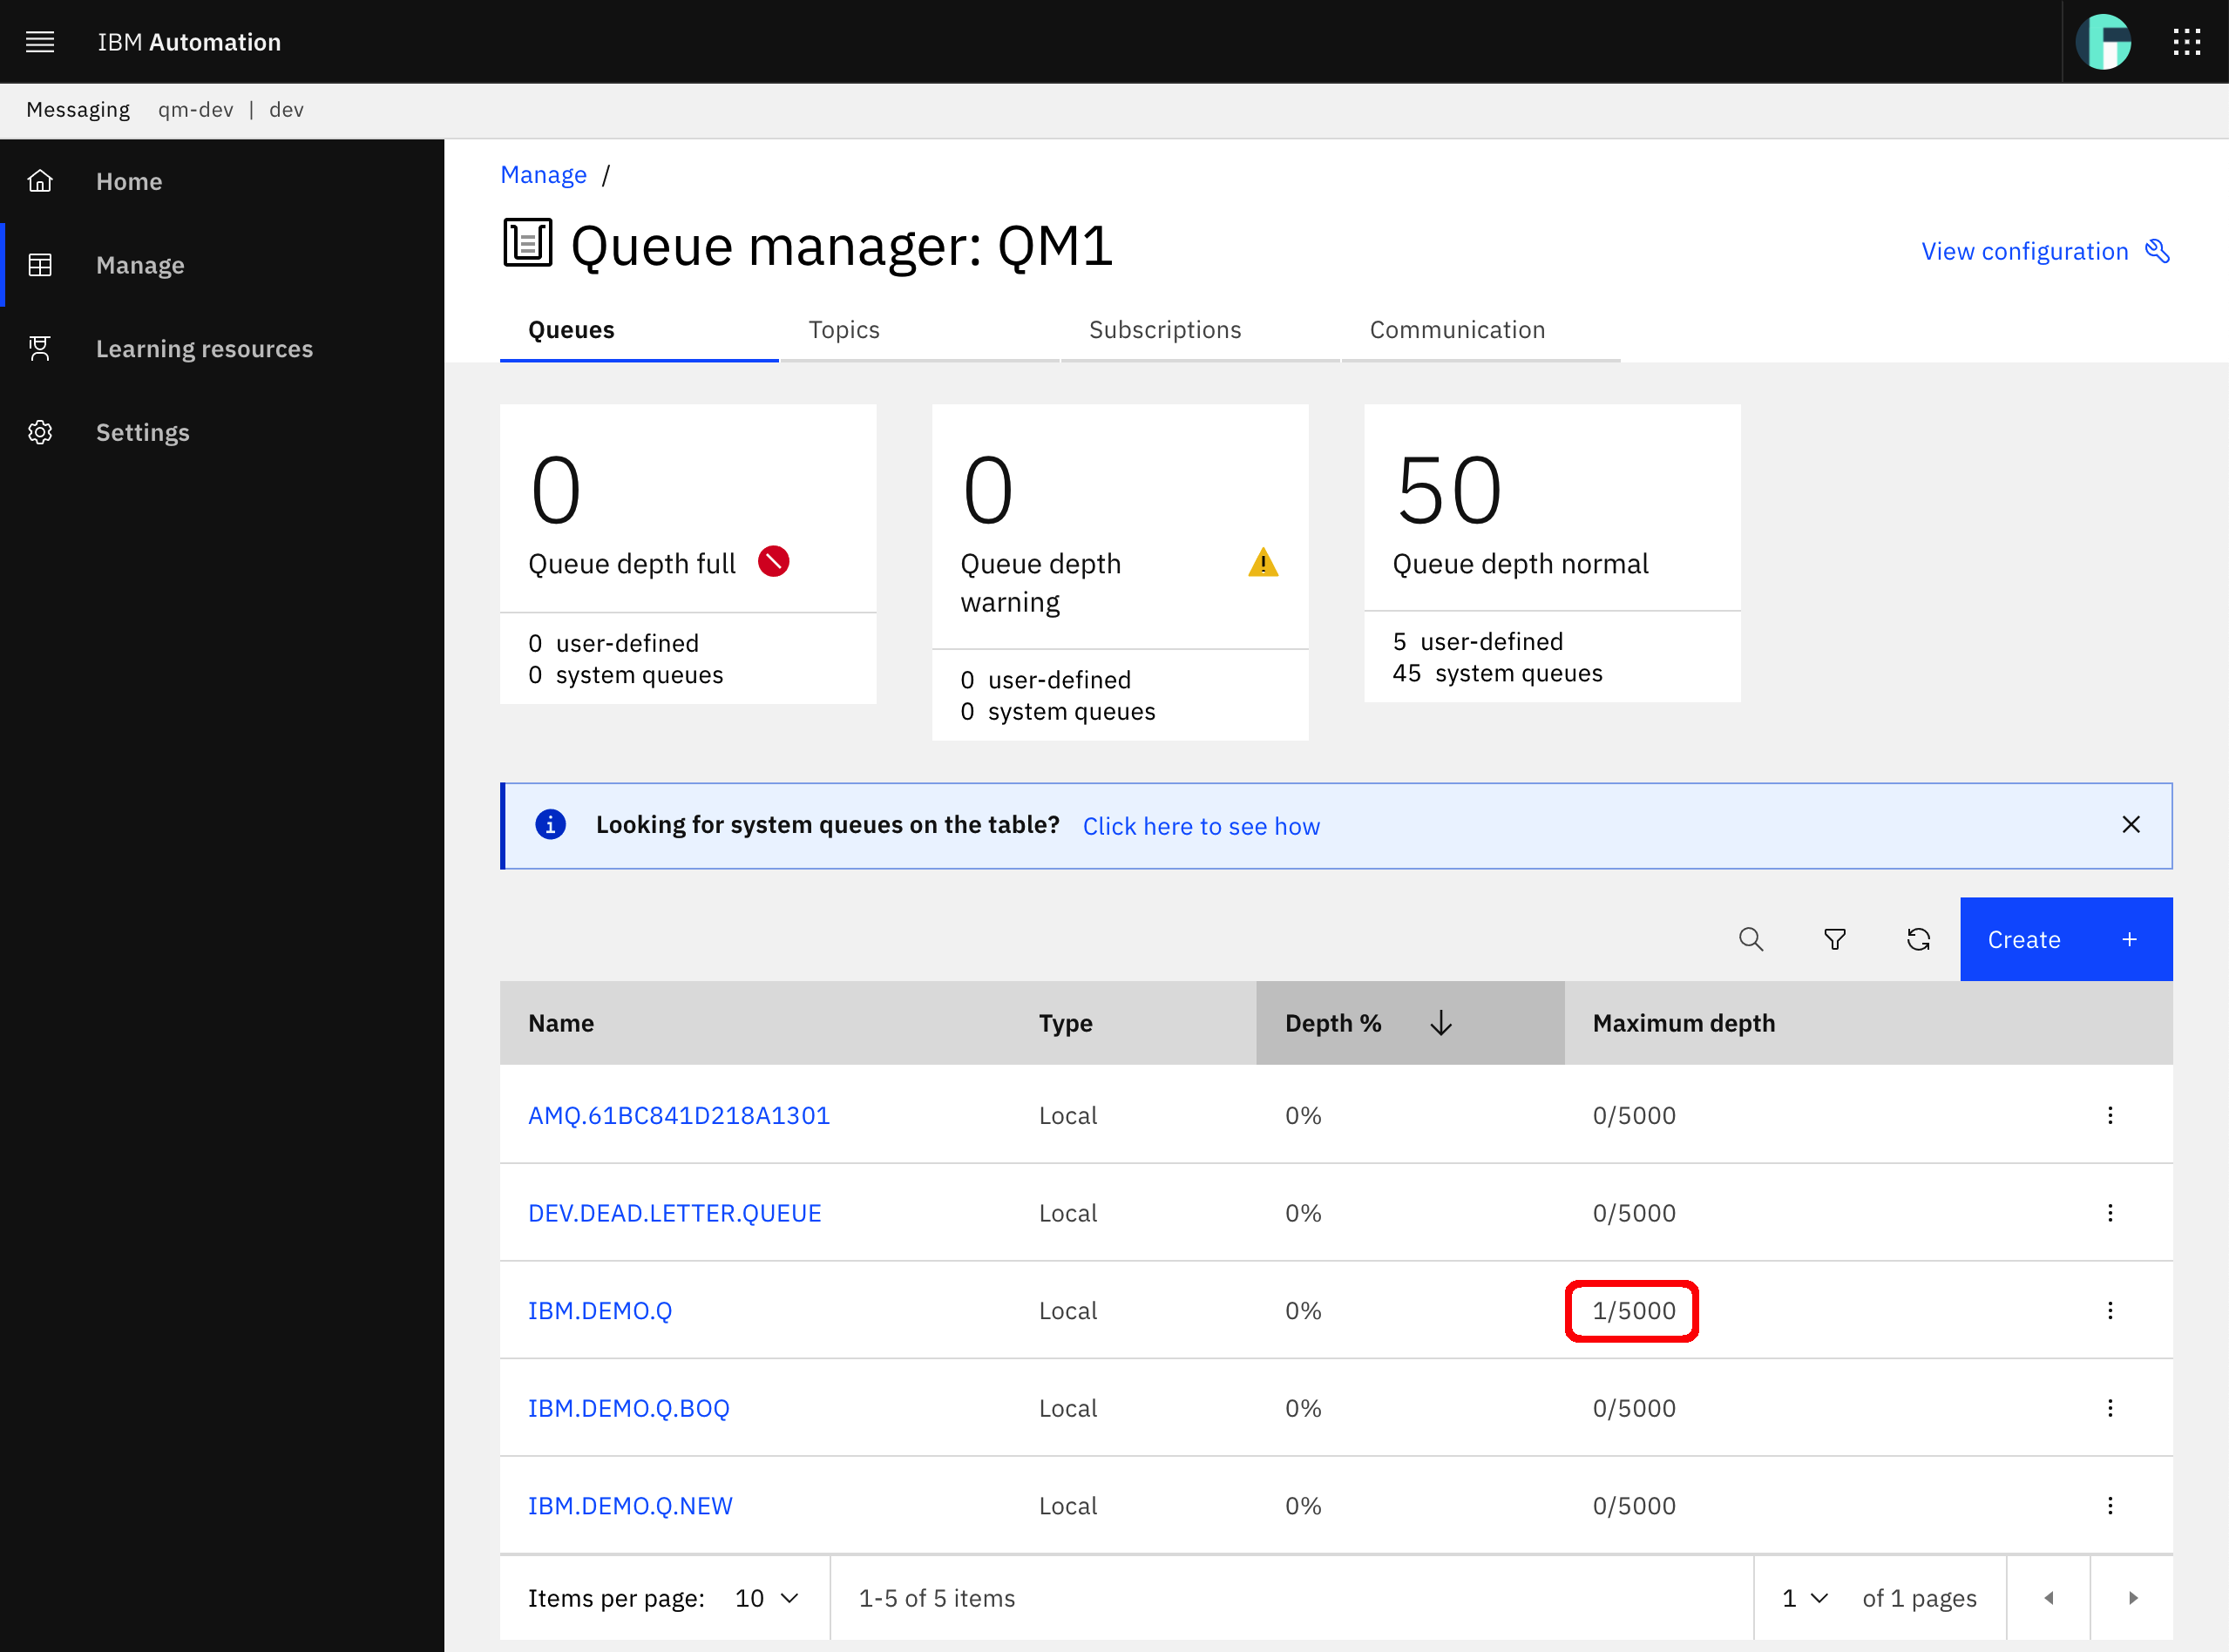
Check your IBM MQ QM1 web console to actually make sure that a message has reached your IBM MQ QM1 queue.
Congratulations
You have successfully created a Developer Portal where your APIs will get published and socialized so that developers can make use of these. You have seen how to customize your Developer Portal and created user accounts. Finally, you have successfully created an application, subscribe to a product and consume its APIs.
Links
Here are some interesting links used to create this section of the tutorial: